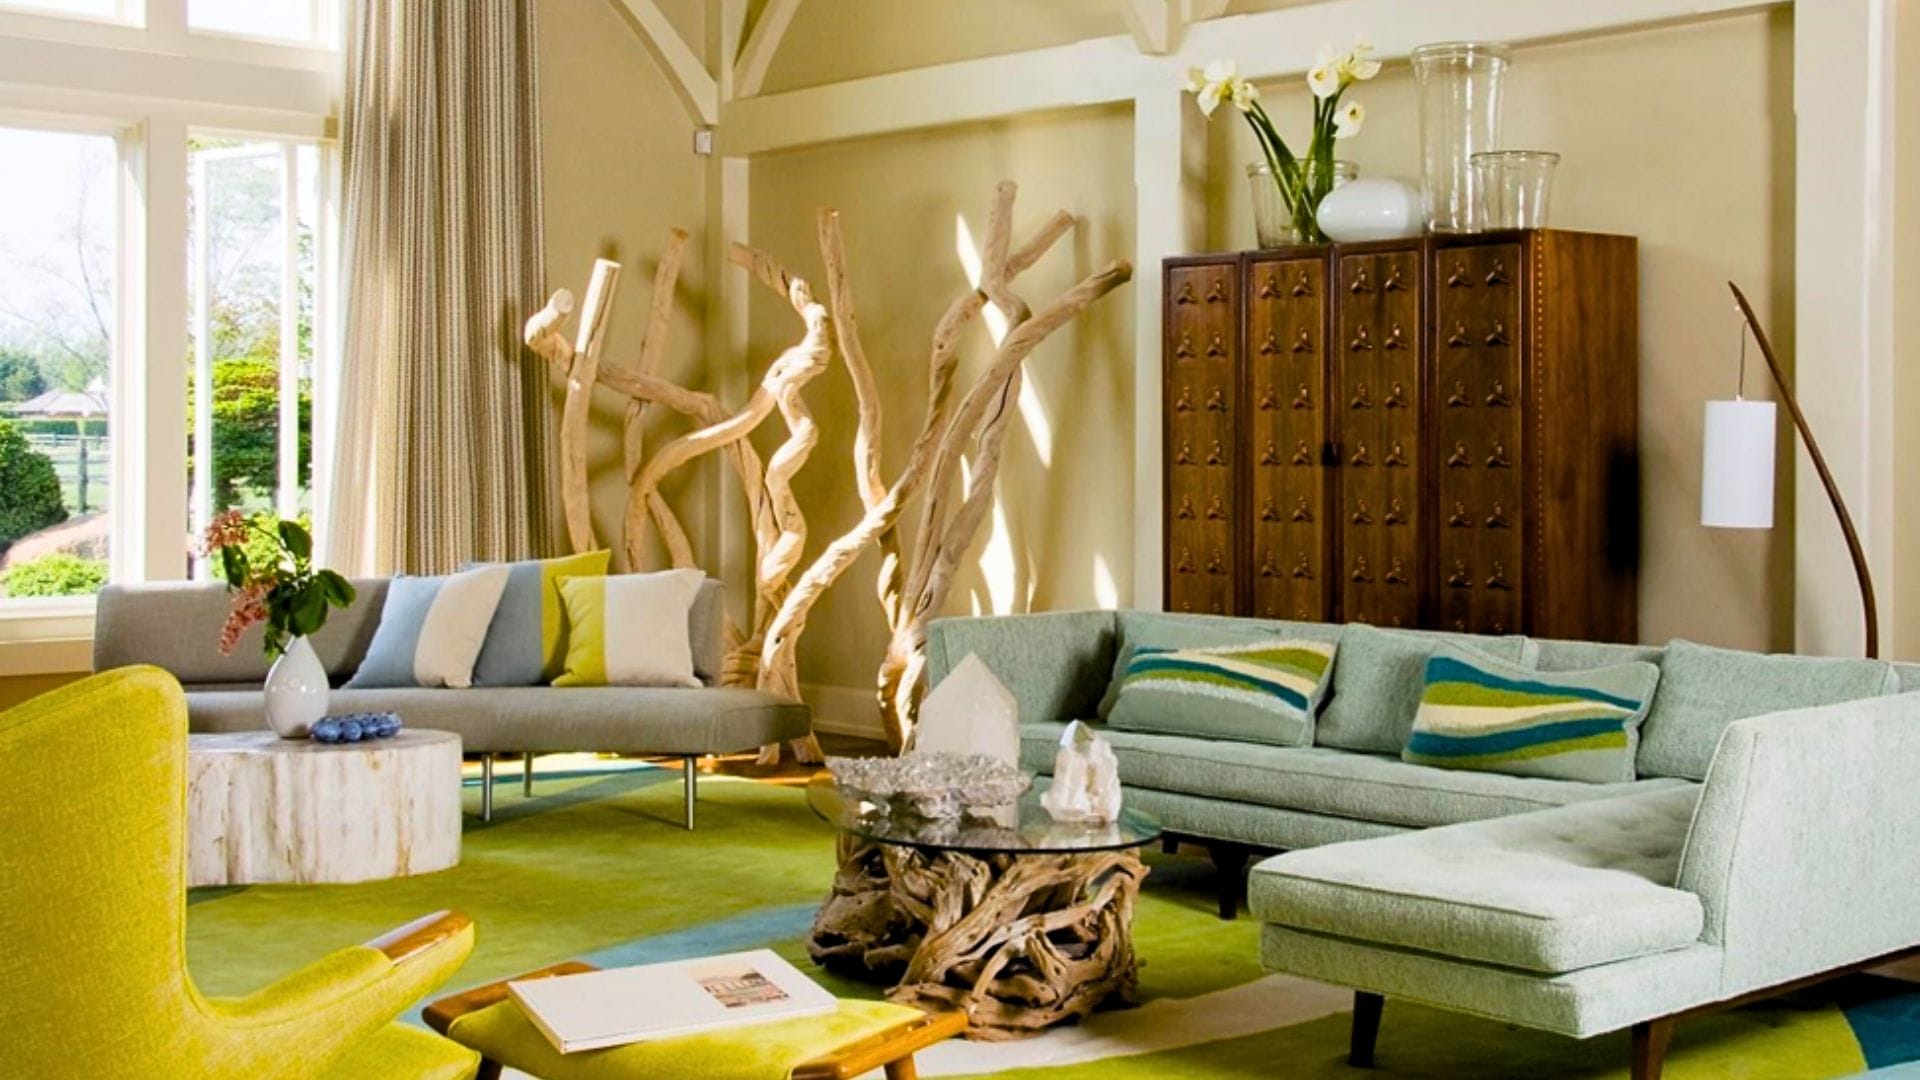
Home decor magazines showcase expensive furniture and designer accessories, but 2025’s biggest trend comes from your recycling bin and kitchen pantry. Creative homeowners are discovering that discarded cardboard, shipping materials, and everyday household items create stunning decor pieces that rival costly designer alternatives. This movement toward resourceful decorating isn’t just about saving money—it’s about reimagining the potential hidden in ordinary objects.
The beauty of these unexpected trends lies in their accessibility and environmental consciousness. While traditional home makeovers require significant investments, these innovative approaches transform spaces for under fifty dollars total. Kitchen ingredients become textured wall art, old electronics turn into sculptural displays, and packaging waste evolves into sophisticated room dividers. These aren’t temporary fixes or cheap substitutes—they’re legitimate design solutions that look intentional and professionally executed.
1. Curved Cardboard Furniture Revolution
Tip 1: Start with large appliance boxes for maximum curve potential and structural strength.
Tip 2: Use a pizza cutter instead of scissors for cleaner, smoother cuts along your traced lines.
Cardboard furniture sounds flimsy, but when layered correctly, it becomes surprisingly sturdy. Large shipping boxes work best because their corrugated structure provides natural flexibility for bending. Score shallow lines where you want curves to form, then gradually bend the material while adding layers of wood glue between sheets.

This technique mimics expensive molded plywood furniture at a fraction of the cost. Multiple thin layers create stronger bonds than trying to bend thick pieces all at once. The secret lies in patience and allowing each layer to dry completely before adding the next.
Tip 3: Seal finished pieces with diluted white glue and water mixture for a professional finish.
Tip 4: Add fabric or contact paper as the final layer to hide any rough edges or imperfections.
2. Indoor Microgreen Gardens as Living Decor
Tip 1: Choose shallow containers with drainage holes to prevent root rot and maintain healthy growth.
Tip 2: Position grow setups near east or south facing windows for optimal natural light exposure.
Microgreens grow incredibly fast and require minimal space, making them excellent for renters or small homes. Seeds like radish, pea shoots, and sunflower sprouts produce lush green growth within seven to ten days of planting. Mason jars, old takeout containers, and shallow baking pans all work wonderfully as growing vessels when you drill a few drainage holes in the bottom.

Layer materials starting with small stones for drainage, then potting soil, and finally your chosen seeds on top. Water lightly each day and watch your living wall art emerge. These installations provide fresh garnishes for cooking while continuously changing as plants grow and get harvested.
Tip 3: Harvest outer leaves first to encourage continued growth and extend your display lifespan.
Tip 4: Stagger plantings by starting new containers every few days for constant fresh greenery.
3. DIY Smart Lighting with Basic LED Strips
Tip 1: Purchase LED strips with adhesive backing to avoid complicated mounting and wiring processes.
Tip 2: Test all connections before final installation to prevent having to redo hidden wiring work.
Smart lighting systems cost hundreds of dollars, but basic LED strips achieve similar effects for under thirty dollars. Programmable timers control when lights turn on and off, creating the illusion of responsive automation. Color changing strips offer mood lighting options that expensive systems provide at premium prices.
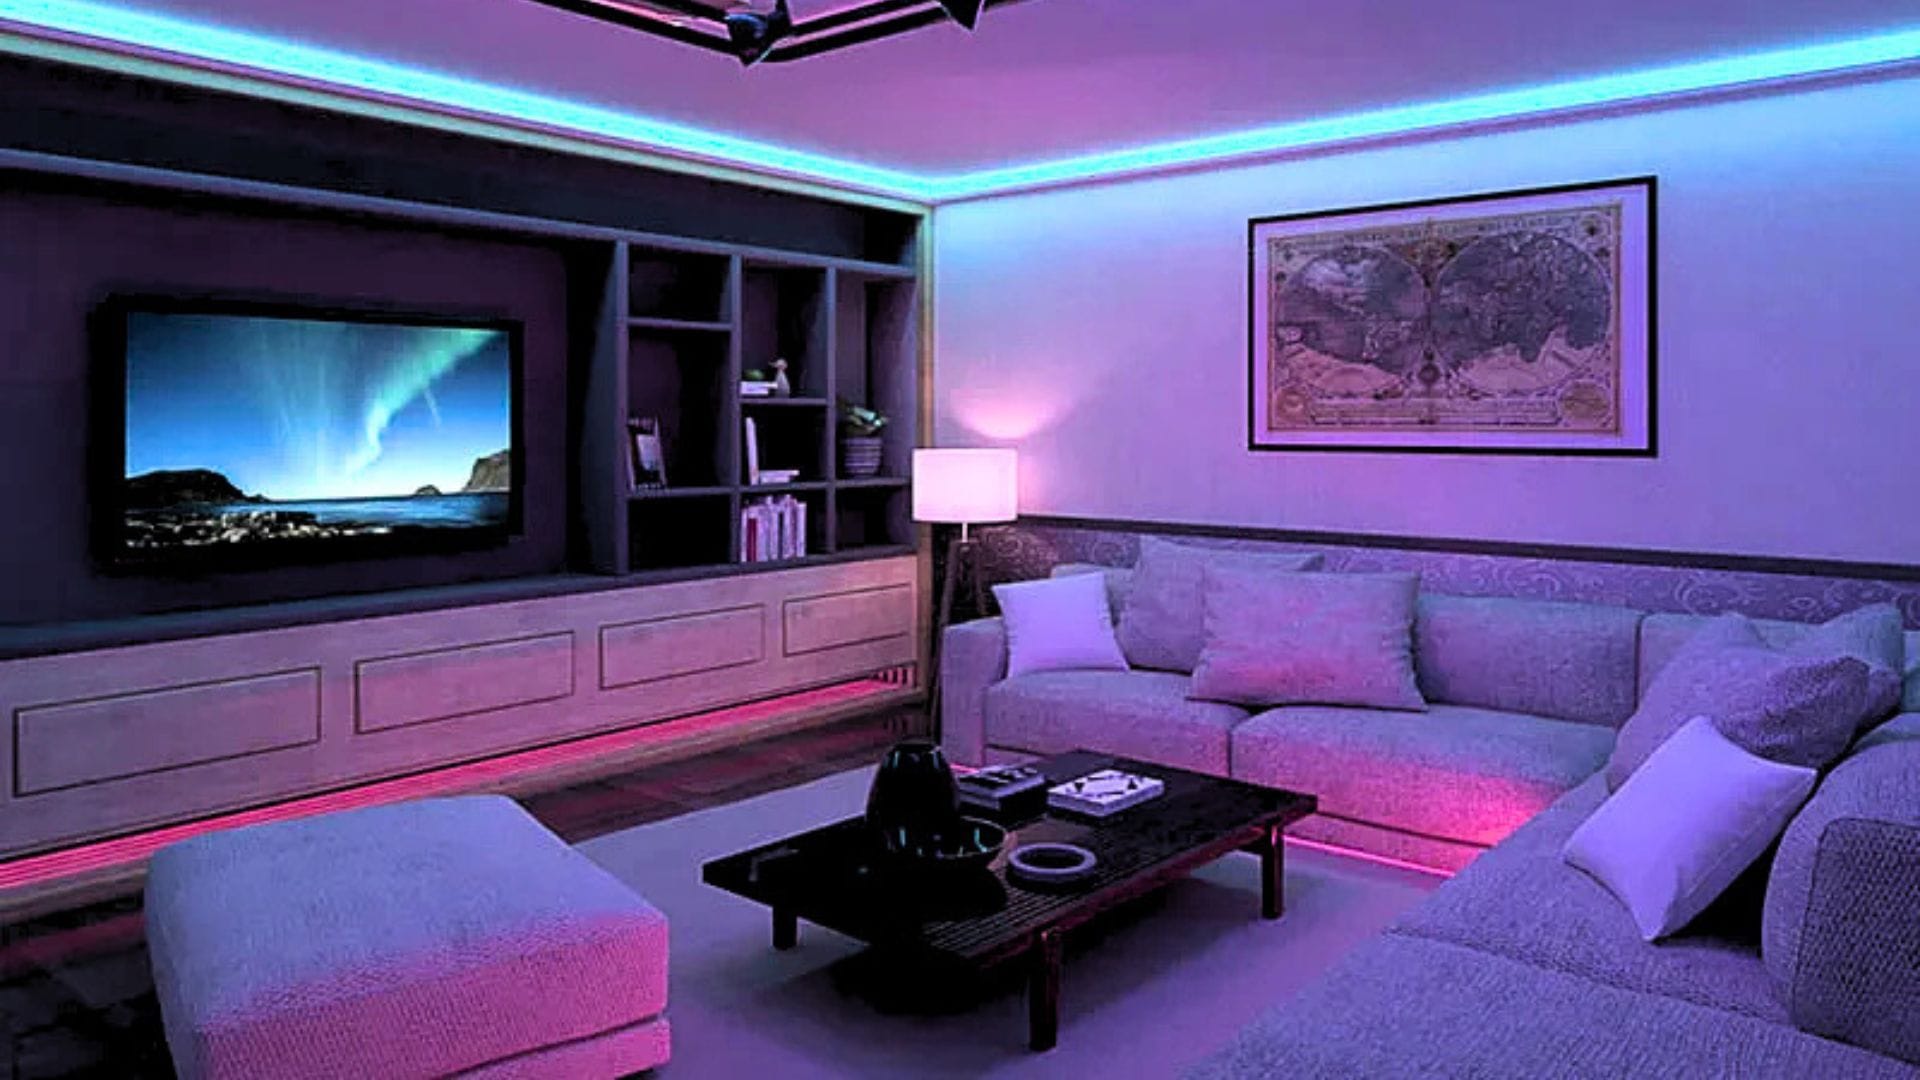
Hidden placement behind furniture or along ceiling edges produces ambient lighting that transforms room atmosphere instantly. Remote controls eliminate the need for wall switches and allow easy color adjustments from anywhere in the room. Simple splitters let you control multiple strips from one power source, expanding coverage without multiplying costs.
Tip 3: Hide power cords inside cable management channels for a clean, professional installation look.
Tip 4: Use dimmer switches compatible with LED technology to control brightness levels effectively.
4. Pressed Flower Preservation Walls
Tip 1: Collect flowers during dry weather conditions for better pressing results and color retention.
Tip 2: Change absorbent paper every few days during the pressing process to prevent mold growth.
Botanical art commands high prices in galleries, but you can create similar pieces using flowers from your own yard or local parks. Heavy books work as presses when you sandwich flowers between absorbent paper like parchment or newspaper. Three weeks of pressing time ensures complete moisture removal and prevents decay after mounting.
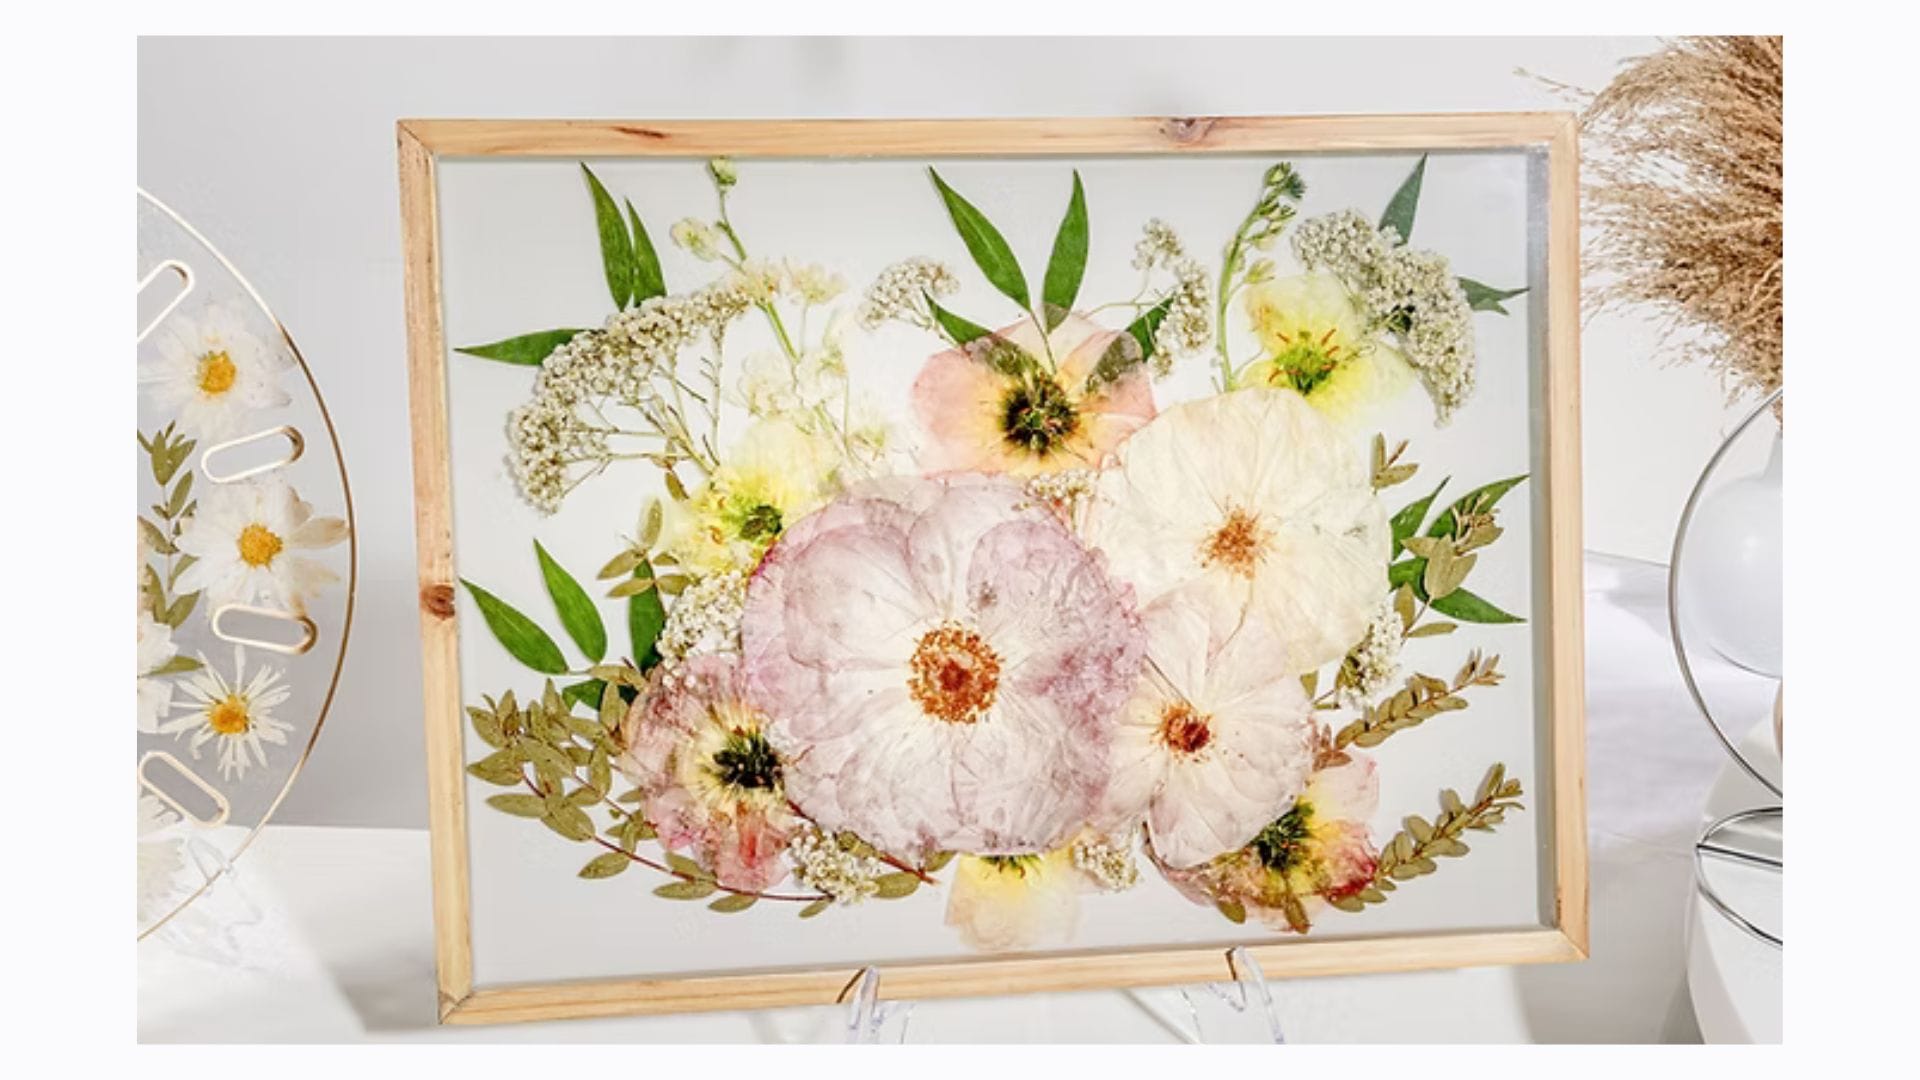
Large picture frames become display cases when you arrange pressed specimens between glass sheets or clear acrylic panels. Seasonal variety keeps displays fresh and interesting throughout the year as different plants come into bloom. Labeling specimens adds educational value and helps viewers appreciate the natural diversity you’ve captured.
Tip 3: Arrange specimens while still slightly flexible for easier positioning and natural looking compositions.
Tip 4: Frame multiple smaller arrangements rather than trying to fill one large frame completely.
5. Upcycled Plastic Bottle Planters with Geometric Designs
Tip 1: Use a hair dryer to soften plastic before cutting to prevent cracking and rough edges.
Tip 2: Sand lightly between spray paint coats for smoother finish and better paint adhesion.
Plastic bottles become sophisticated planters through strategic cutting and metallic paint treatments. Heat from a hair dryer makes plastic more pliable, allowing you to create curved cuts and interesting geometric shapes. Different bottle sizes offer varying planter proportions, from small succulents containers to larger herb garden vessels.
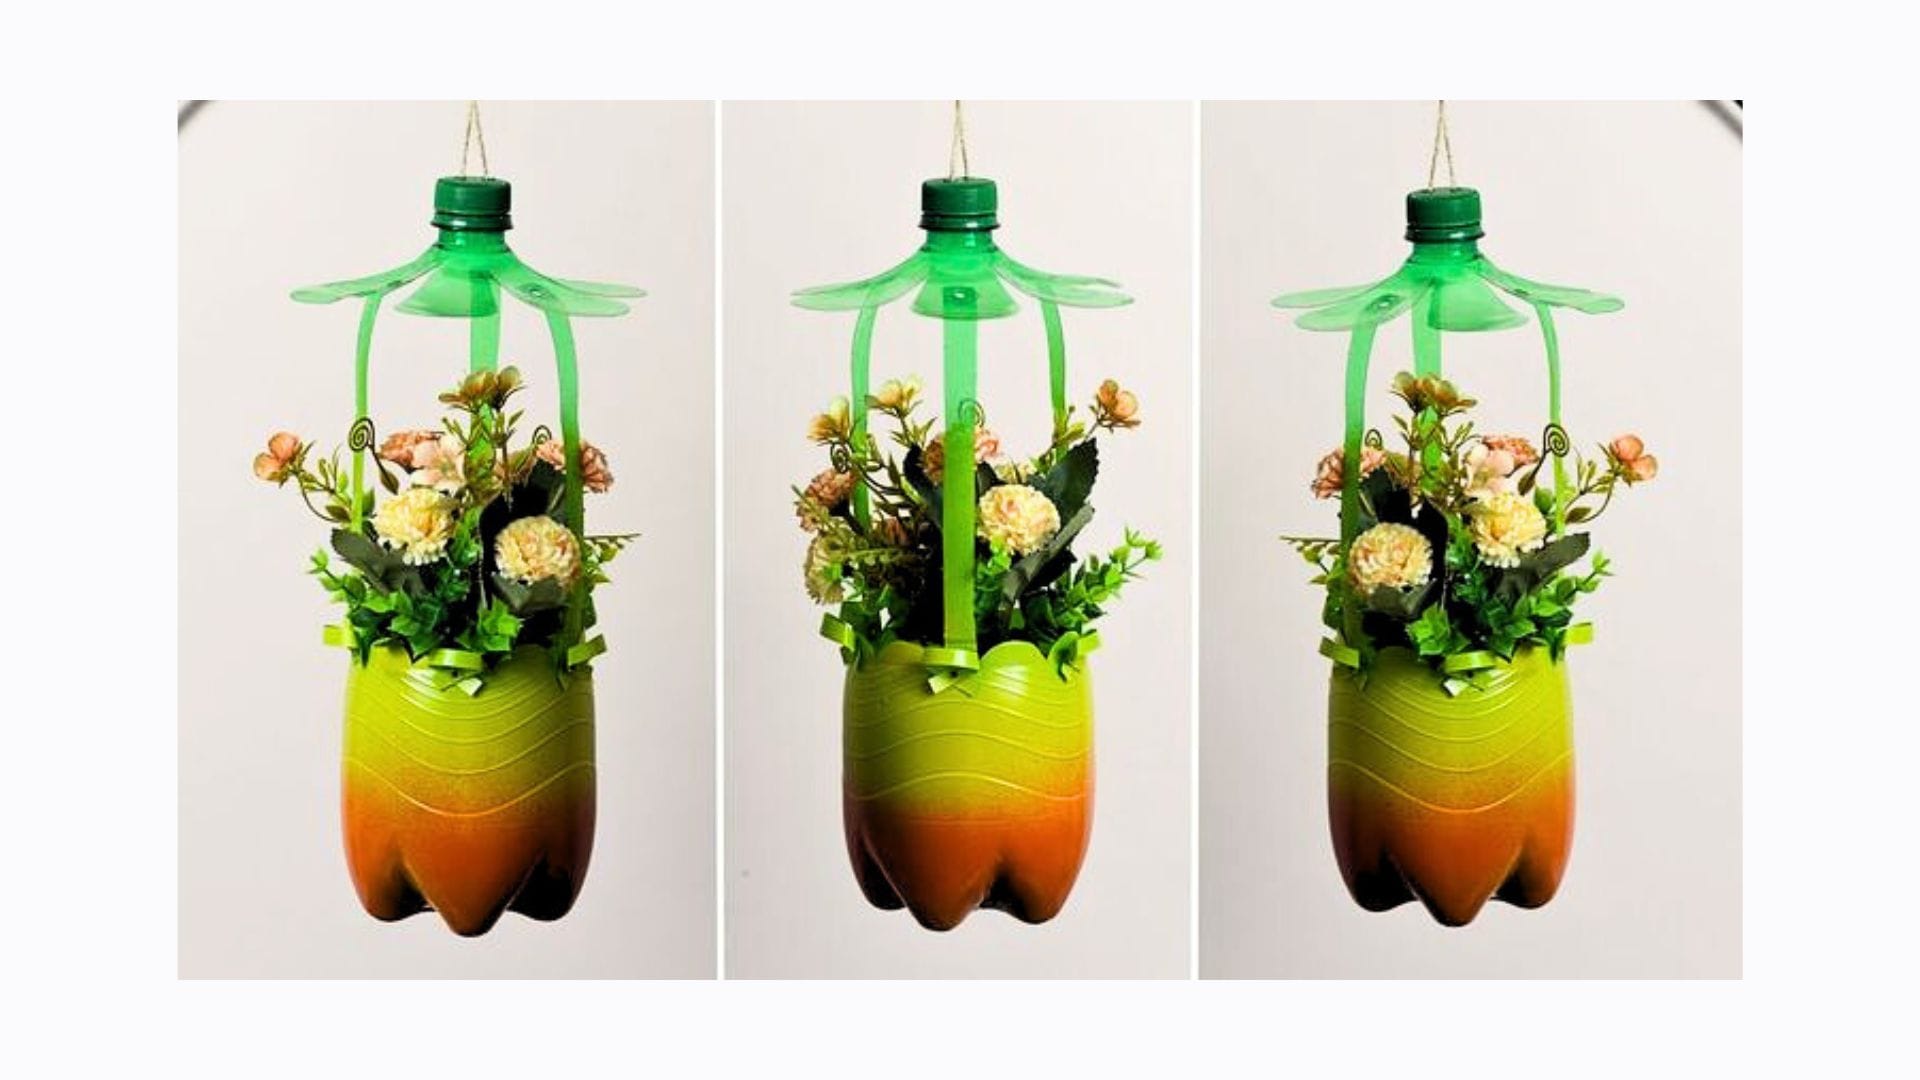
Drainage holes remain essential, so drill several small openings in the bottom before painting begins. Metallic spray paints in copper, gold, or silver tones elevate cheap plastic into expensive looking decorative containers. Grouping multiple planters of different heights creates dynamic displays that rival store bought ceramic collections.
Tip 3: Wrap rubber bands around bottles before cutting to create clean, straight cutting guides.
Tip 4: Apply multiple thin paint coats rather than one thick application for more even coverage.
6. Acoustic Design Elements from Household Items
Tip 1: Layer different materials together for better sound absorption than using single material types.
Tip 2: Mount panels at ear level where sound reflection causes the most acoustic problems.
Sound bounces off hard surfaces and creates echoes that make rooms feel hollow and uncomfortable. Egg cartons work surprisingly well as sound dampeners because their curved surfaces scatter sound waves in multiple directions. Old towels provide dense fabric that absorbs mid range frequencies, while fabric scraps add textural variety and visual appeal to your acoustic panels.
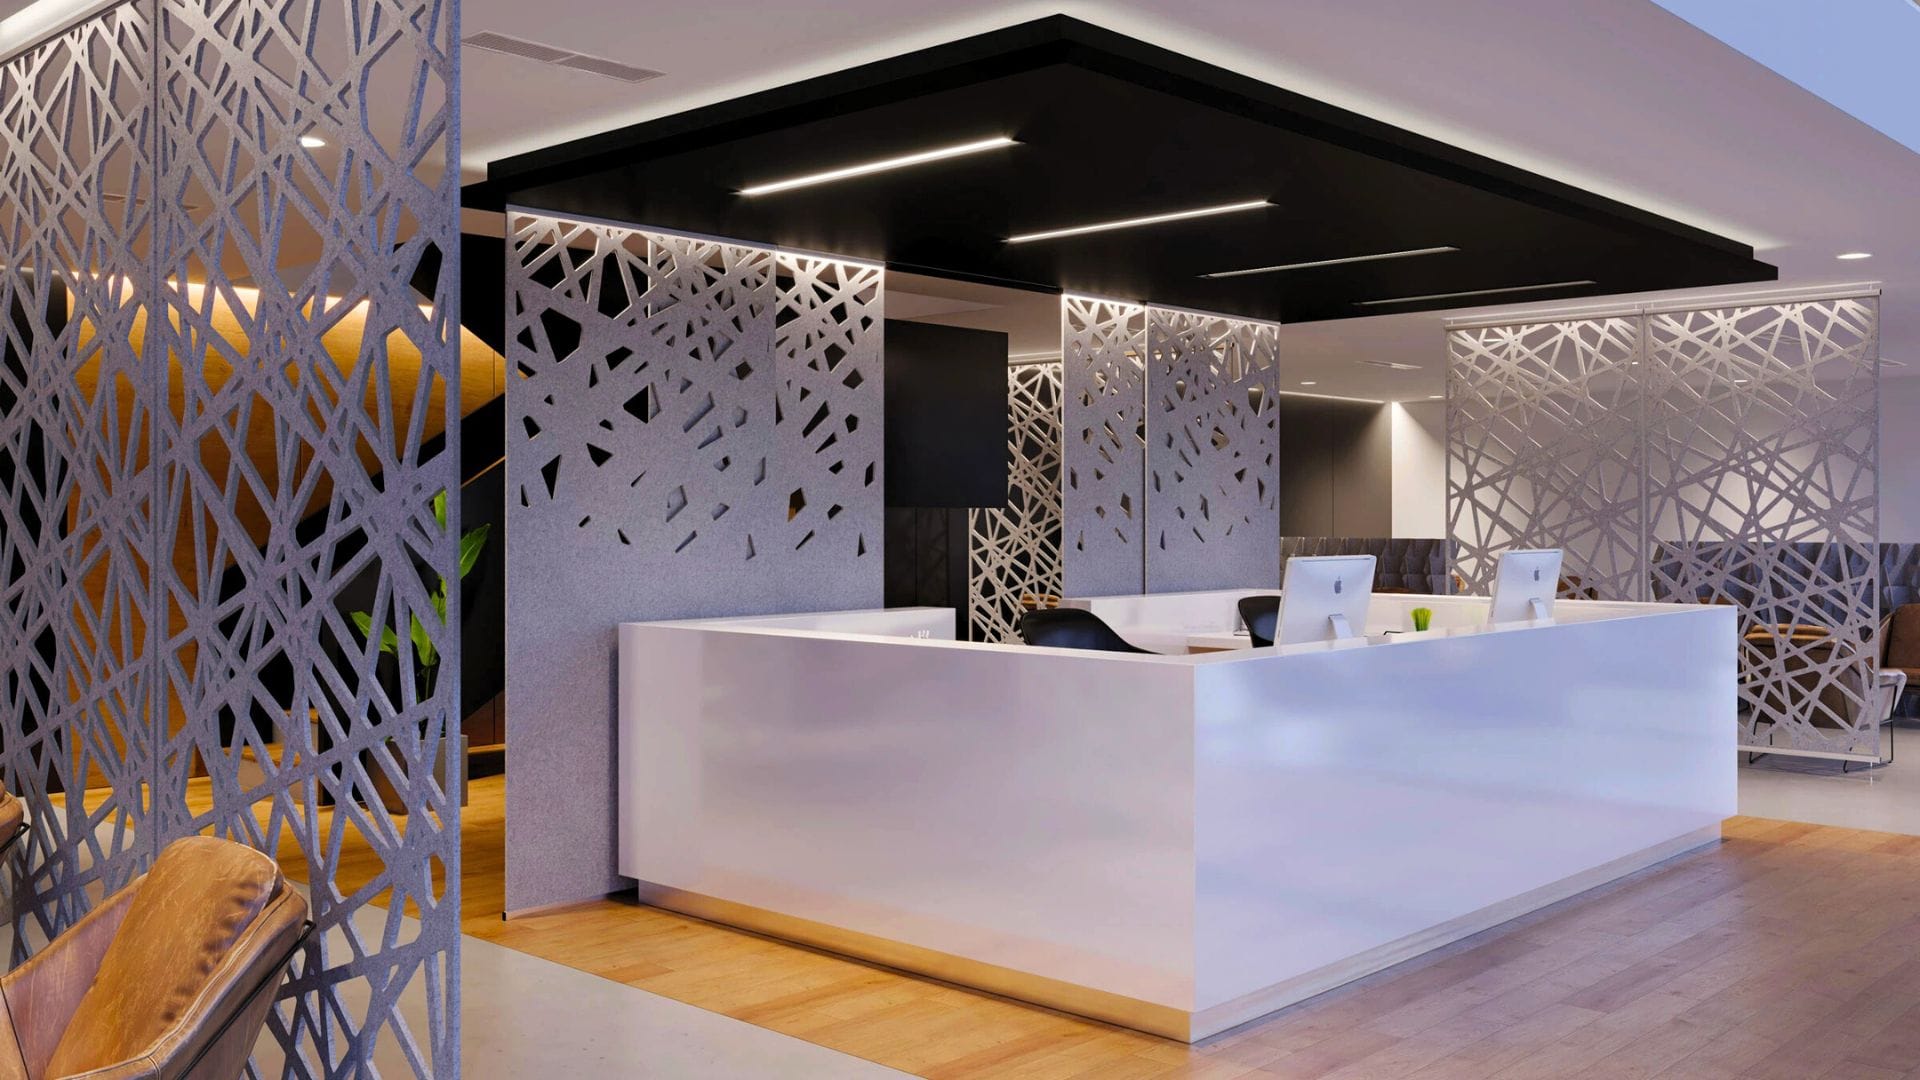
Wooden frames from old pictures or thrift stores hold these materials securely while creating professional looking wall treatments. Strategic placement near reflection points like opposite walls or corners produces the most noticeable improvement in room acoustics. Combining different textures within the same panel creates both functional sound control and interesting visual elements.
Tip 3: Cover acoustic panels with decorative fabric that matches your room colors for seamless integration.
Tip 4: Test panel placement by clapping your hands and listening for echo reduction before permanent mounting.
7. Scent-Zoning with Natural Aromatics
Tip 1: Refresh dried materials every two to three weeks to maintain consistent scent strength.
Tip 2: Place aromatic elements near air vents or fans to help distribute scents throughout rooms.
Natural scents create emotional connections to spaces that artificial fragrances cannot match. Dried lavender in bedrooms promotes relaxation, while citrus peels in kitchens energize and refresh the atmosphere. Wood shavings from cedar or pine add earthy warmth to living areas and naturally repel insects.
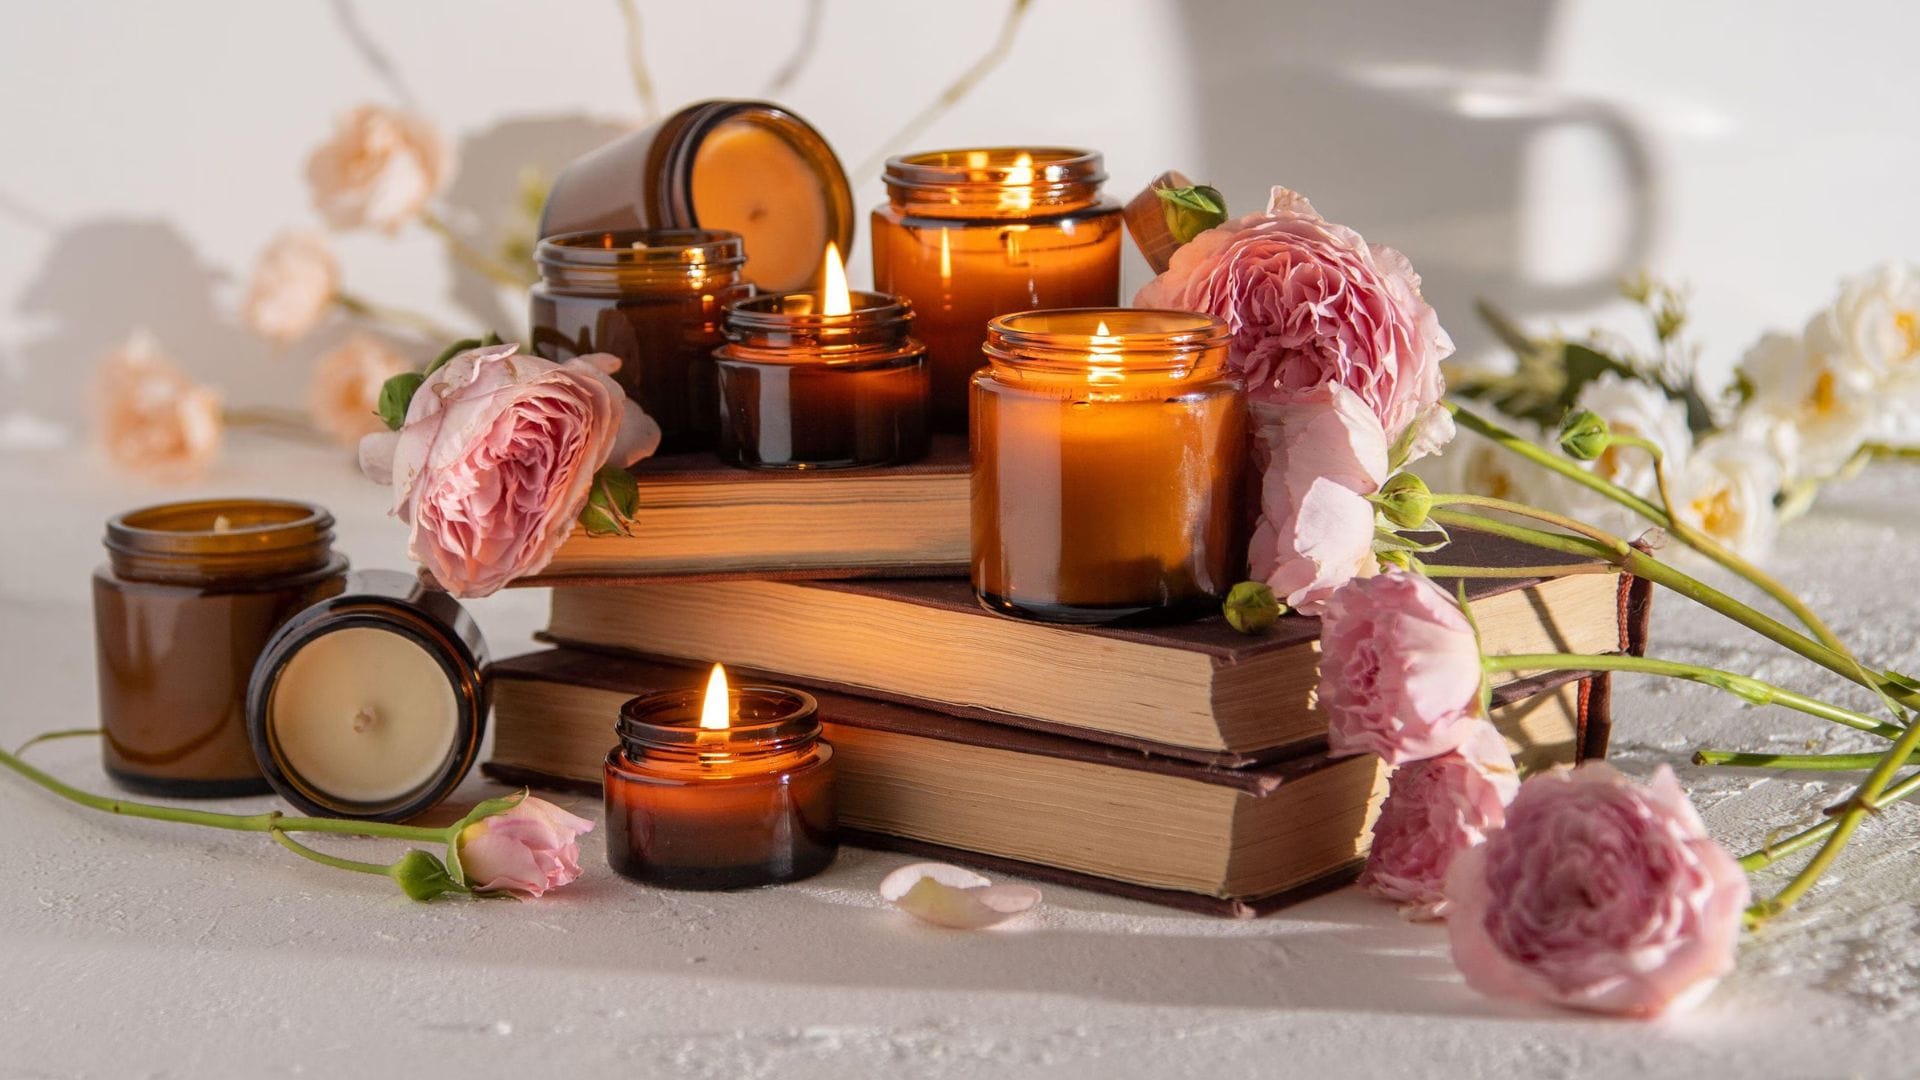
Small cloth sachets filled with dried herbs work well tucked behind furniture or inside drawers where air circulation carries the fragrance. Orange and lemon peels dried on radiators or sunny windowsills release oils that freshen rooms for weeks. Rotating scents seasonally keeps your home environment dynamic and prevents nose blindness to familiar fragrances.
Tip 3: Combine complementary scents like rosemary and lemon for more complex, interesting aromatic profiles.
Tip 4: Store extra dried materials in sealed containers to preserve potency until needed for refreshing.
8. Digital Art Rotation Systems
Tip 1: Choose tablets with good color displays and automatic brightness adjustment for best art presentation.
Tip 2: Create playlists of different art styles to match seasonal moods or room functions.
Gallery walls cost hundreds of dollars, but digital displays provide unlimited artwork for the price of one framed piece. Old tablets or small computer monitors become rotating art galleries when loaded with high resolution images from museums and artists who share their work freely online. Slideshow settings automatically change artwork throughout the day, keeping visual interest fresh without any effort on your part.
Wall mounting brackets designed for tablets create clean, gallery like presentations that look intentional rather than makeshift. Power management settings prevent screens from dimming during display times while conserving battery when not actively viewed. Public domain art collections offer thousands of masterpieces that cost nothing to download and display.
Tip 3: Set different rotation speeds for different rooms based on how often you spend time there.
Tip 4: Include family photos and personal artwork alongside famous pieces for more meaningful displays.
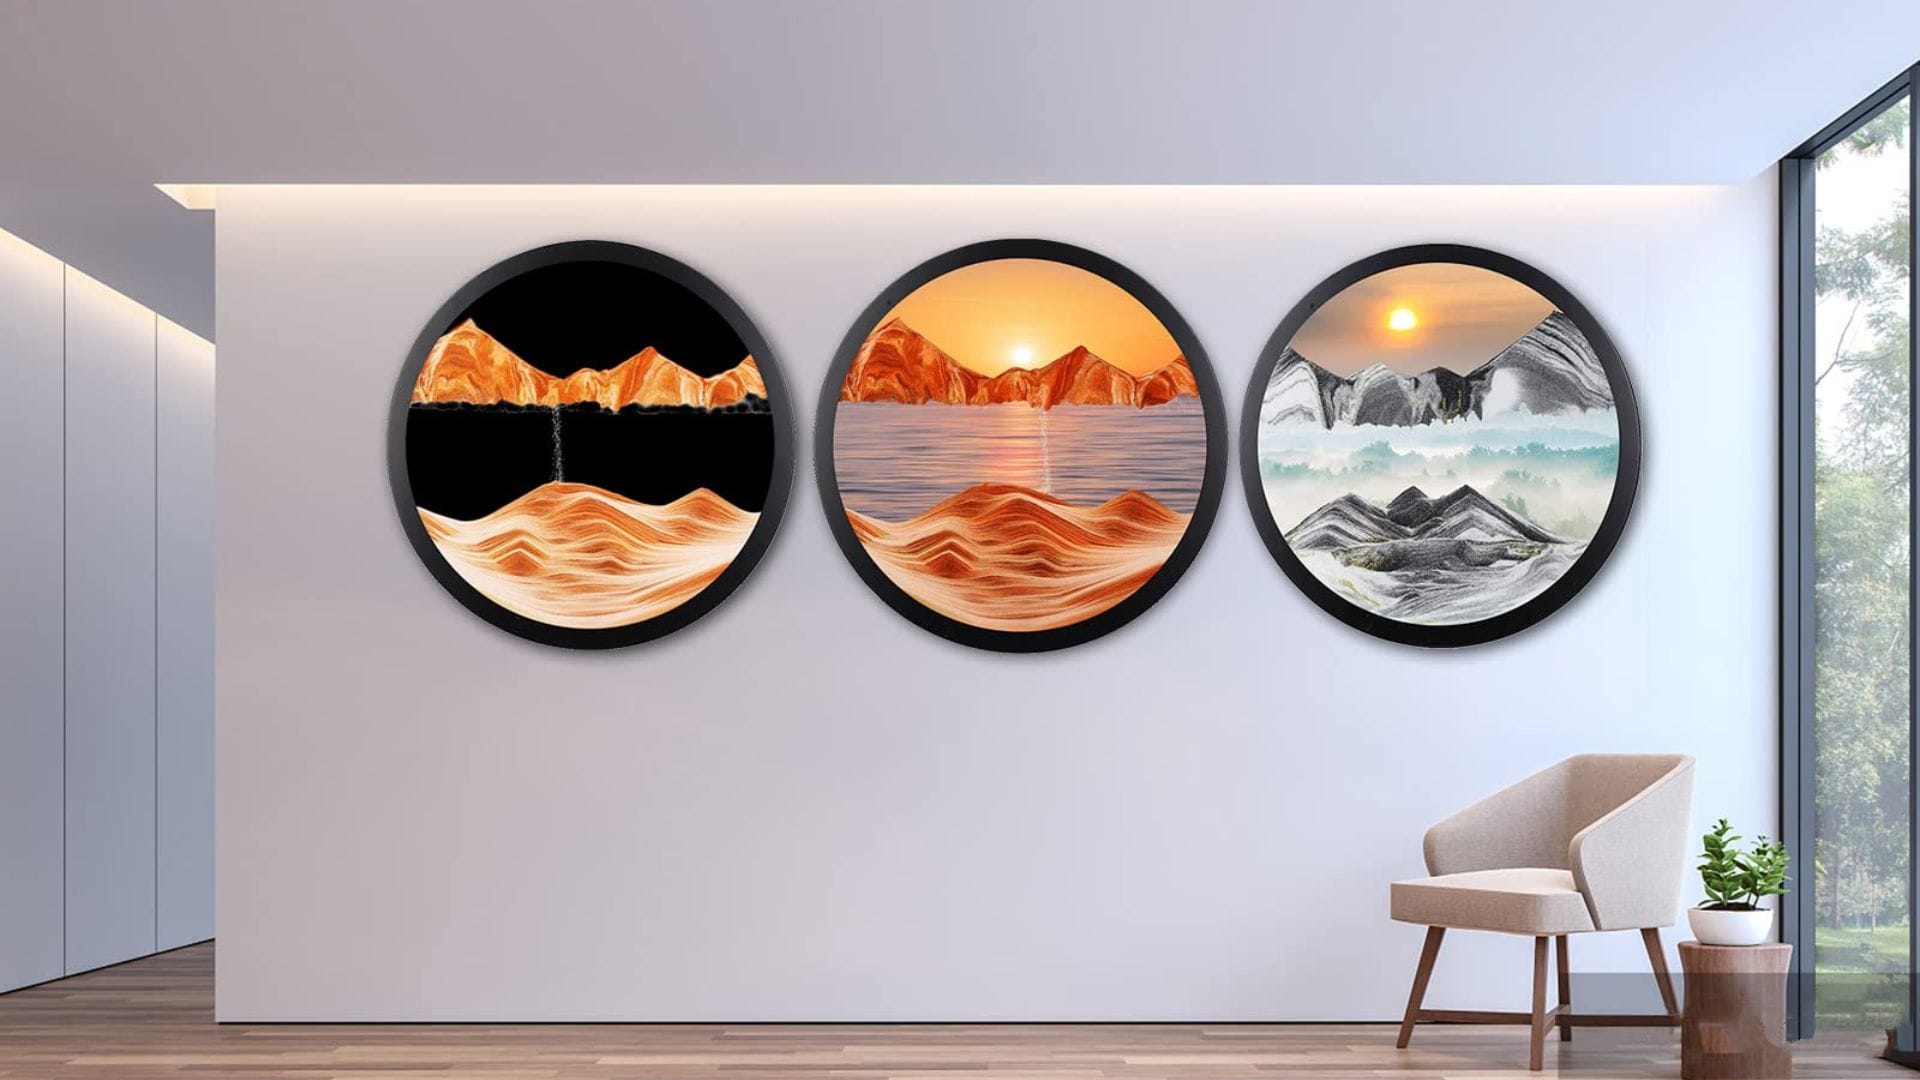
9. Minimalist Maximalism with Strategic Groupings
Tip 1: Use odd numbers of items in each grouping for more natural, visually pleasing arrangements.
Tip 2: Vary heights within groups by using books, boxes, or stands to create dynamic displays.
Collections look cluttered when scattered randomly, but strategic grouping transforms chaos into intentional design statements. Similar items grouped together create visual weight that draws attention and makes individual pieces appear more significant. Color coordination within groups helps unify disparate objects while maintaining visual interest through varied shapes and textures.
Negative space between groups prevents displays from becoming overwhelming and gives the eye places to rest. Geometric arrangements like triangles or rectangles provide structure that makes collections appear curated rather than accumulated. Regular editing and rearranging keeps displays fresh and prevents spaces from becoming stagnant or overfilled.
Tip 3: Create focal points by placing your most interesting pieces at eye level within each grouping.
Tip 4: Leave some surfaces completely clear to balance busy display areas and maintain visual breathing room.
Final Thoughts
These twelve trends prove that creativity matters more than cash when transforming your living space. Your next stunning decor piece might be sitting in your recycling bin or kitchen cabinet right now, waiting for you to see its hidden potential. Budget constraints don’t have to limit your design aspirations when everyday materials offer unlimited possibilities for artistic expression.
Start with one technique that excites you most, then gradually incorporate others as you build confidence in your resourceful decorating skills. The most satisfying home transformations often come from unexpected sources and cost almost nothing to execute. Your friends will never guess that your sophisticated wall art started as yesterday’s shipping materials or breakfast ingredients.