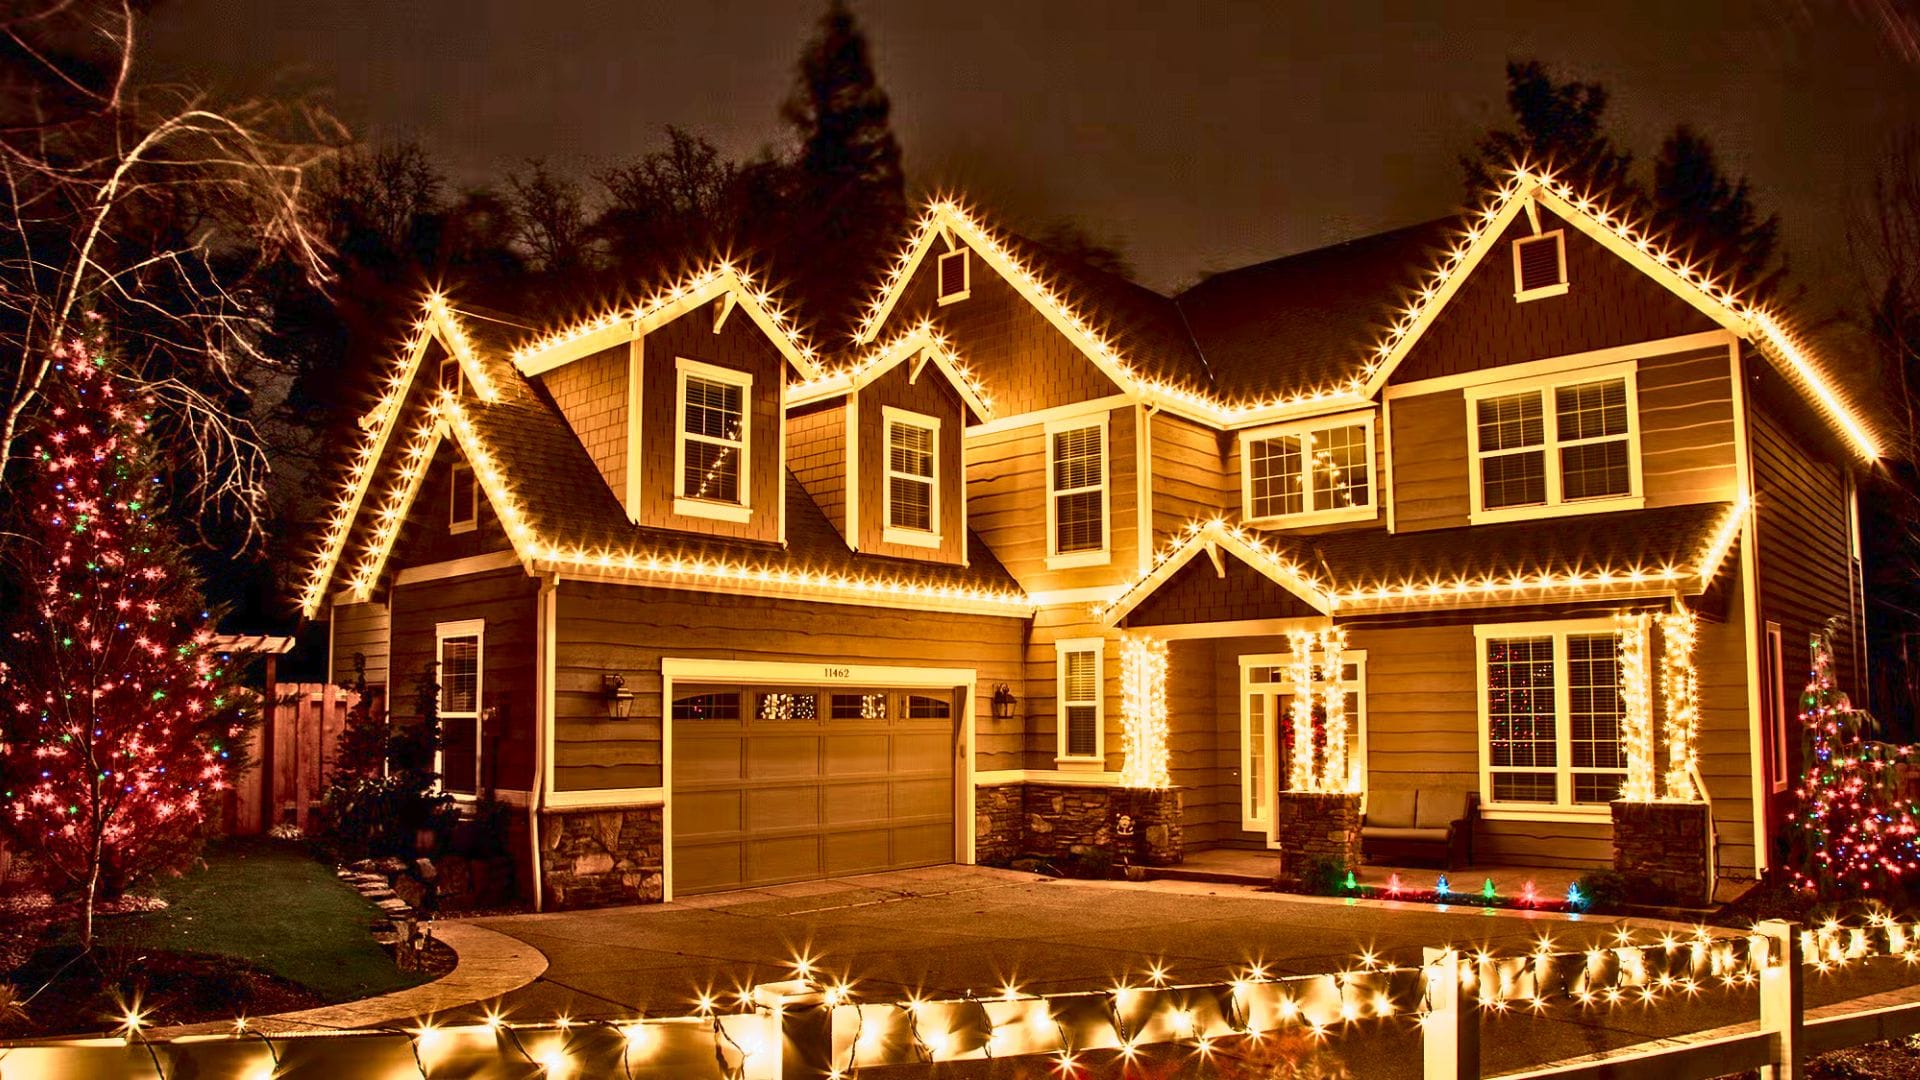
You drive through neighborhoods in December and see those homes. The ones that glow like magic. Perfect lines of lights. Beautiful color combinations. Not a single bulb out of place.
Then you look at your own house. Maybe last year’s lights are tangled in a box. Or you’re standing outside wondering where to even start. Here’s what I want you to know: that picture-perfect display? It’s not as hard as it looks.
This guide walks you through everything. You’ll learn how to plan, hang, and power outdoor Christmas lights like a pro. No ladders falling. No blown fuses. Just a home that makes neighbors slow down and smile.
Plan Before You Plug In
Measure Your Space First
Grab a tape measure before you buy a single strand. Walk your roofline. Measure your porch columns. Count the bushes you want to wrap.
Write down every measurement. Add 10% extra for overlap and mistakes. Trust me on this one. Running out of lights halfway through is the worst.
Most light strands come in 25-foot or 50-foot lengths. Do the math now. You’ll save yourself a midnight trip to the store.
Choose Your Color Scheme
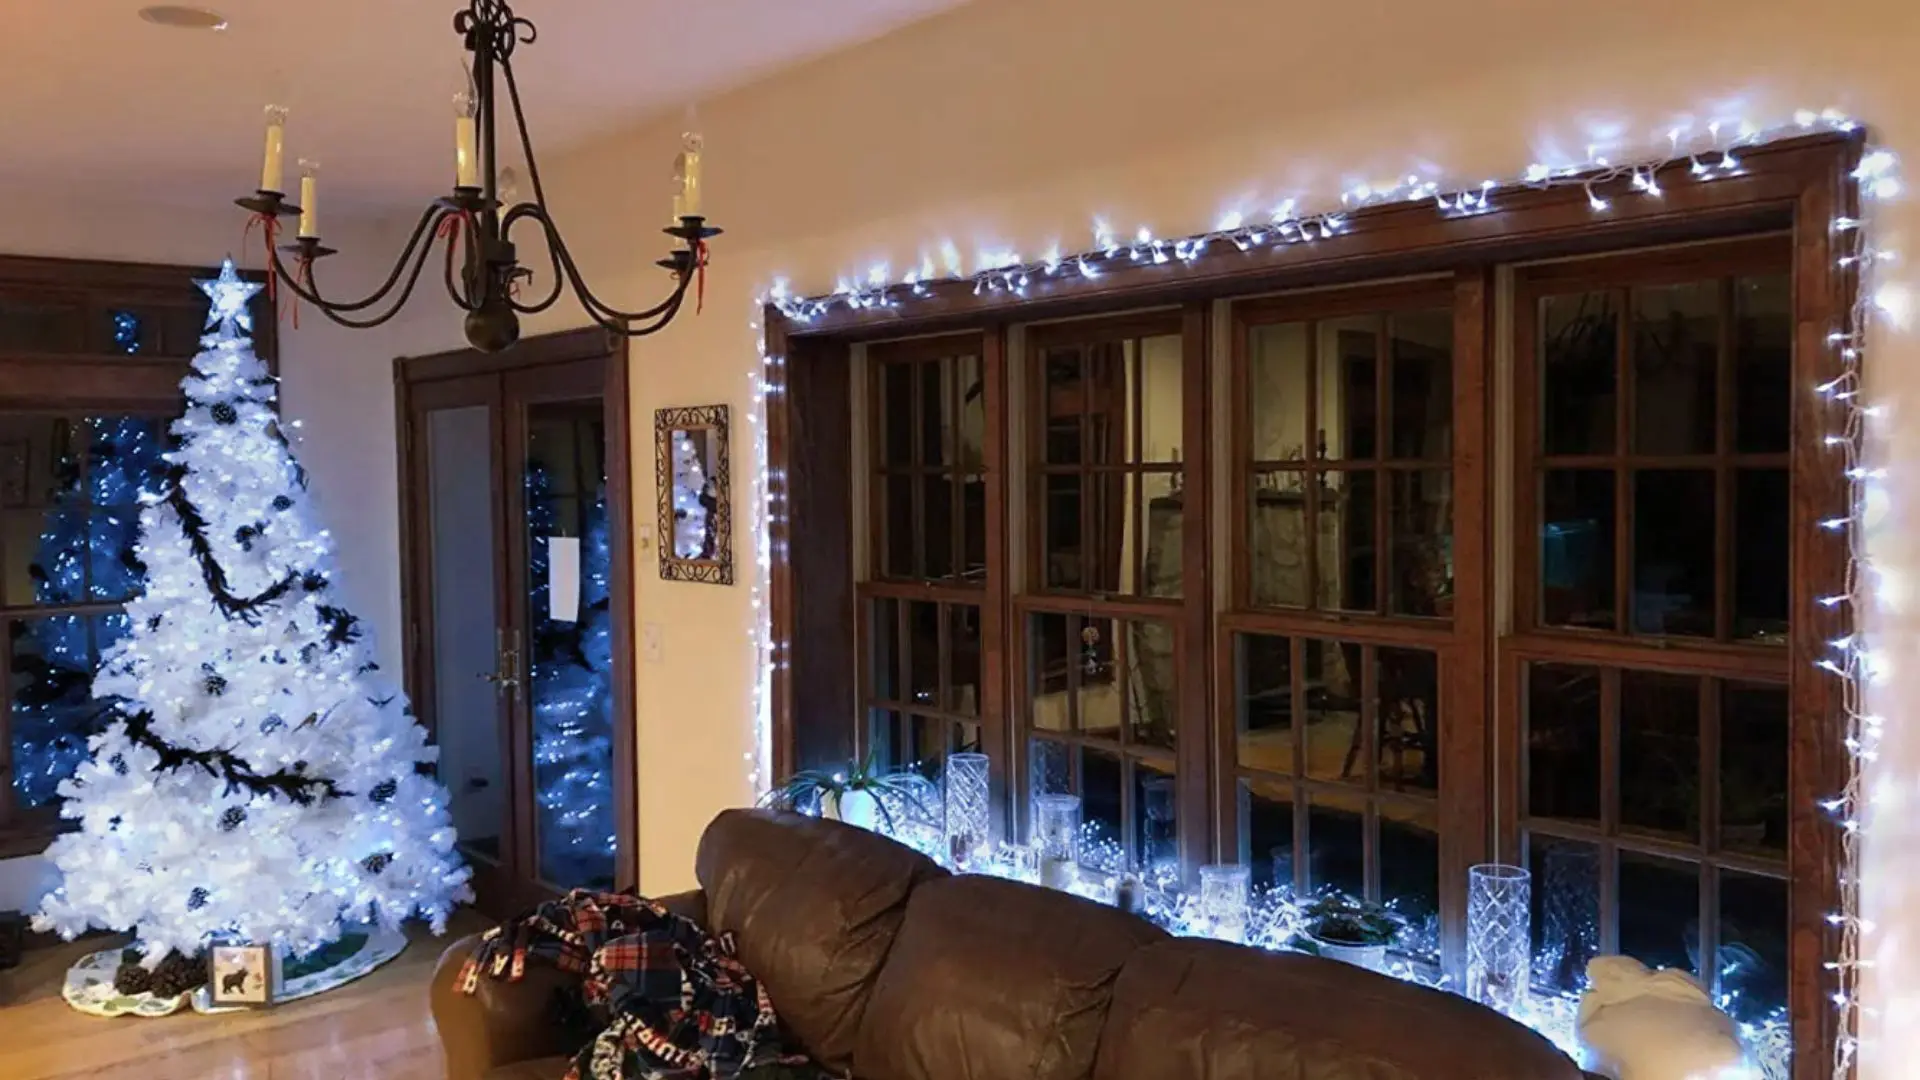
Warm white lights give you classic elegance. They work with any home style. Cool white creates modern drama. Multicolor brings playful, traditional vibes.
Pick one scheme and stick with it. Mixing warm and cool white looks accidental, not intentional. But multicolor and warm white? That can work if you keep zones separate.
Look at your home’s exterior. What colors are your trim, siding, and roof? Your lights should complement them, not fight them.
Check Your Electrical Capacity
Find your outdoor outlets. How many do you have? Where are they located?
Each standard outlet handles about 1,800 watts safely. Most LED light strands use about 5-10 watts per strand. Older incandescent lights? They eat 25-50 watts per strand.
Count your strands. Calculate total wattage. Make sure you’re not overloading circuits. This isn’t the fun part, but it keeps your home safe.
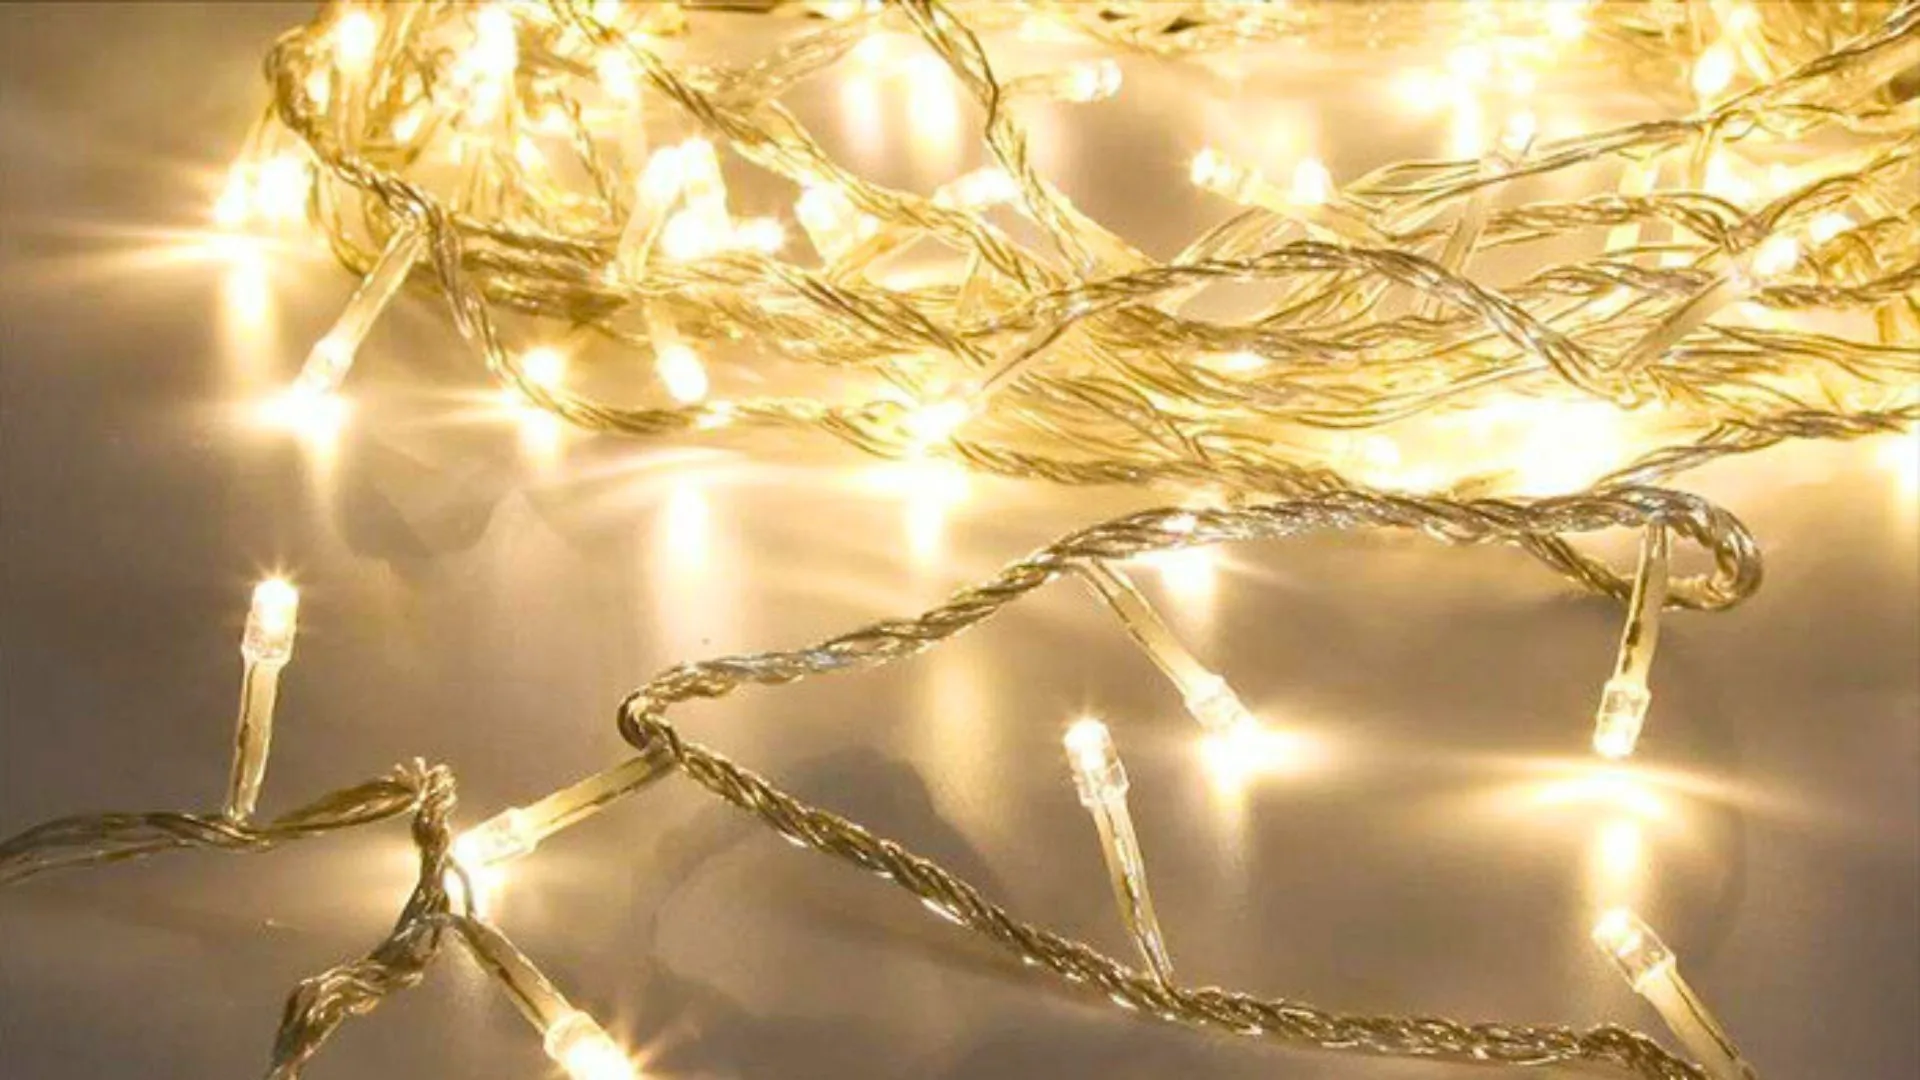
Pick the Right Lights for Your Display
LED vs. Incandescent: The Real Difference
LED lights win almost every time. They use 80% less energy than old-school bulbs. They last 25 times longer. They stay cool to the touch.
The upfront cost runs higher. But you’ll save money on your electric bill. Plus they won’t burn out halfway through the season.
Incandescent lights have that warm nostalgic glow. Some people swear by it. But honestly? Modern LEDs have come so far. The warm white LEDs look nearly identical now.
String Lights, Icicle Lights, and Net Lights
String lights are your workhorses. They outline rooflines, wrap columns, and border windows. You need these as your foundation.
Icicle lights drip down from gutters. They create that frozen waterfall effect. They’re gorgeous but tricky to hang evenly.
Net lights drape over bushes in seconds. They’re a huge time-saver for covering large shrubs. Each bulb sits in the perfect spot automatically.
Specialty Options Worth Considering
Rope lights trace smooth, continuous lines. They’re perfect for curved edges and railings.
Projection lights throw patterns onto your home. Snowflakes, stars, or Santa himself. They’re controversial. Some people love them. Others think they look gimmicky. Your call.
C9 bulbs are those big retro lights. They pack serious visual punch. They work beautifully on large homes or along rooflines.
Install Like a Pro
Start with a Safety Check
Test every strand before you climb the ladder. Plug them in. Check for dead bulbs or flickering sections.
Replace damaged cords immediately. Frayed wires aren’t worth the risk. Period.
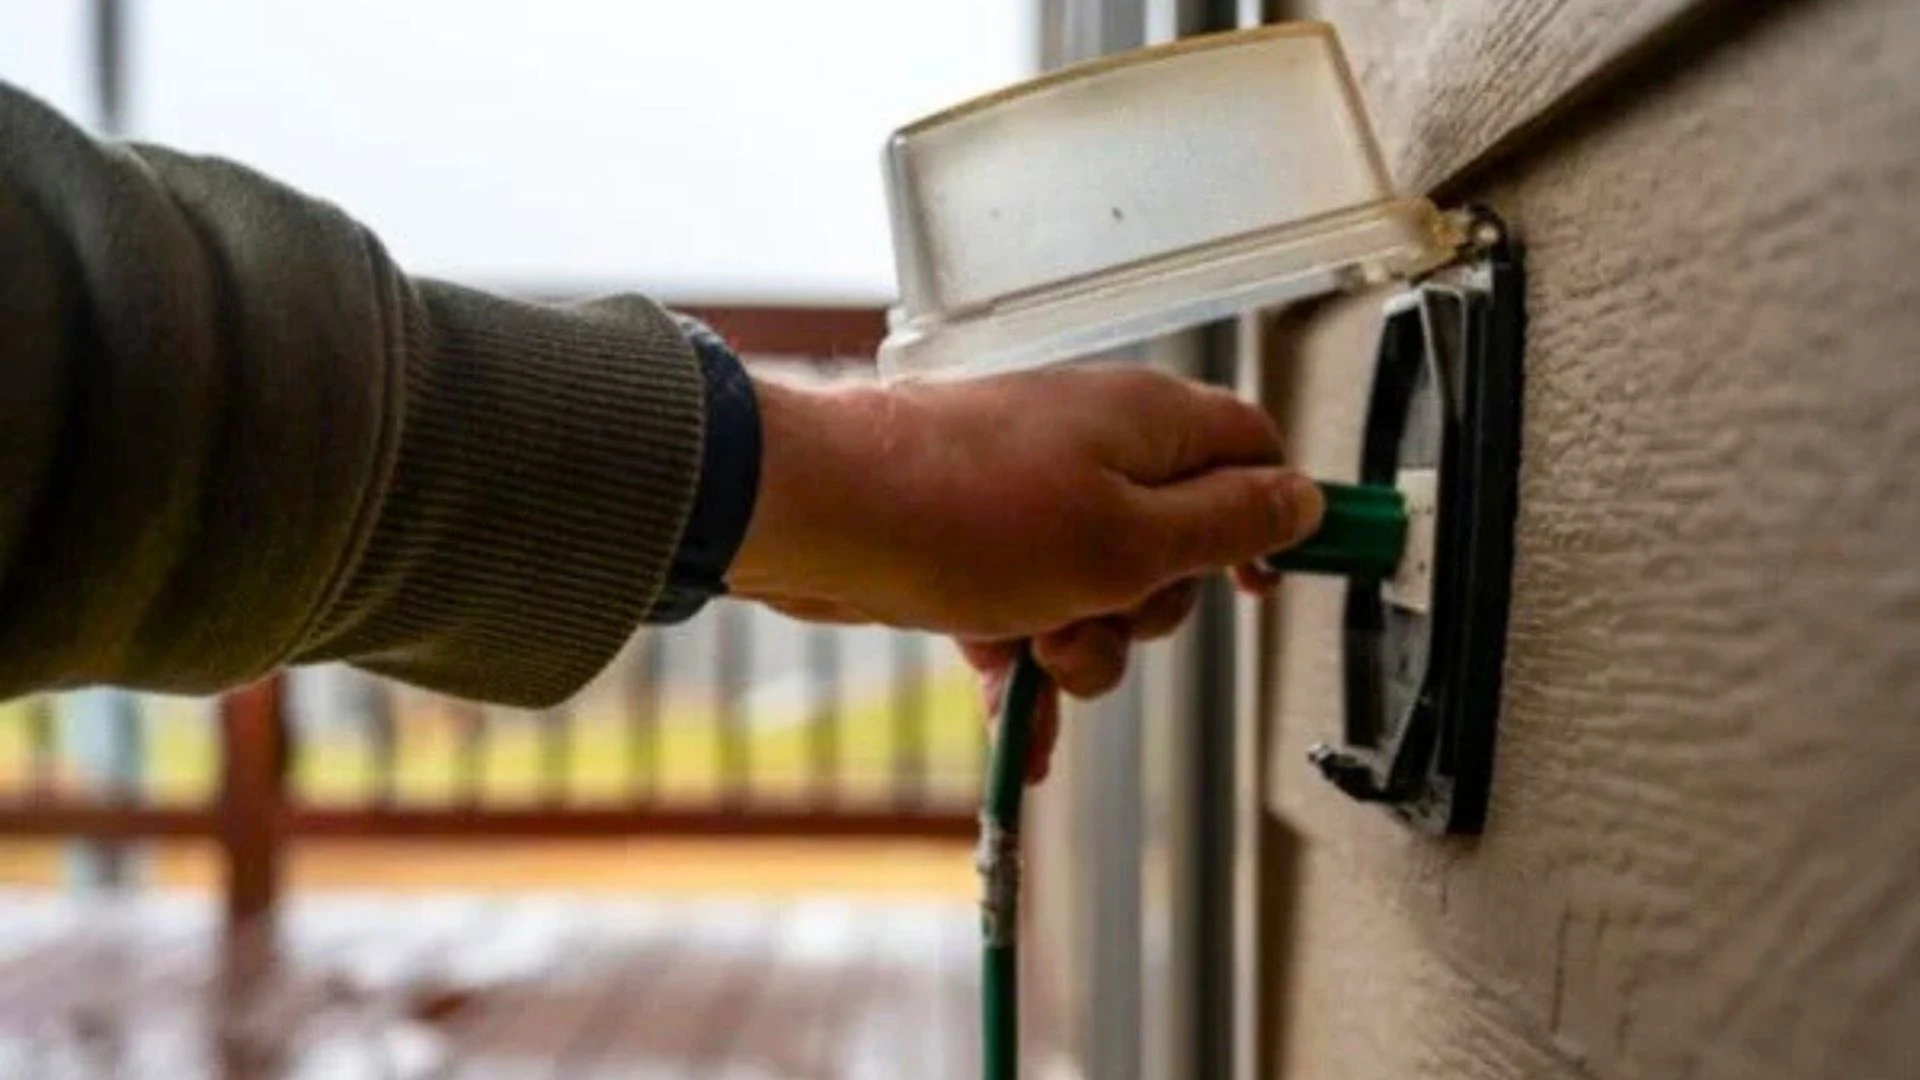
Use outdoor-rated extension cords only. Indoor cords can’t handle moisture and temperature swings. Look for the “outdoor use” label.
Hang Roofline Lights First
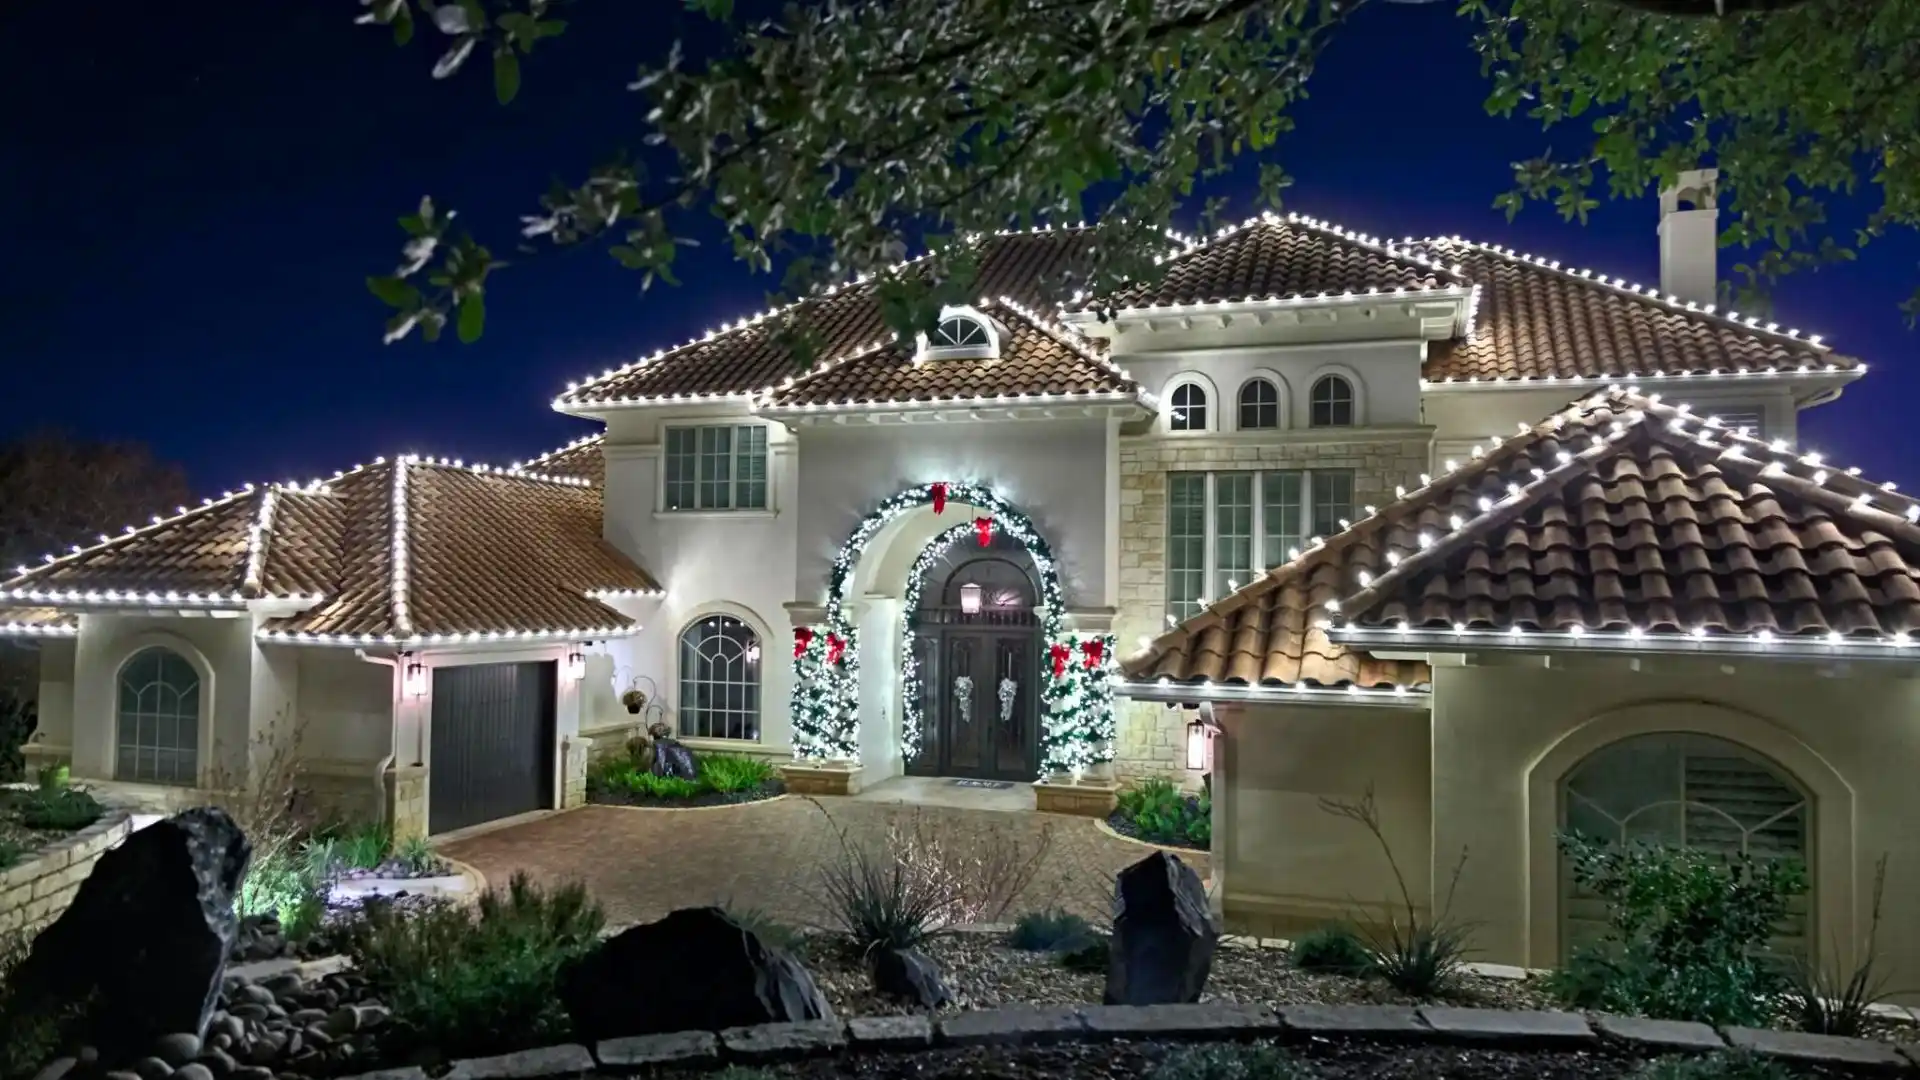
Roofline lights define your whole display. Start here and work your way down.
Use plastic clips designed for Christmas lights. They hook under shingles or attach to gutters. Never use staples or nails. You’ll damage wires and create shock hazards.
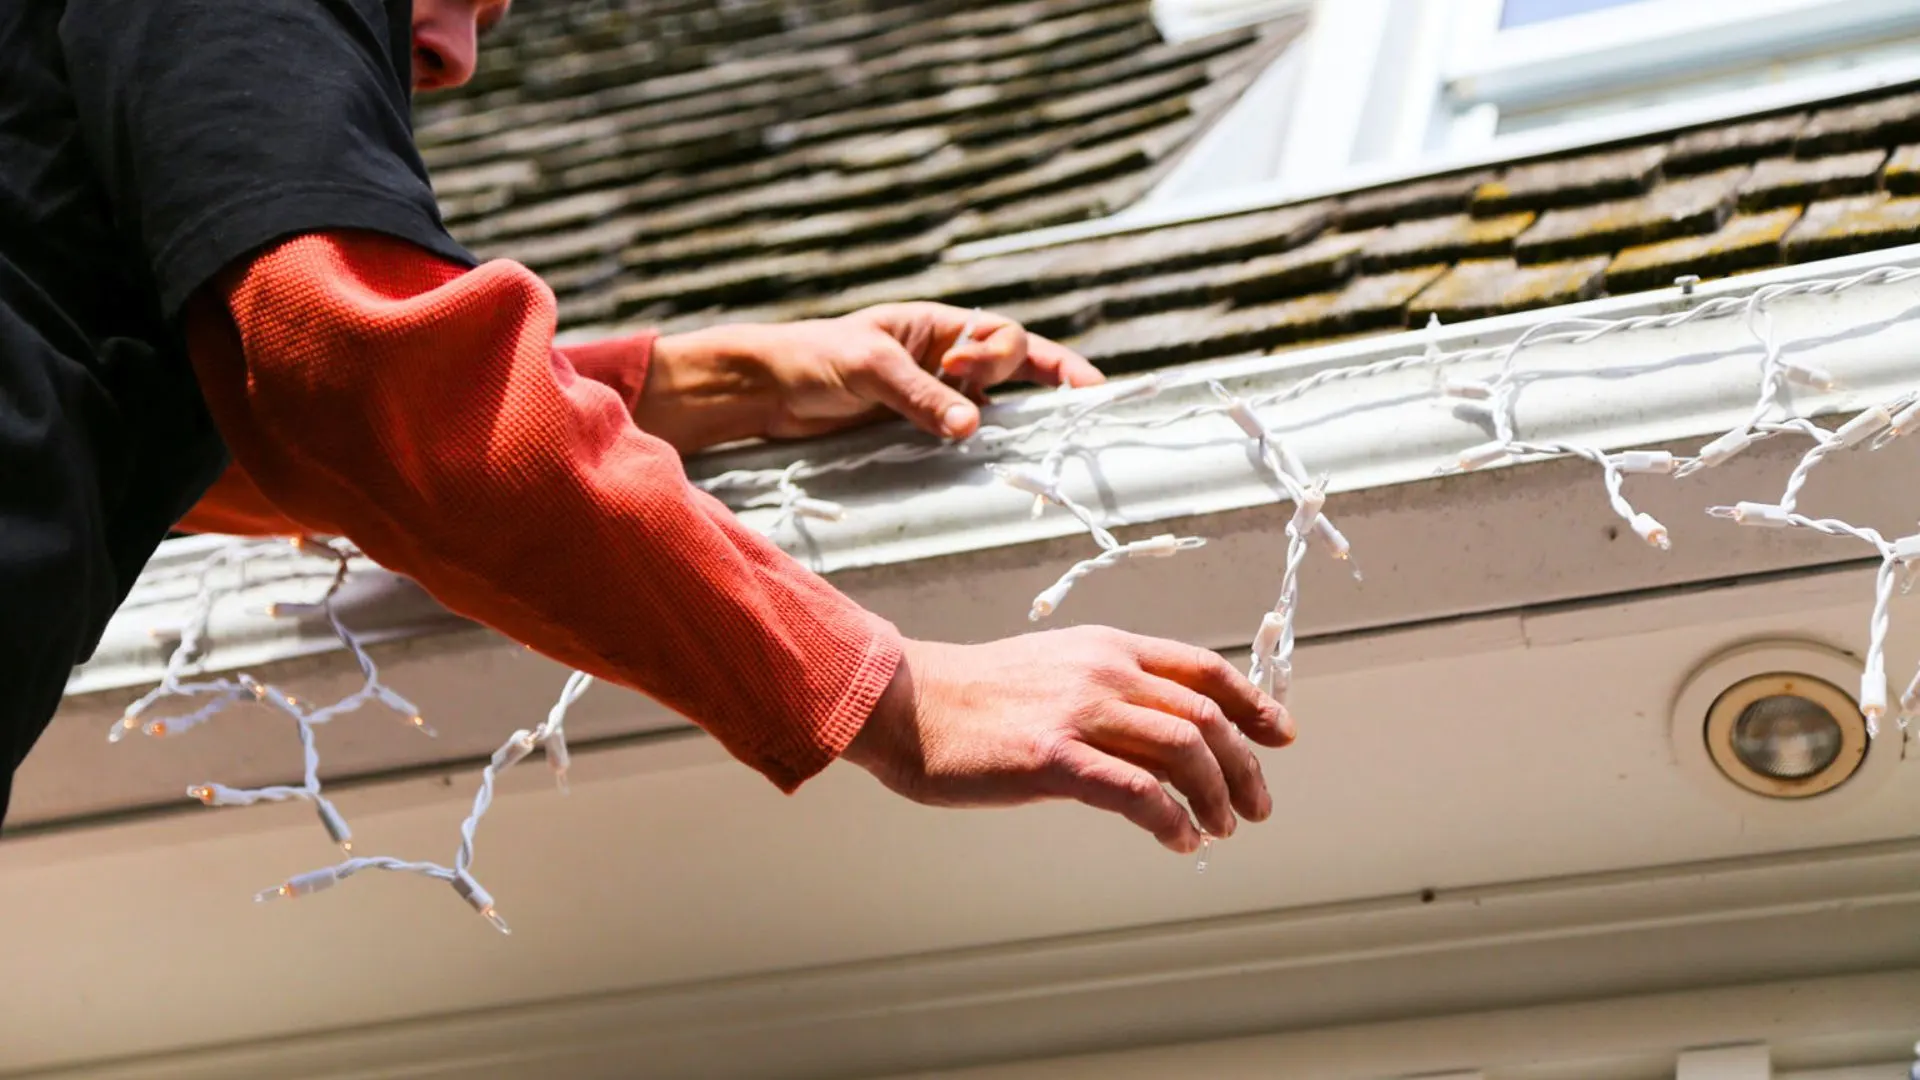
Space clips every 12-18 inches. Keep the line straight and taught. Stand back every few feet to check your work.
Work during daylight. You need to see what you’re doing. Save the nighttime reveal for when everything’s finished.
Wrap Trees and Columns Strategically
Start at the bottom. Wrap upward in a spiral. Keep wraps close together for full coverage or space them out for a lighter look.
For trees, wrap the trunk first. Then move to major branches. Weave lights back and forth to create depth.
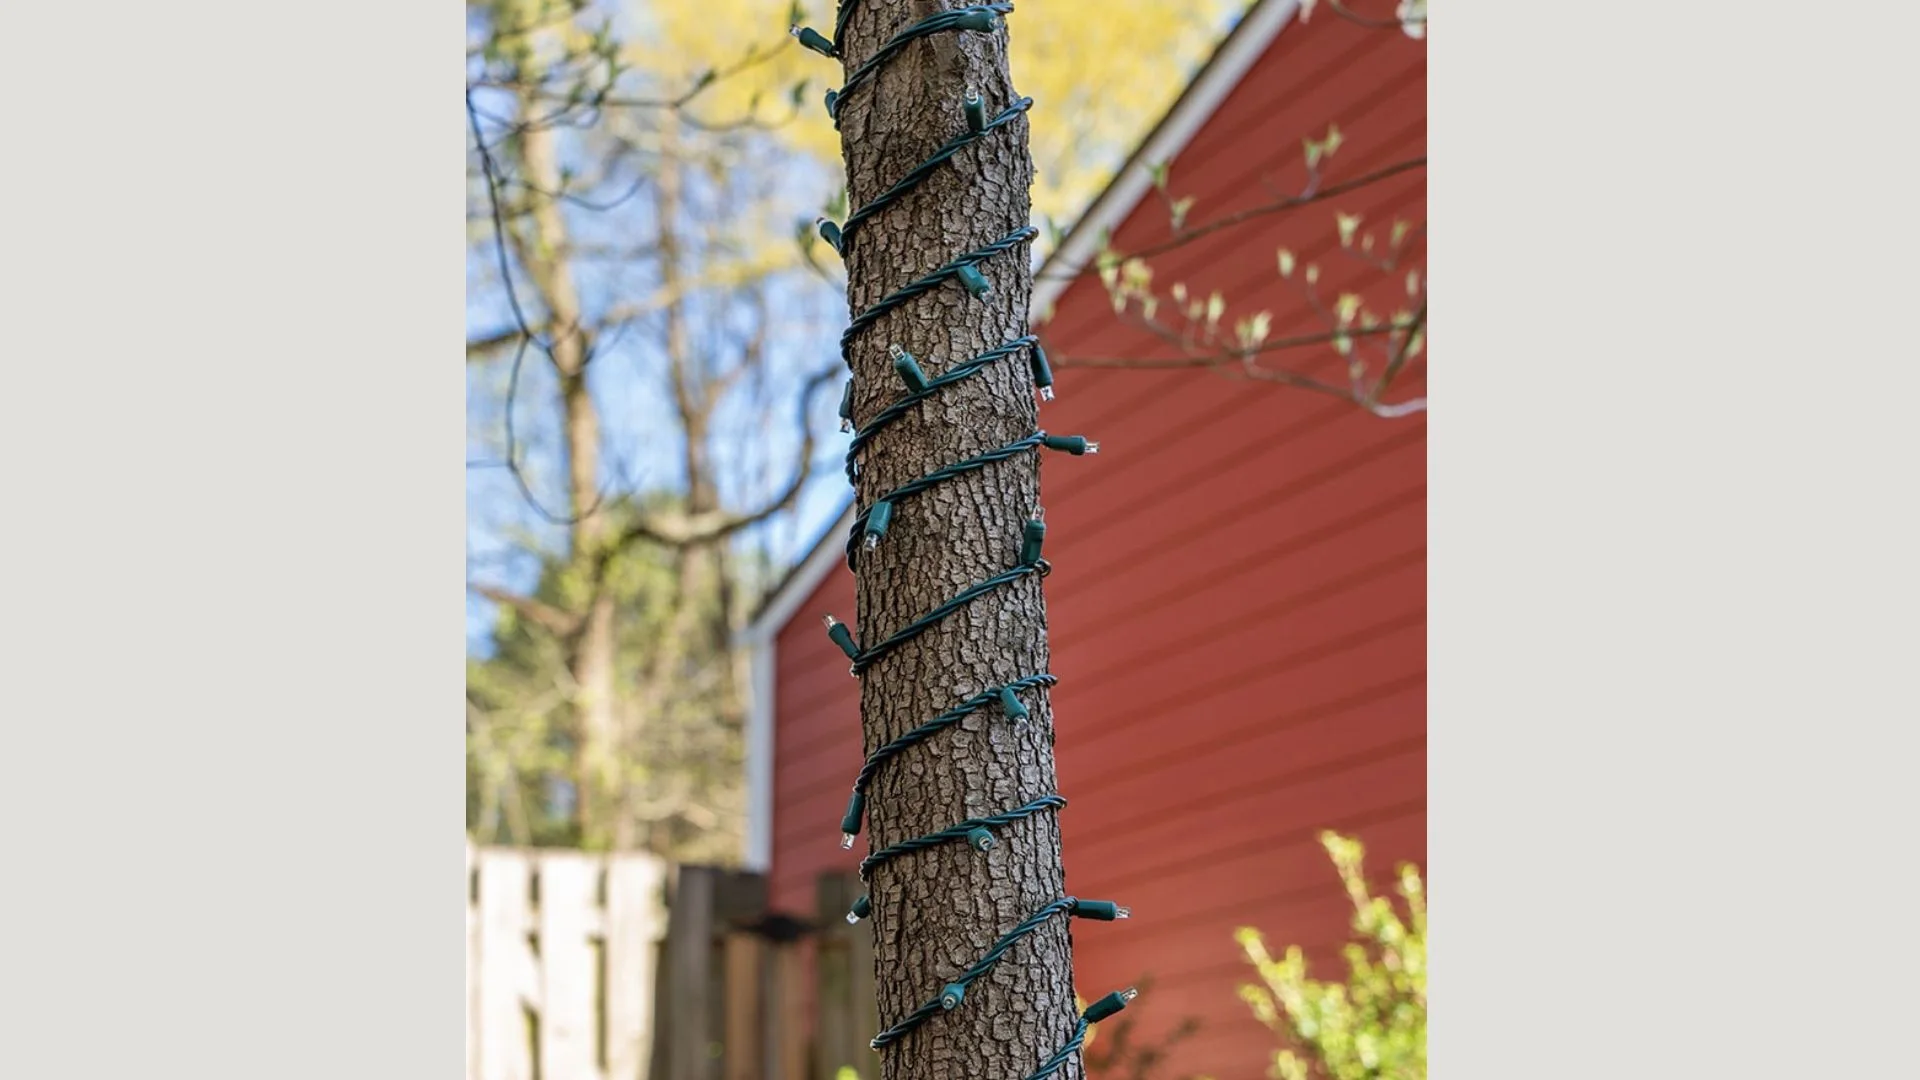
Columns look best with vertical wraps or candy cane spirals. Use the same technique on each column. Consistency matters.
Light Your Landscape Features
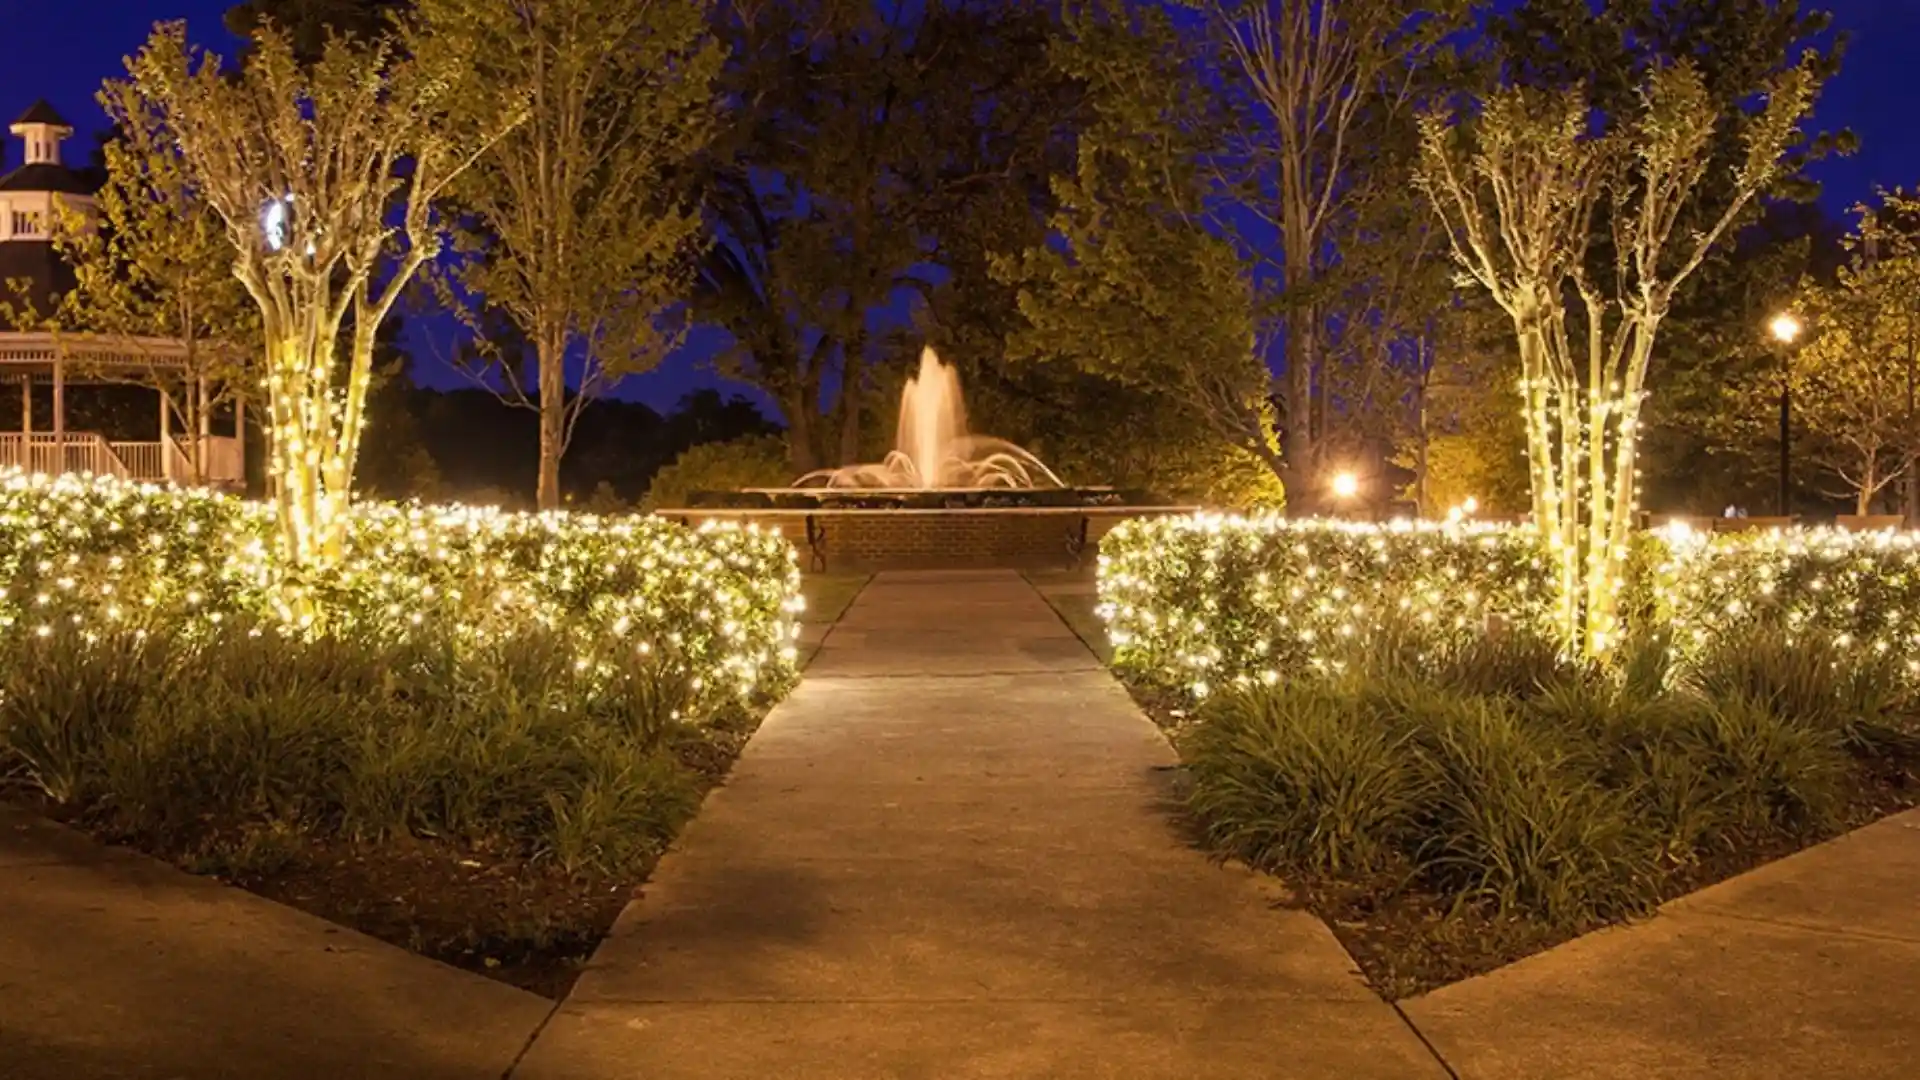
Net lights transform bushes in minutes. Drape them over the top. Tuck edges underneath. Done.
Path lights guide visitors to your door. Line your walkway with stake lights or luminaries. Keep spacing even.
Spotlights aim upward at your home or feature trees. Place them at the base and angle them for drama. This adds serious wow factor.
Design Tips for Maximum Impact
Create Layers and Depth
Don’t just outline your home. Add dimension. Light the roofline. Add garland to the porch. Wrap columns. Light bushes.

Each layer adds depth. Your display becomes three-dimensional instead of flat.
Think foreground, middle ground, and background. It’s like composing a photograph.
Balance Is Everything
Step back and look at your whole house. Does one side feel heavier than the other? Add lights to balance it out.
If you light the left bush, light the right bush too. Match your columns. Keep things symmetrical unless you’re going for asymmetric drama intentionally.
Your eye naturally wants balance. Give it what it wants.
Use Light to Highlight Architecture
Got beautiful trim work? Outline it. Gorgeous columns? Wrap them. Unique roofline? Follow every angle with lights.
Your outdoor Christmas lights should show off your home’s best features. Not hide them.
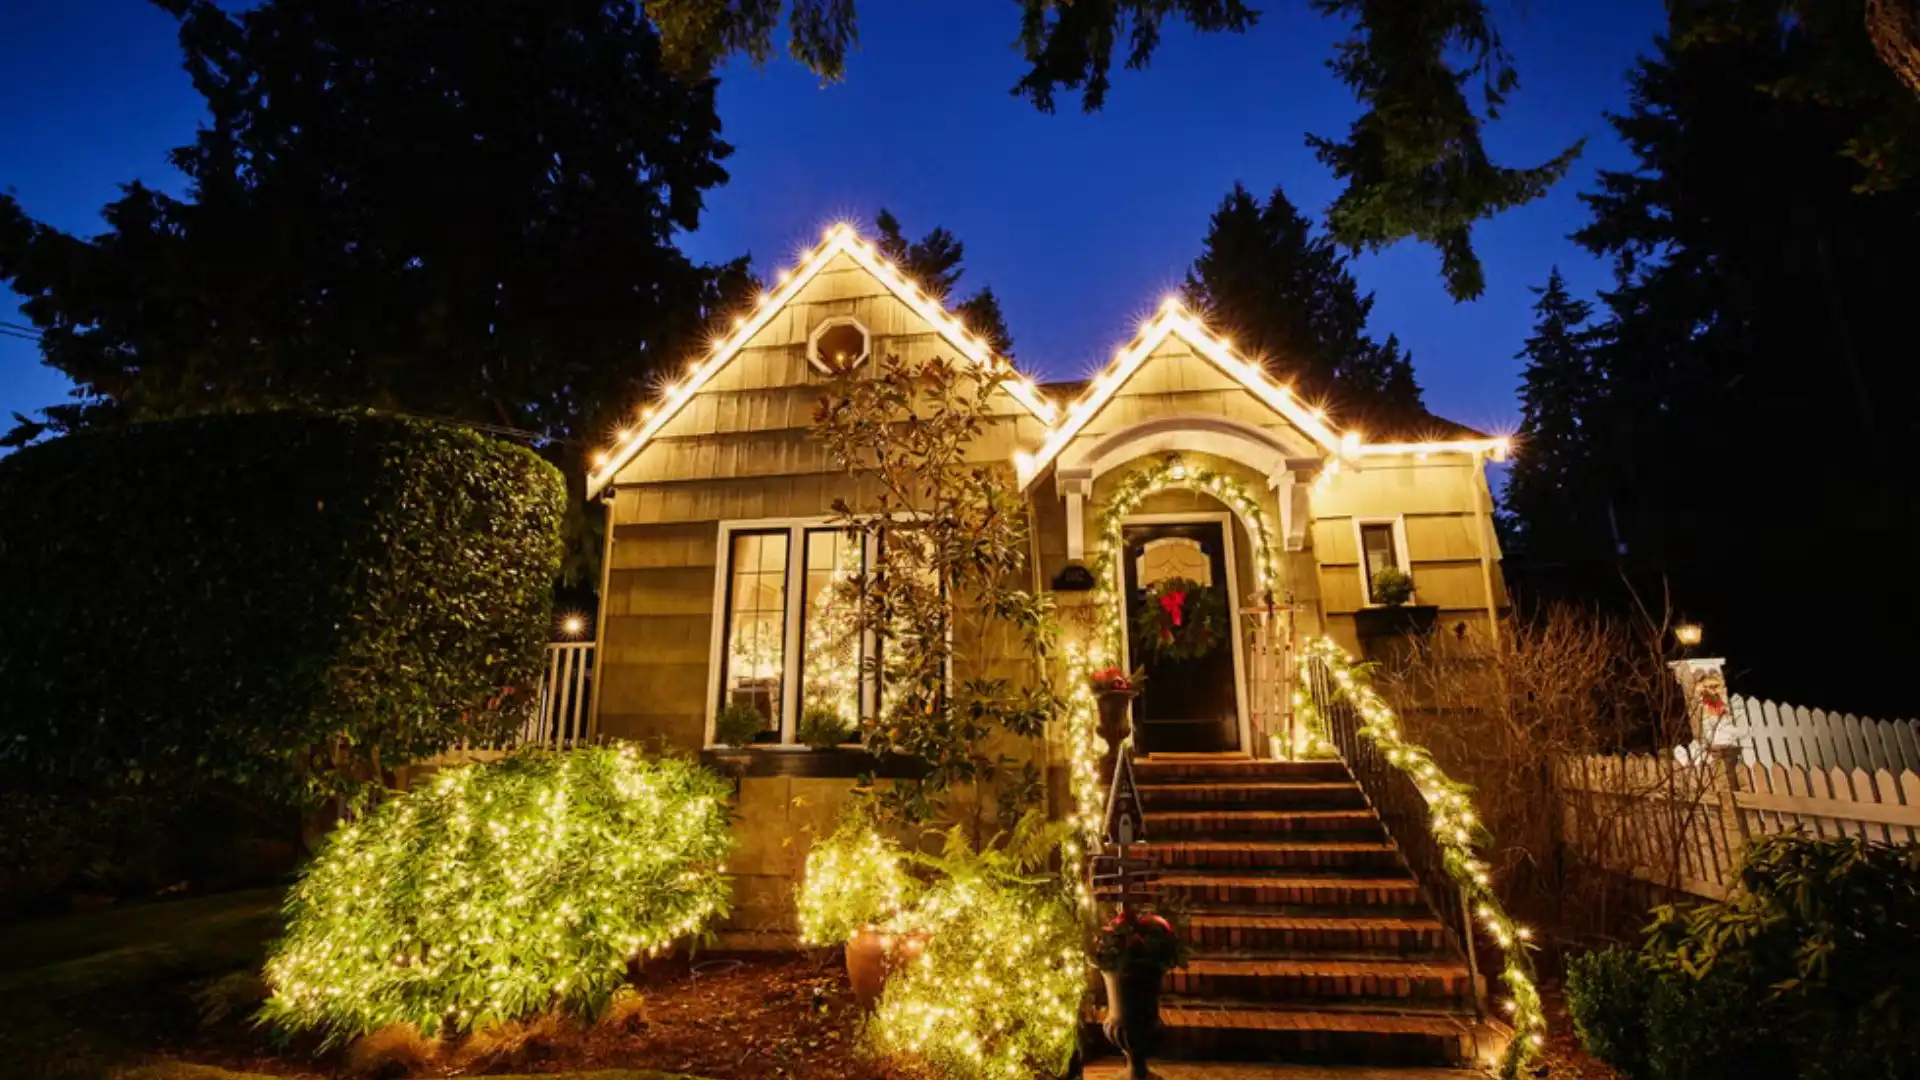
Draw the eye where you want it to go. That might be your front door, a beautiful window, or an interesting architectural detail.
Less Can Be More
You don’t need to light every single surface. Sometimes a clean, simple display looks more elegant than maximum coverage.
Choose focal points. Give the eye somewhere to rest. Negative space matters in design.
That said, if you want a full-on Clark Griswold spectacular? Go for it. Your home, your rules.
Power Everything Safely
Extension Cord Strategy
Connect strands end-to-end when possible. Most light strings let you link 3-5 strands together.
When you need extension cords, use heavy-duty outdoor versions. The thicker the gauge, the better. Look for 14 or 12 gauge.
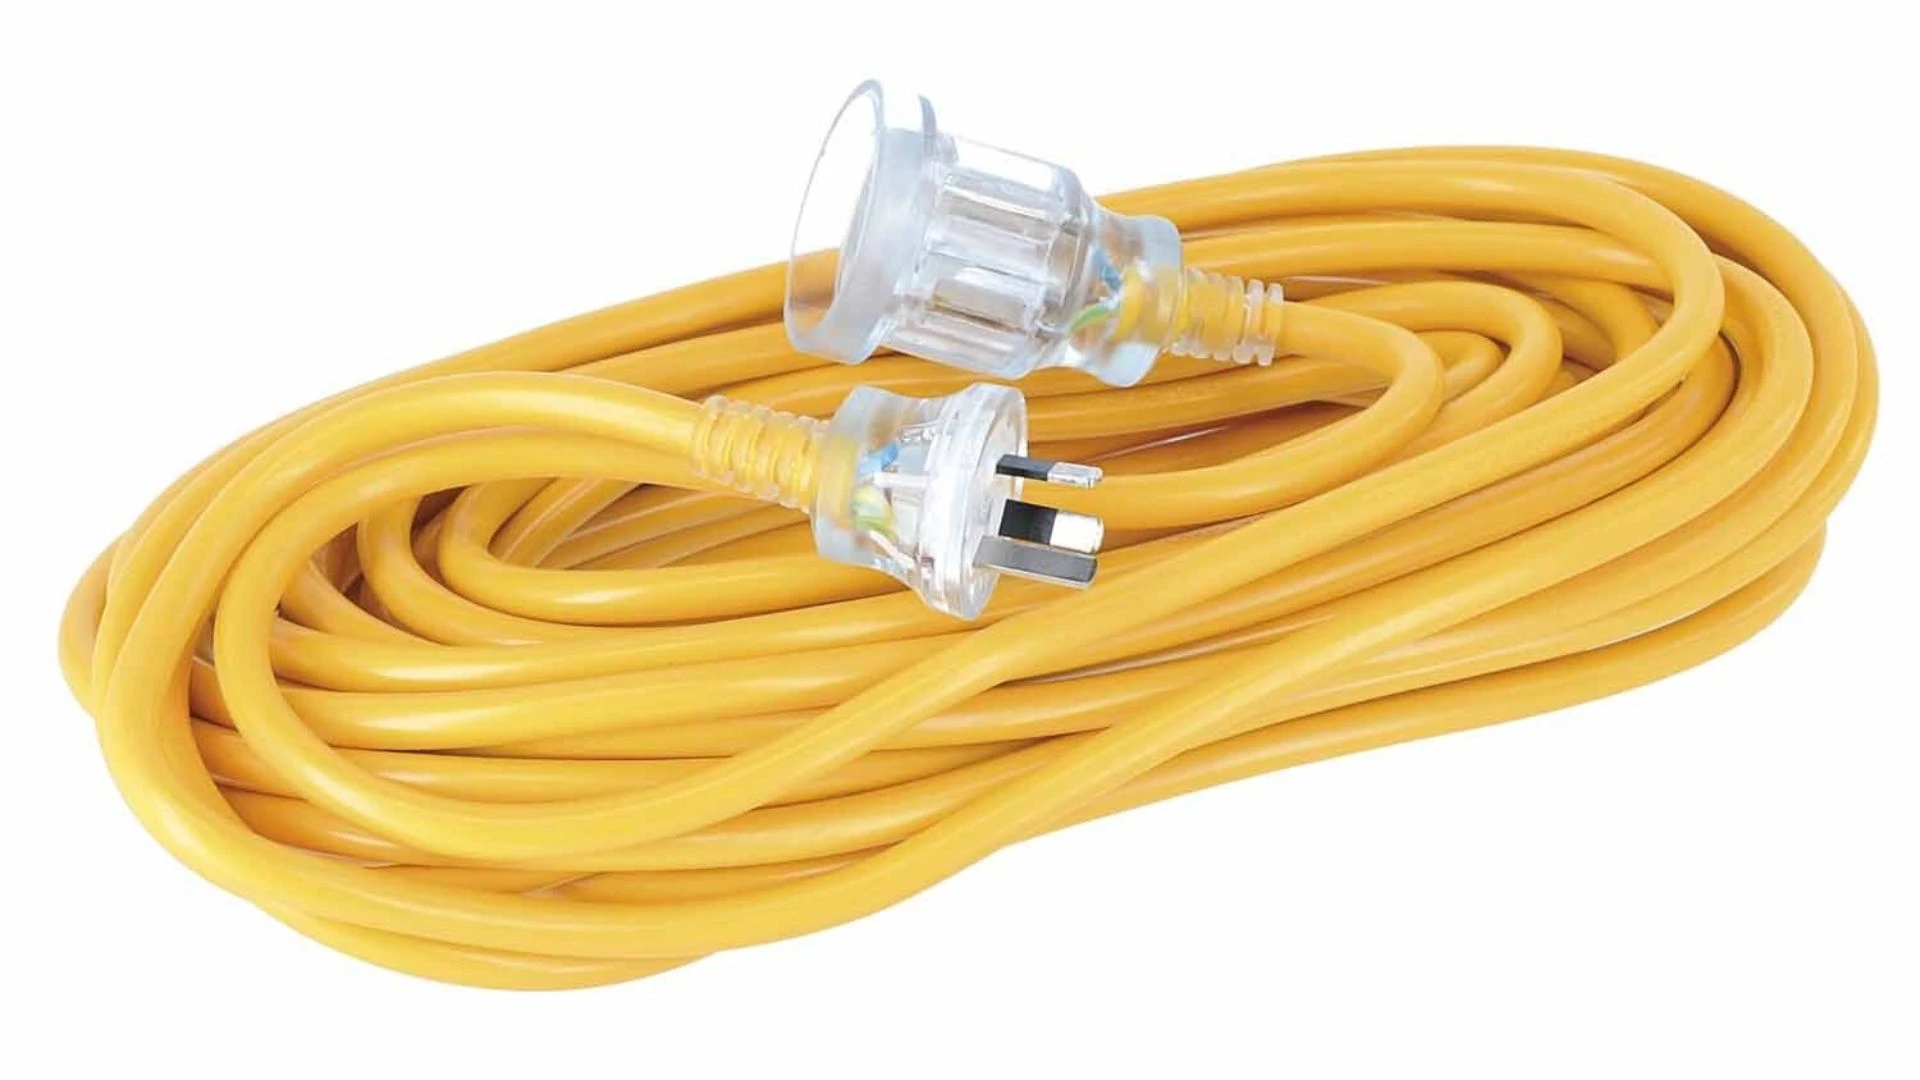
Protect connections from moisture. Use cord covers or wrap connections with electrical tape. Better yet, hang connections under eaves where rain can’t reach them.
Use Timers and Smart Plugs
Outdoor timers turn lights on and off automatically. Set them once and forget about them.
Smart plugs let you control lights from your phone. You can schedule them. Turn them on remotely. Even dim some models.
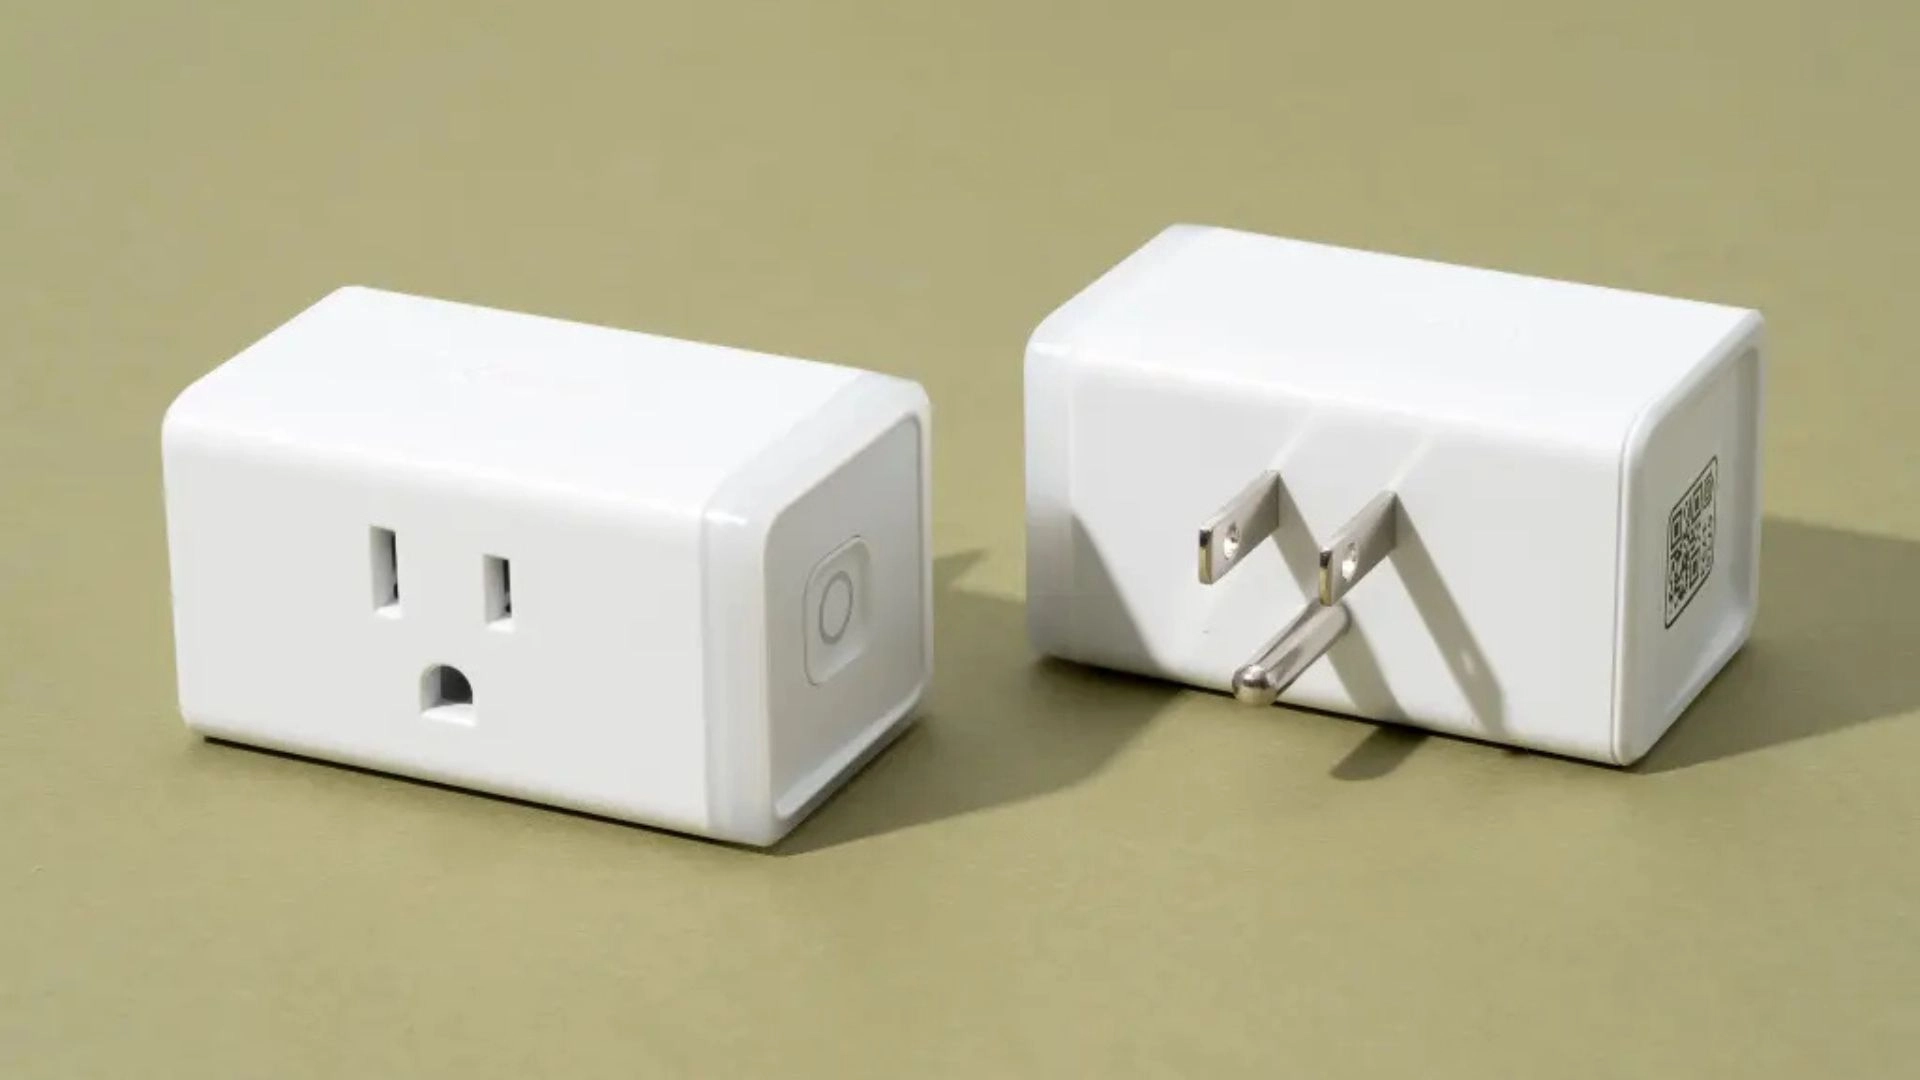
Don’t waste electricity running lights all night. Set them to turn off around midnight or 1 AM. Nobody’s looking at 3 AM anyway.
Avoid These Power Mistakes
Never daisy-chain extension cords. Use one long cord instead of connecting multiple short ones.
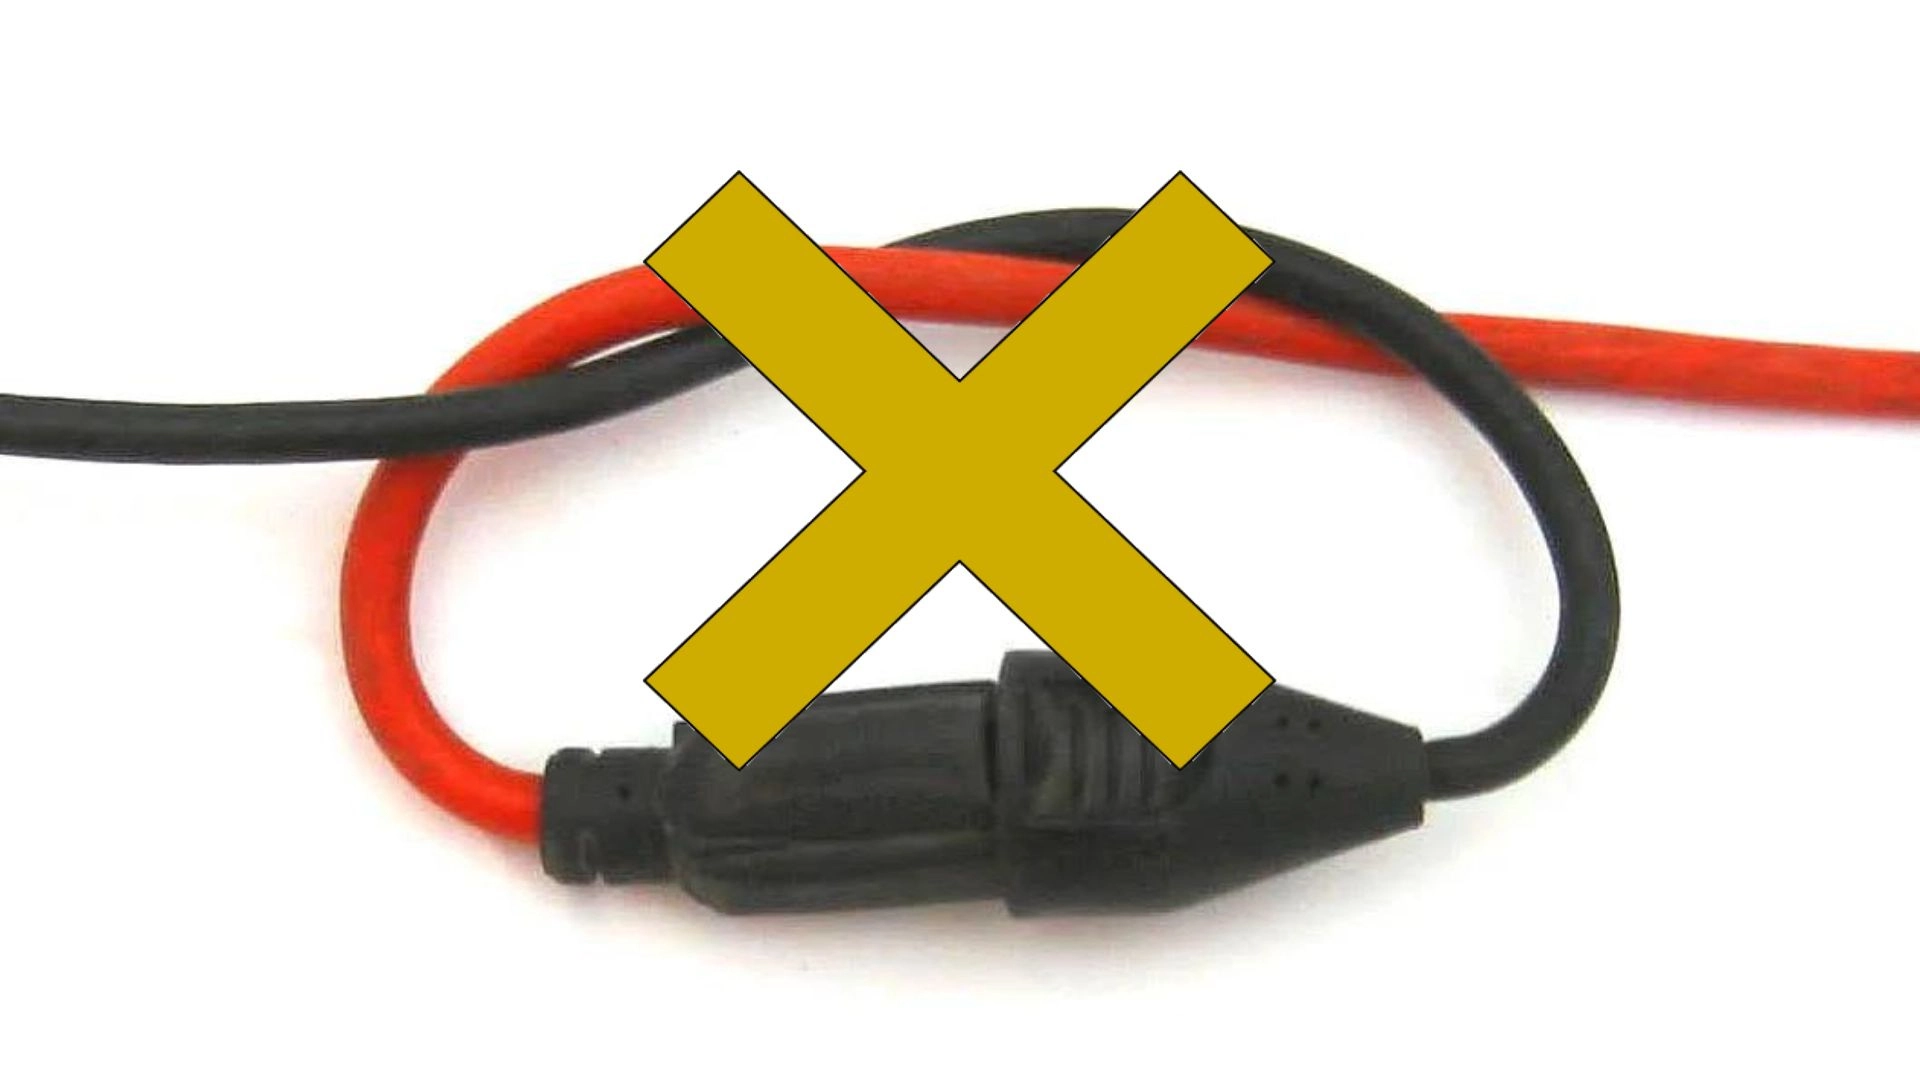
Don’t run cords under rugs or through doorways. People trip. Wires fray. Bad combination.
Keep outdoor outlets covered with weatherproof boxes. Water and electricity don’t mix.
Troubleshoot Common Problems
Half a Strand Goes Dark
This happens with cheap light sets. One bad bulb kills the whole section.
Check the fuse in the plug first. Replace if needed. Then test bulbs individually. Most sets include replacement bulbs and fuses.
High-quality LED strands use better circuitry. If one bulb dies, the rest stay lit. Worth the investment.
Lights Won’t Turn On
Check the outlet with another device. Make sure it works.
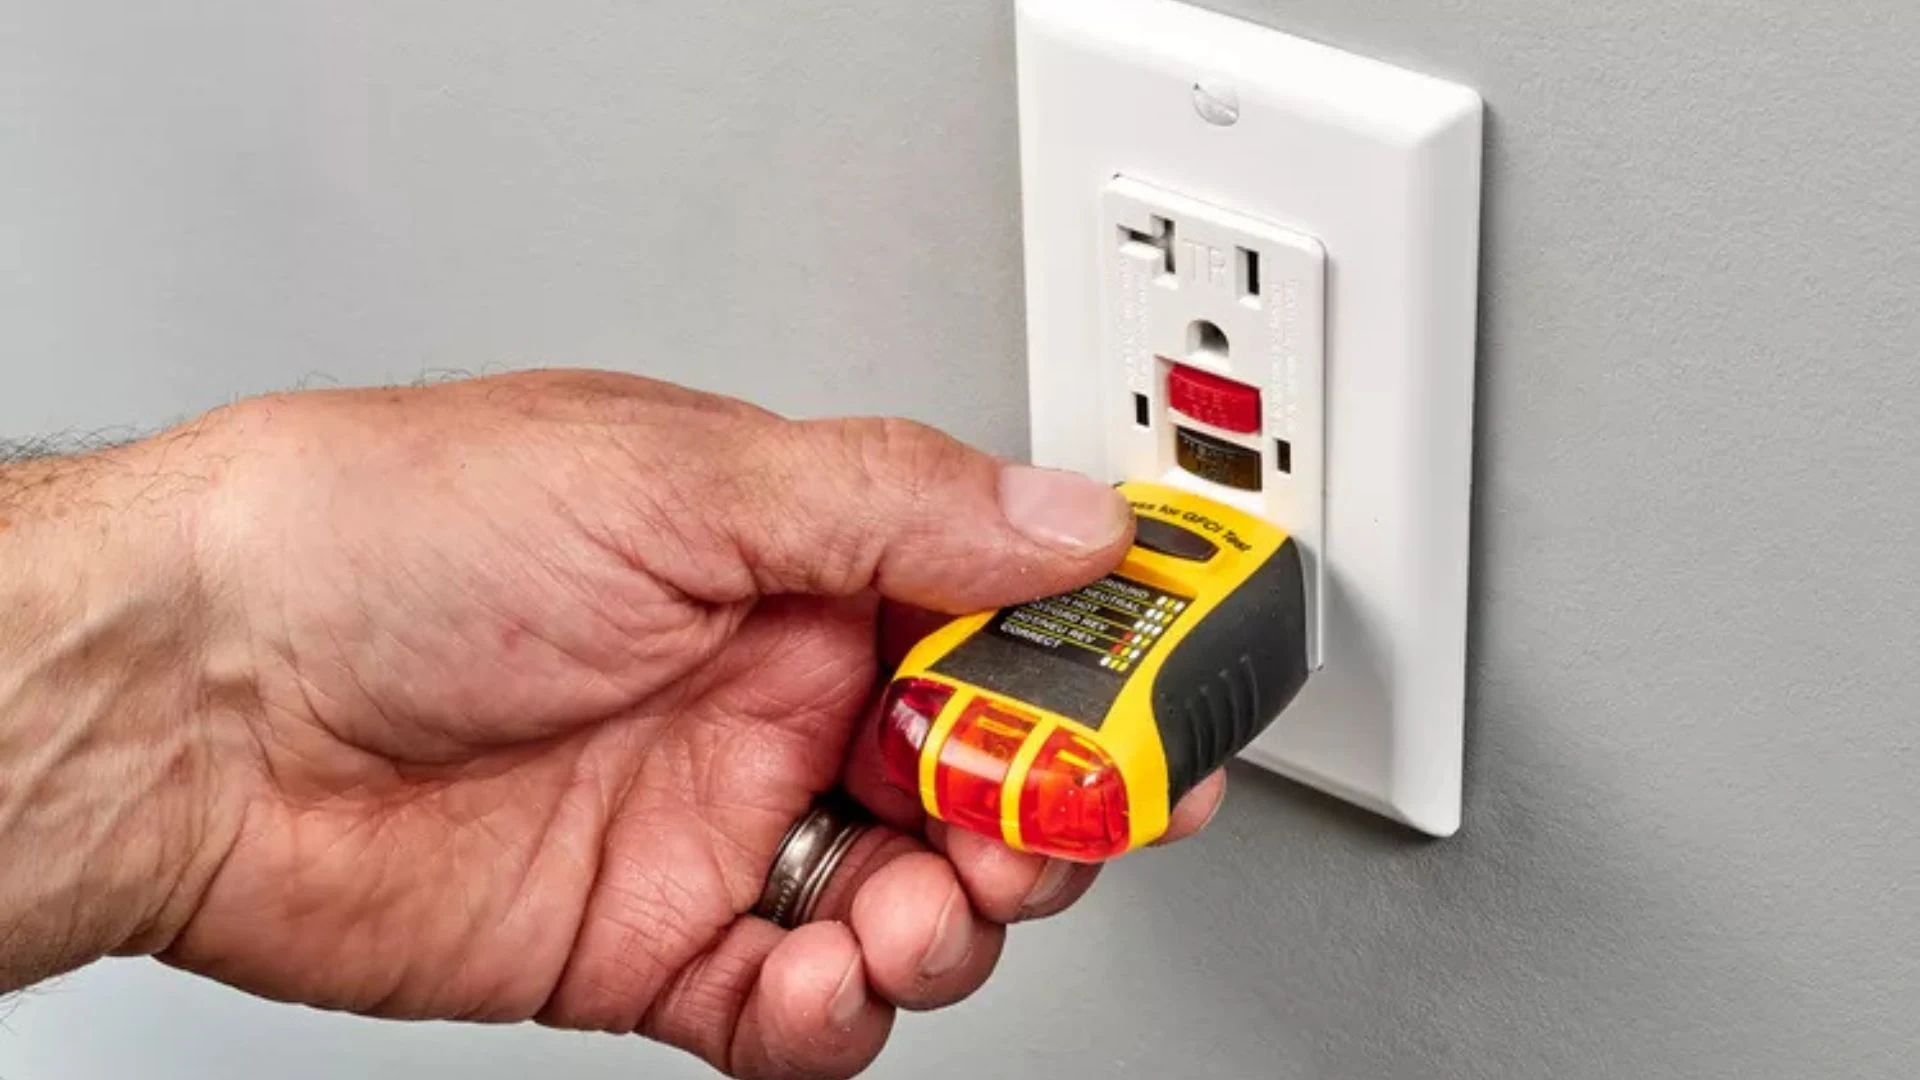
Test the strand inside first. If it works indoors but not outdoors, you’ve got an extension cord or connection problem.
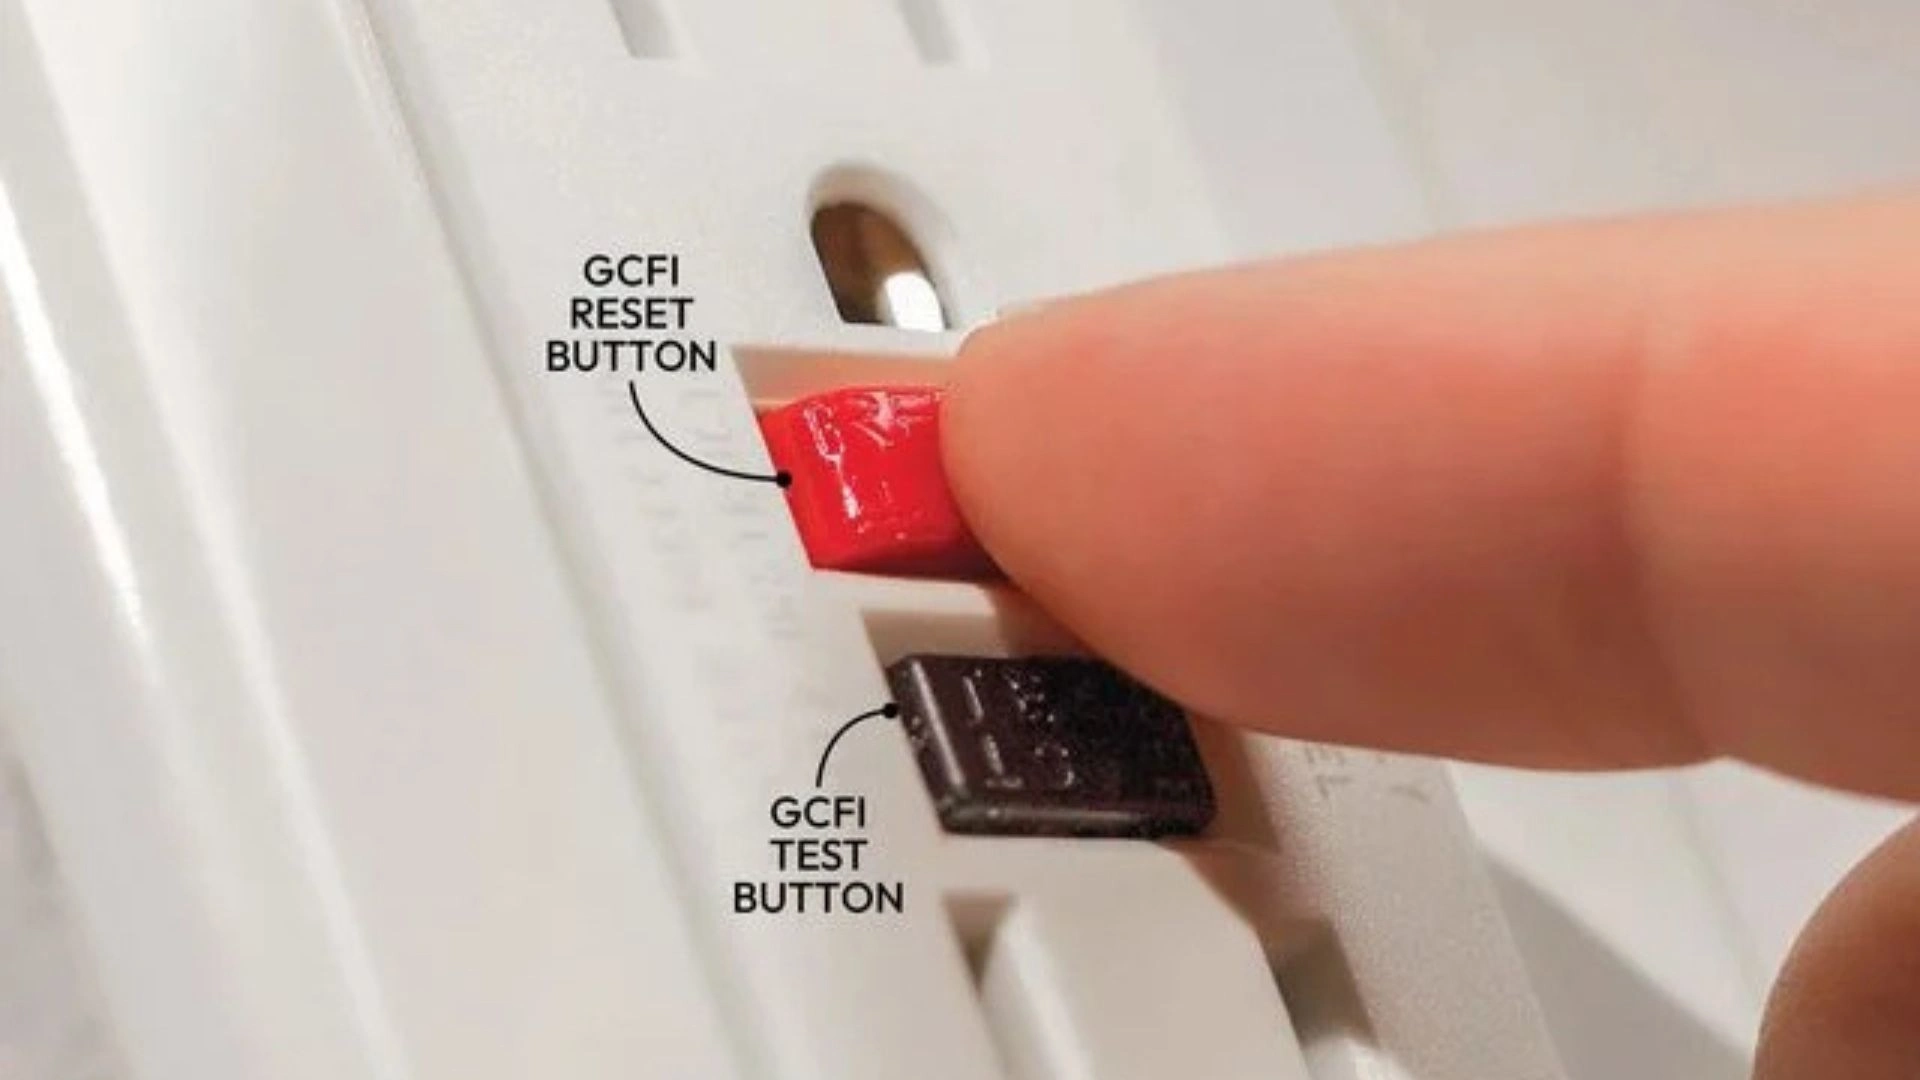
Reset GFCI outlets if your outdoor plugs have them. Push the reset button and try again.
Lights Flicker or Dim
You’re probably overloading the circuit. Unplug some strands and redistribute them to different outlets.
Or your extension cord is too long or too thin. Voltage drops over distance with inadequate wire gauge.
Switch to LED lights if you haven’t already. They draw so much less power that you can run way more strands.
Keep Your Display Looking Great
Maintenance During the Season
Walk around your display weekly. Look for burned out bulbs, sagging sections, or loose connections.
After wind or storms, check that everything’s still secure. Reattach any fallen strands.
Keep lights clean. Dust and debris dull the brightness. A quick wipe down makes a noticeable difference.
Take Down and Store Properly
Don’t wait until January is half over. Take lights down before they’ve been through too many freeze-thaw cycles.
Wind each strand carefully. Use a reel or wrap them around cardboard. Label everything.
Store lights in a dry place. Attics get hot. Basements can be damp. A climate-controlled closet or garage works best.
Pack outdoor extension cords separately. Check them for damage before storing.
Make It Magical
Your home can absolutely be one of those houses. The ones that glow with holiday magic. The ones that make people smile.
Start with a solid plan. Choose quality lights. Install them safely and thoughtfully. Step back and admire your work.
The best part? You’re creating memories. Kids remember the houses with beautiful Christmas lights. Neighbors feel more connected. You’re spreading joy just by plugging in some lights.
So grab that tape measure. Pick your color scheme. Get those lights out of the box. Your dazzling outdoor Christmas lights display is waiting to happen. You’ve got this.
Final Thought;
Your home deserves to shine this holiday season. You’ve got the plan, the tips, and the confidence to create something beautiful. Start small if you need to. Add more each year. The joy you’ll bring to your neighborhood is worth every minute on that ladder. Now go make some Christmas magic happen.