
You’ve walked past that wall for years. The one separating your cramped kitchen from your dark living room. You imagine the light flooding through. The space opening up. Kids doing homework while you cook dinner, actually being part of the conversation instead of shouting through a doorway.
But here’s what stops most people: fear. What if you knock down the wrong wall? What if the ceiling caves in? What if you start and can’t finish?
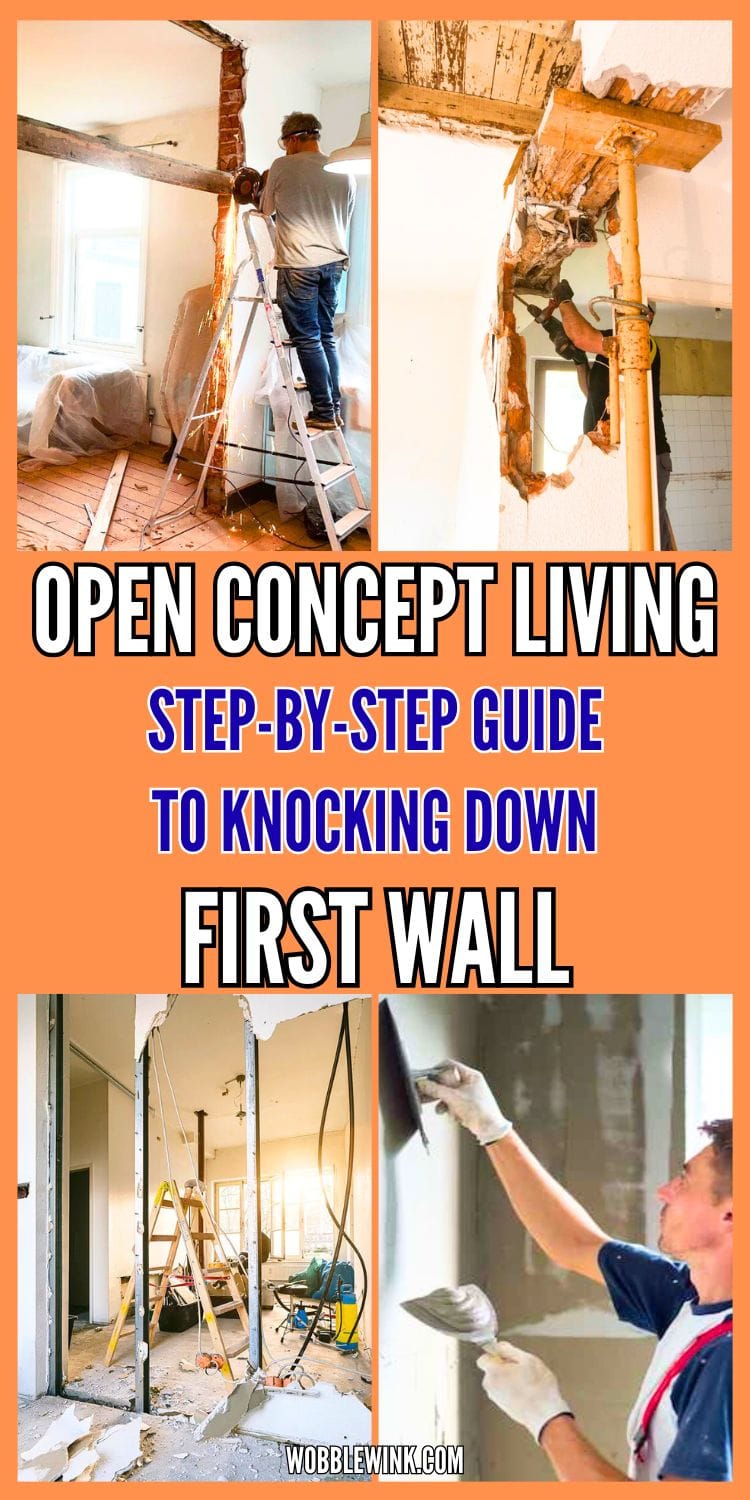
I get it. Knocking down a wall sounds massive. But thousands of homeowners do this every year, and most of them aren’t contractors. This guide walks you through every single step, from figuring out if your wall can go to cleaning up the last bit of dust. You’ve got this.
First Things First: Is Your Wall Load-Bearing?
This is the only question that really matters before you swing a hammer.
A load-bearing wall holds up your house. Remove it without proper support, and you’re looking at sagging ceilings, cracked drywall, or worse. A non-load-bearing wall (a partition wall) just divides space. It can go.
Here’s how to tell the difference. Look at your basement or crawl space. See which way your floor joists run. Walls running perpendicular (at a right angle) to those joists usually bear load. Walls running parallel typically don’t.
Check your attic too. Load-bearing walls often sit directly under where roof trusses meet or where ridge beams run.
But here’s the thing: don’t guess. Ever. Hire a structural engineer for a consultation. It costs $300 to $500, and they’ll give you a definitive answer in writing. This isn’t where you wing it.
Get Your Permits Sorted
Nobody loves paperwork. But skipping permits creates nightmare scenarios down the road.
Your local building department needs to sign off on this project. Always. Even if your neighbor didn’t get permits for their wall removal, you should. Here’s why: unpermitted work shows up during home inspections when you sell. Buyers walk away, or you’re forced to repair everything to code at the worst possible time.
The permit process takes two to four weeks usually. You’ll submit your plans (your engineer can help with these). An inspector comes out before you start, then again when you’re done.
Yes, it’s annoying. Yes, it costs a few hundred bucks. But it protects your biggest investment and keeps you legal.
Assemble Your Team and Tools
Can you DIY this entire project? Maybe. Should you? Probably not your first wall.
At minimum, hire these pros:
- Structural engineer (already mentioned)
- Electrician (walls hide wires)
- Plumber (if there’s any chance of pipes)
- HVAC tech (if ducts run through)
For the actual demo and beam installation, you’ve got options. Hire a general contractor for peace of mind. Or tackle demo yourself and hire pros for the structural beam installation.
Tools you’ll need:
- Reciprocating saw
- Pry bar and hammer
- Shop vacuum (trust me, you’ll need it)
- Dust masks and safety glasses
- Drop cloths everywhere
- Dumpster or heavy-duty contractor bags

Map Out What’s Inside That Wall
Walls aren’t empty. They’re highways for your home’s systems.
Before anything gets demolished, you need to know what’s hiding in there. Your electrician should locate all wiring. Mark it with tape on the wall surface. Same with plumbing and HVAC.

Here’s what typically needs rerouting:
- Electrical outlets and switches (move them to adjacent walls)
- Light fixtures (ceiling lights often rely on wall switches)
- HVAC vents (ducts sometimes run through walls)
- Plumbing (less common in interior walls, but check anyway)
This prep work isn’t exciting. But it prevents you from slicing through a wire or puncturing a water line mid-demo. That’s a very expensive oops.
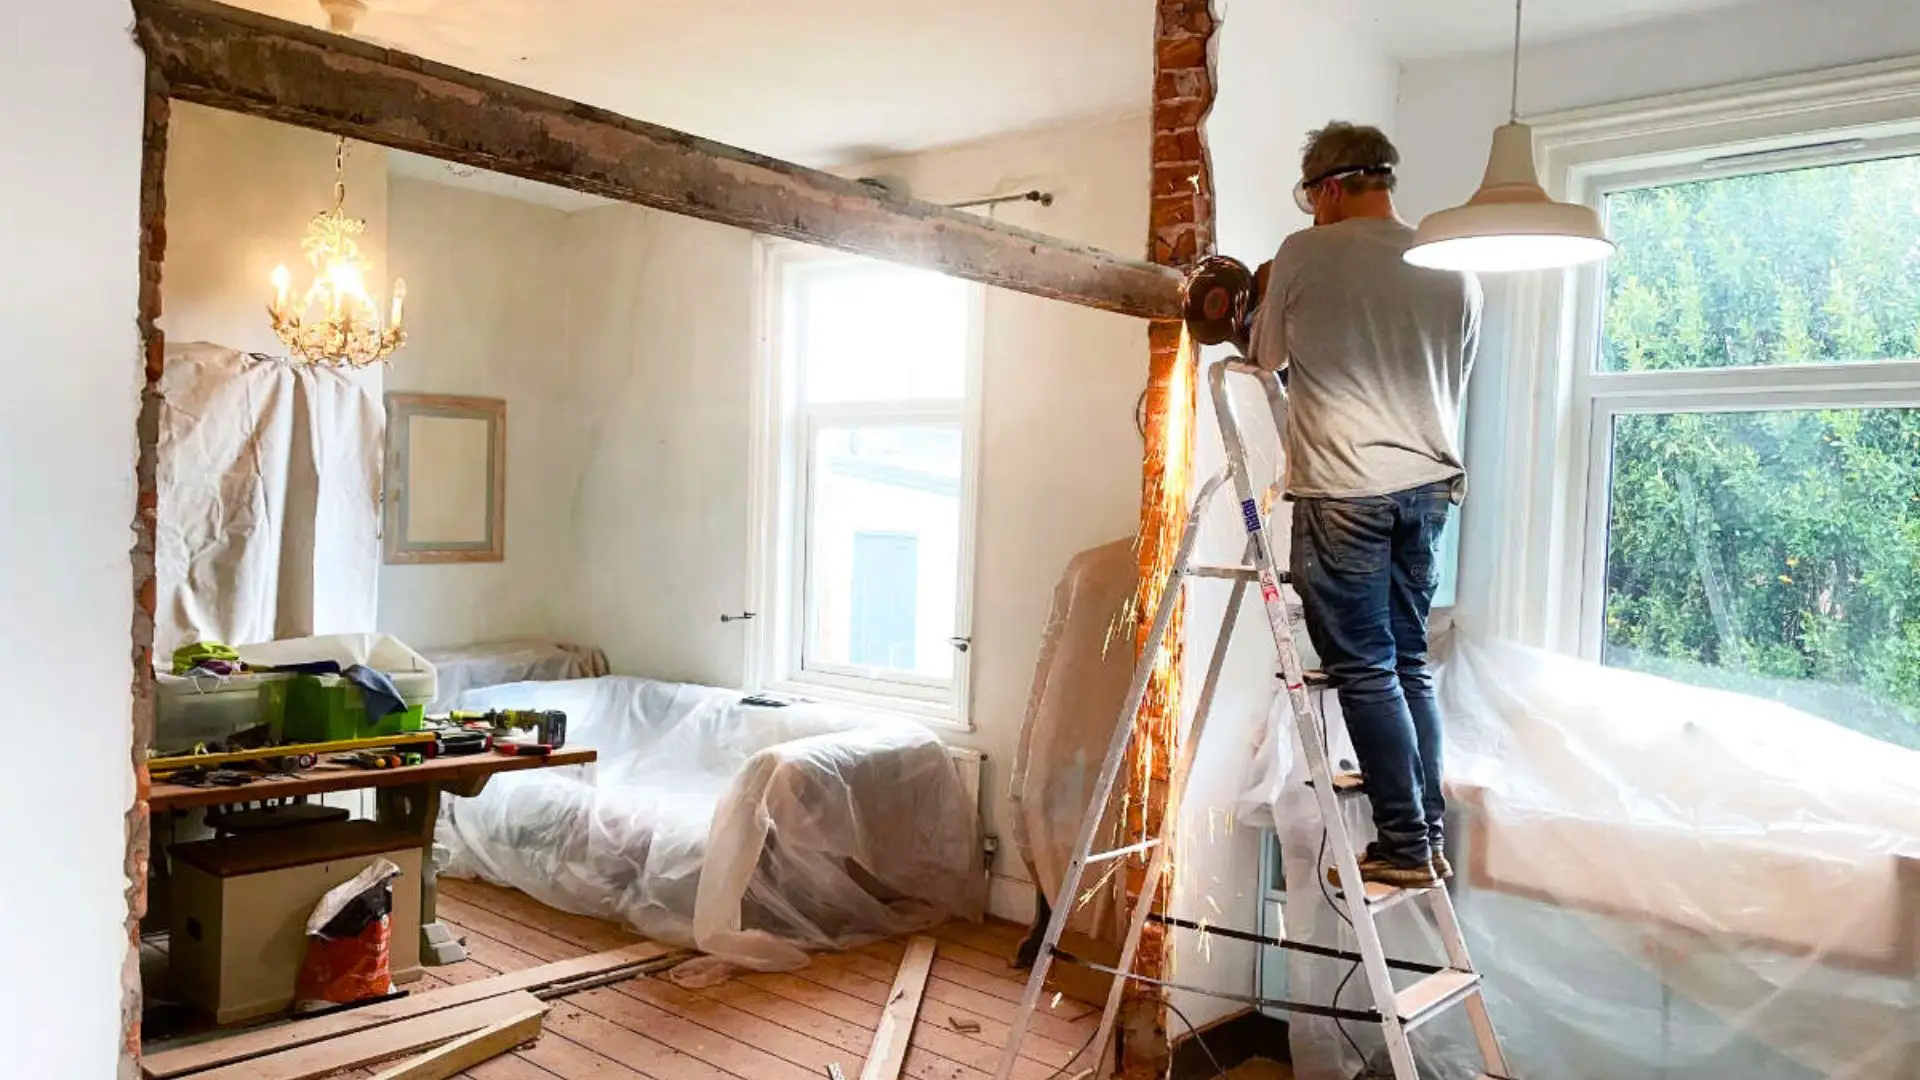
Install Your Beam Before Demolition
Wait, shouldn’t you knock the wall down first? Nope.
If your wall is load-bearing, your structural engineer will specify a beam size. This beam replaces the wall’s structural job. It holds up everything the wall was holding.
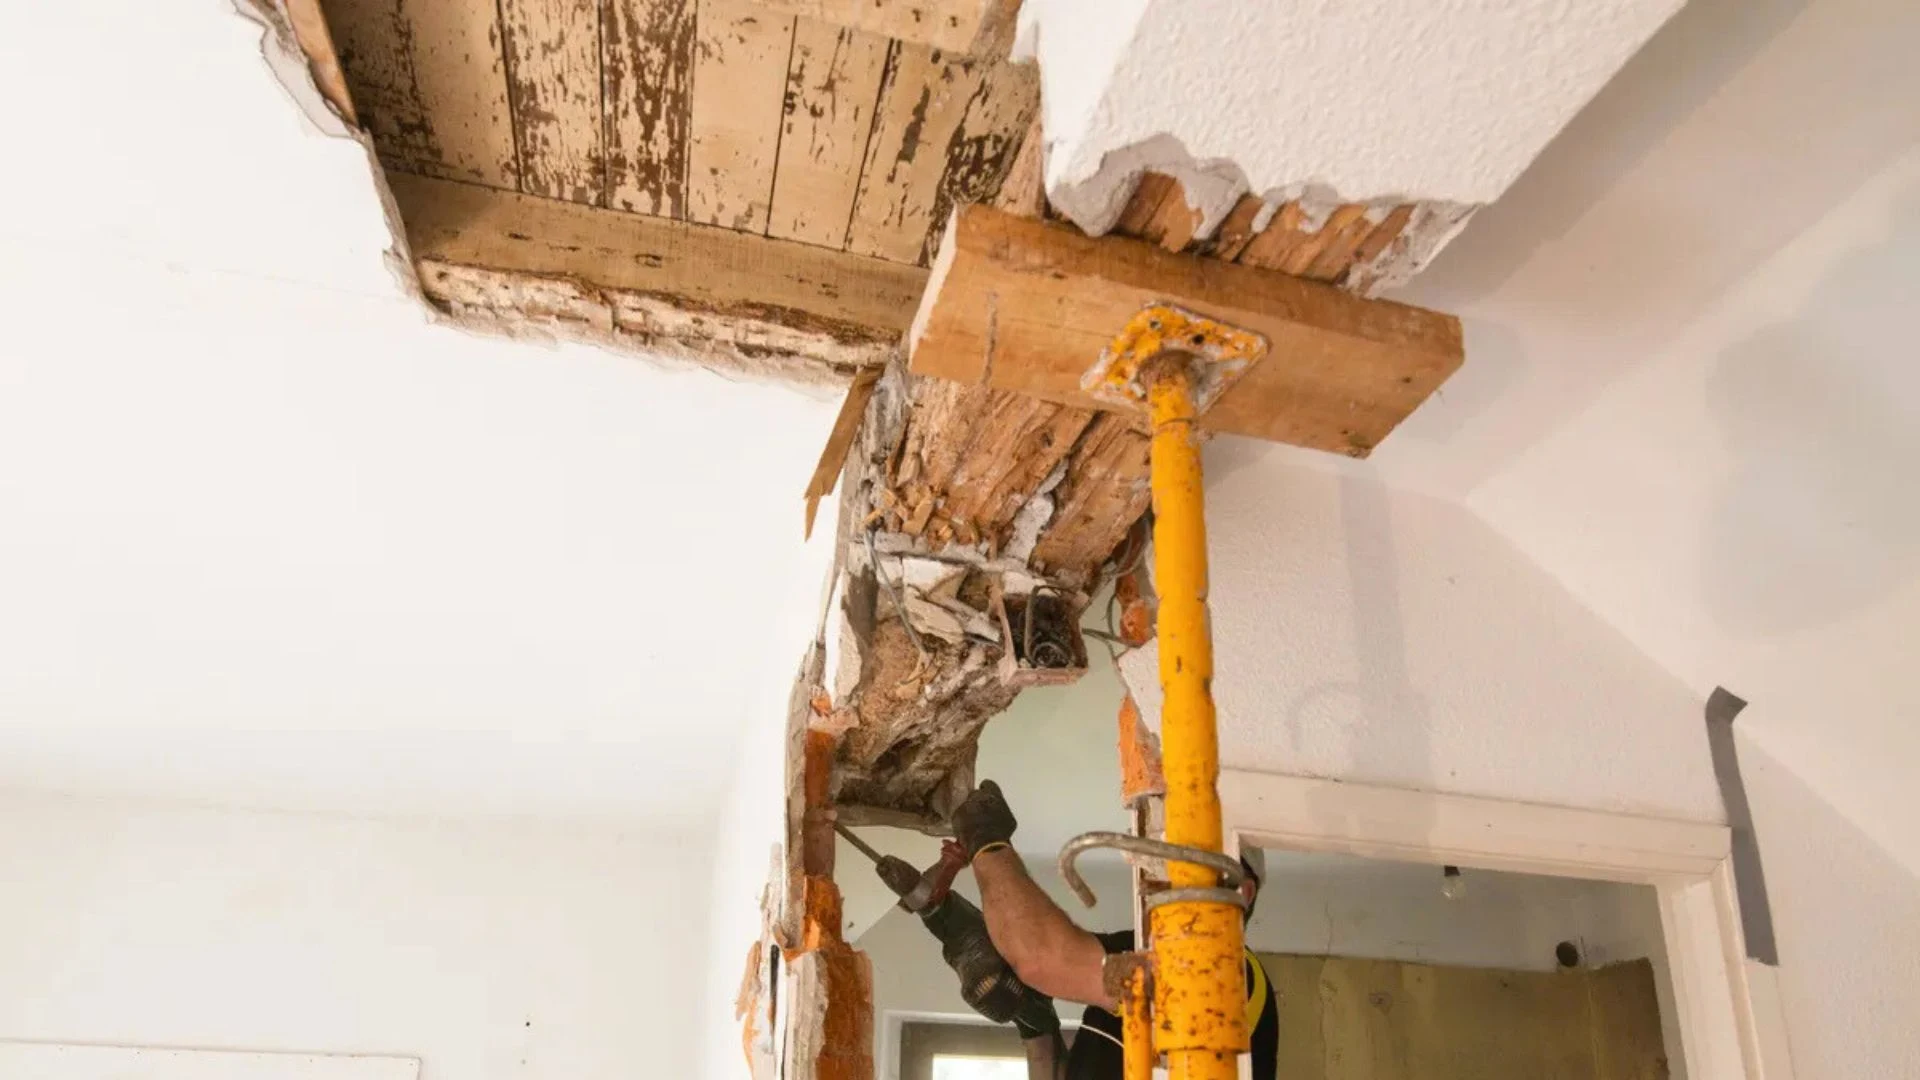
Here’s the smart sequence: Install temporary support posts on both sides of the wall. These hold the weight while you work. Then install your permanent beam. Only after that beam is secure and inspected should you remove the wall itself.
Your beam sits on posts at each end. These posts transfer the load down to your foundation. Sometimes you need to reinforce the foundation first. Your engineer’s plans will show all this.
This is absolutely where you hire pros. Beam installation isn’t a YouTube-and-hope situation.
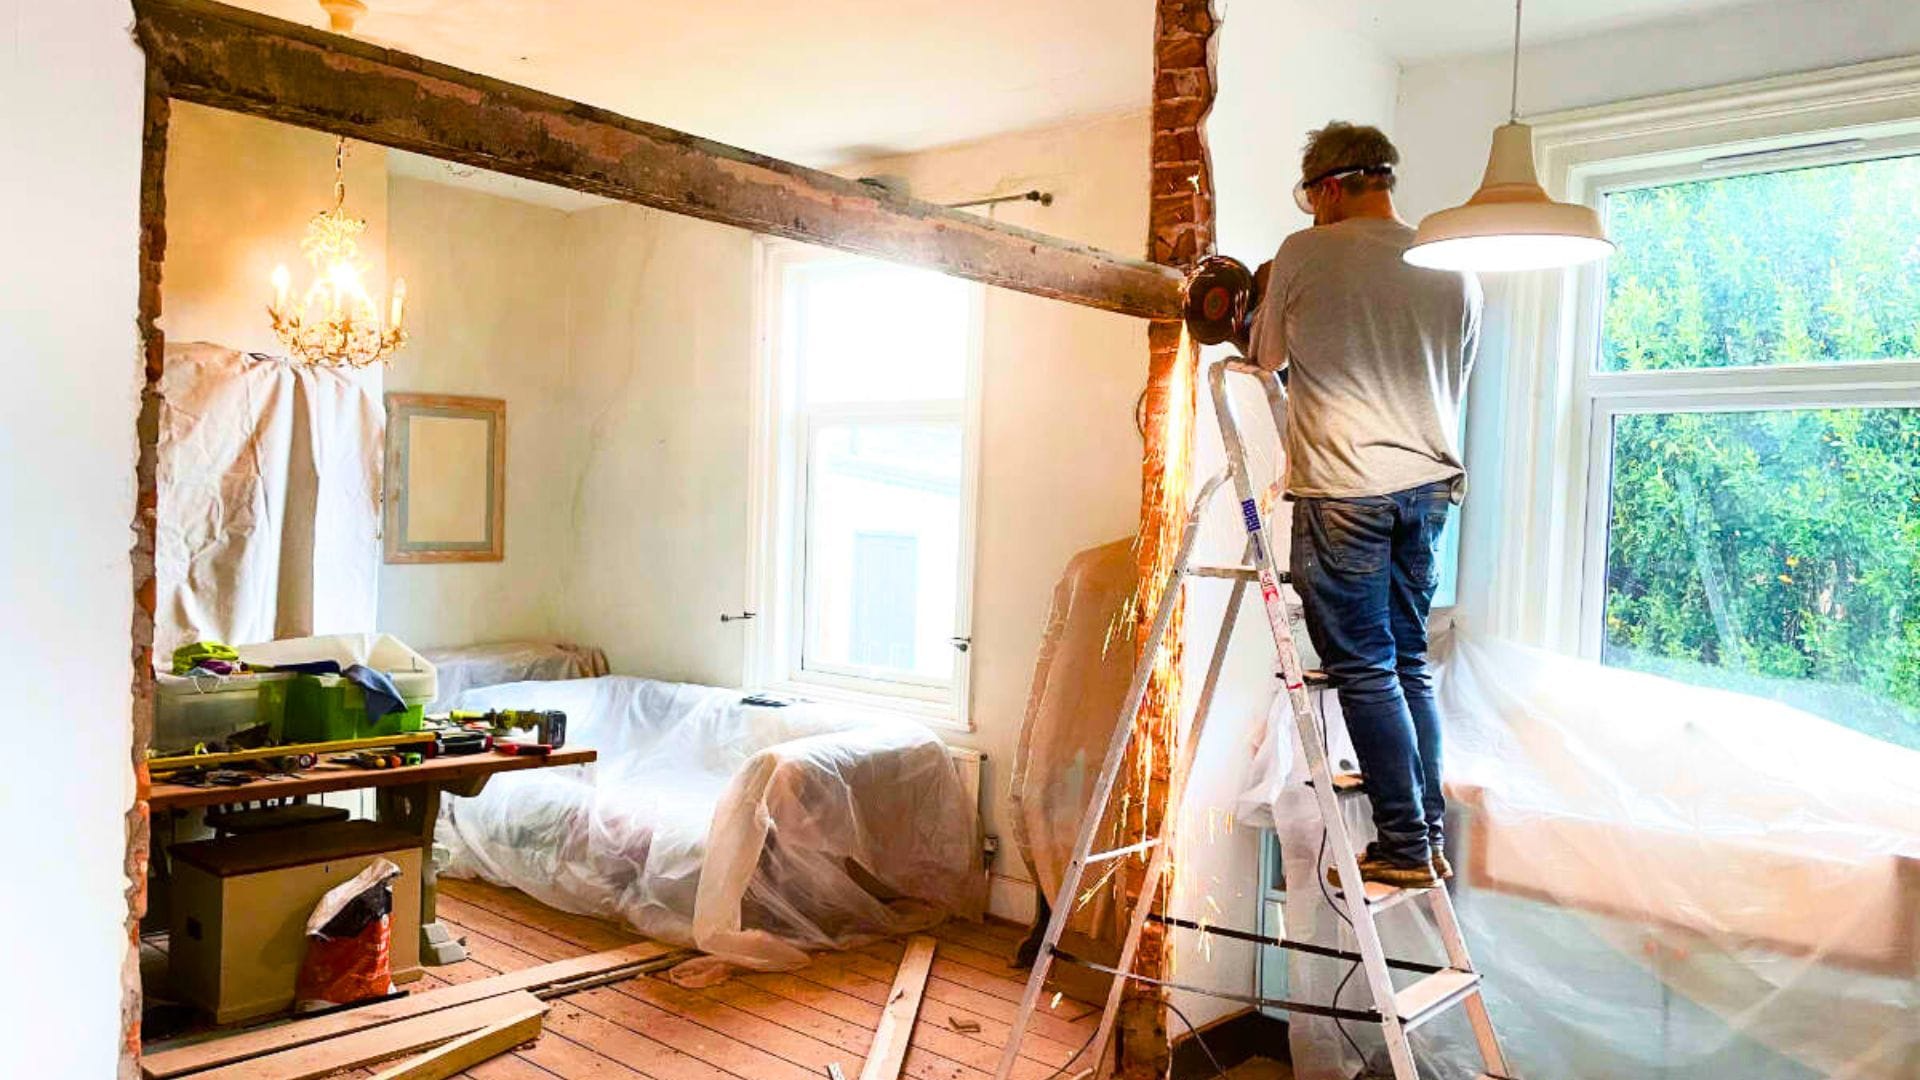
Demo Day: Taking Down the Wall
Now the satisfying part starts.
Suit up first. Long sleeves, dust mask (N95 minimum), safety glasses, gloves. Open windows and seal off adjacent rooms with plastic sheeting. Dust goes everywhere, and I mean everywhere.
Start by cutting the drywall away from the ceiling and adjacent walls. Use a utility knife to score clean lines. This prevents you from tearing into walls you’re keeping.
Remove drywall in sections. It’s easier to handle and creates less mess. Pull out insulation next if there is any. Then cut through the studs with your reciprocating saw.
Here’s a pro tip: cut studs in the middle first, then pry them away from the top and bottom plates. It’s way easier than trying to cut flush against plates.
Remove the top plate (horizontal board at the ceiling) and bottom plate (at the floor) last. These are usually nailed in really well, so expect some serious prying.
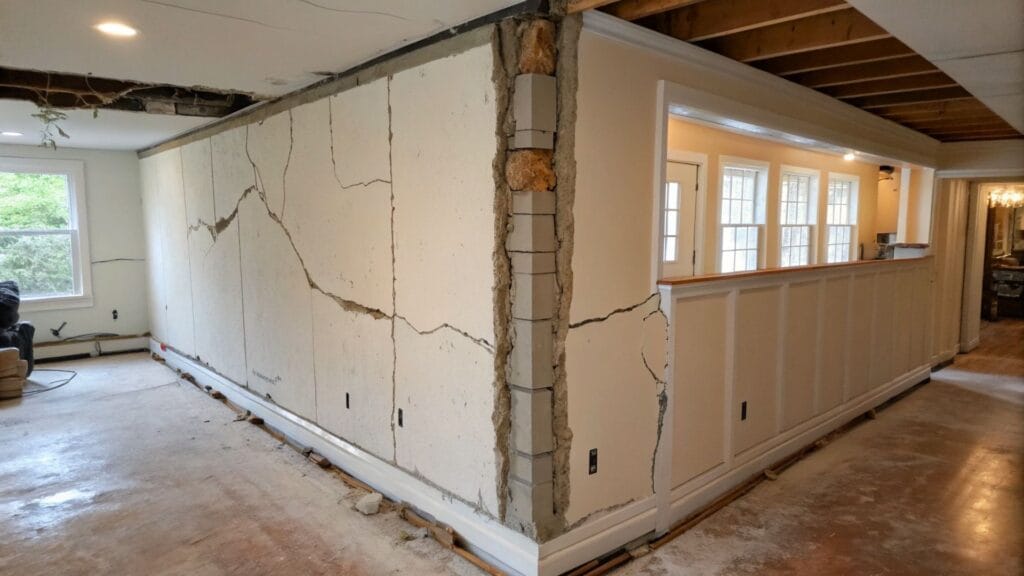
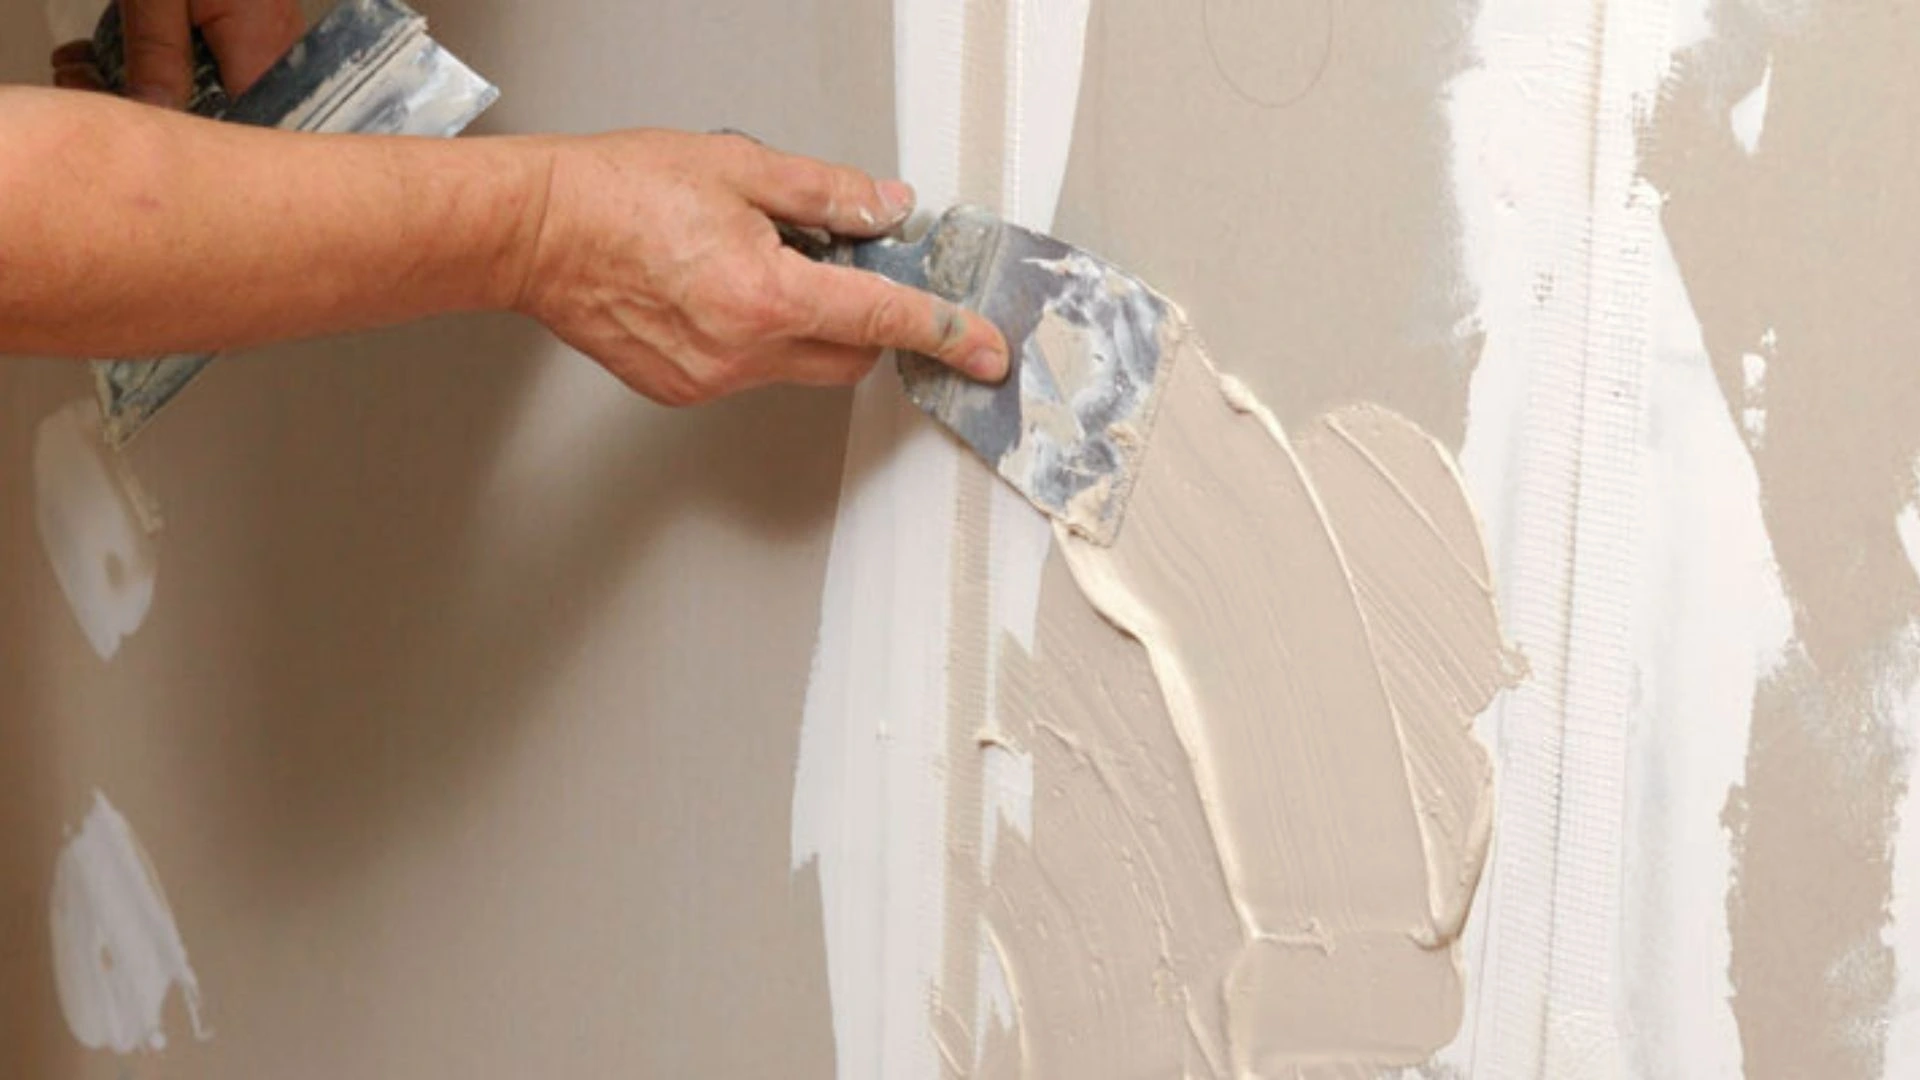
Clean Up and Patch
Your wall is gone. Your room looks like a disaster movie set. Time to make it beautiful.
You’ll have exposed edges where the old wall met the ceiling and side walls. These need drywall patching. Cut new drywall pieces to fit. Screw them in. Then tape the seams with drywall mesh tape.
Apply joint compound in thin layers. Let each layer dry completely before adding the next. Sand between coats. This takes patience, but it’s the difference between “we knocked down a wall” and “this was always one room.”

For the floor, you’ve got a gap where the bottom plate was. If you’re lucky, your flooring extends underneath. Just fill any nail holes. If not, you’ll need to patch with matching flooring. This is tricky with older floors. Sometimes it’s easier to add a transition strip or run new flooring through the whole space.
Finish With Paint and Trim
You’re in the home stretch.
Prime all your patched drywall areas. Then paint. You might need to paint entire walls or even the whole room to get the color to match perfectly. Old paint fades, and patches always show a little if you just touch them up.
Add trim work where needed. If your rooms had different baseboards, decide which style wins. Run that baseboard continuously through your new open space. Same with crown molding if you have it.
This finishing work takes longer than you think. Budget a full weekend just for painting and trim if you’re doing it yourself.
The First Night in Your New Space
Stand in your transformed home. Look from kitchen to living room without walls blocking your view. Watch light flow through spaces that used to be separate and dark.
Open concept living changes how your family uses space. It makes small homes feel bigger. It brings people together instead of isolating them in separate rooms.
Was it work? Yes. Was it worth it? Ask yourself that question while you’re cooking dinner and helping with homework at the same time, no shouting required.
Start planning. Get your engineer’s opinion. Pull your permits. Then take down that wall and open up your life.