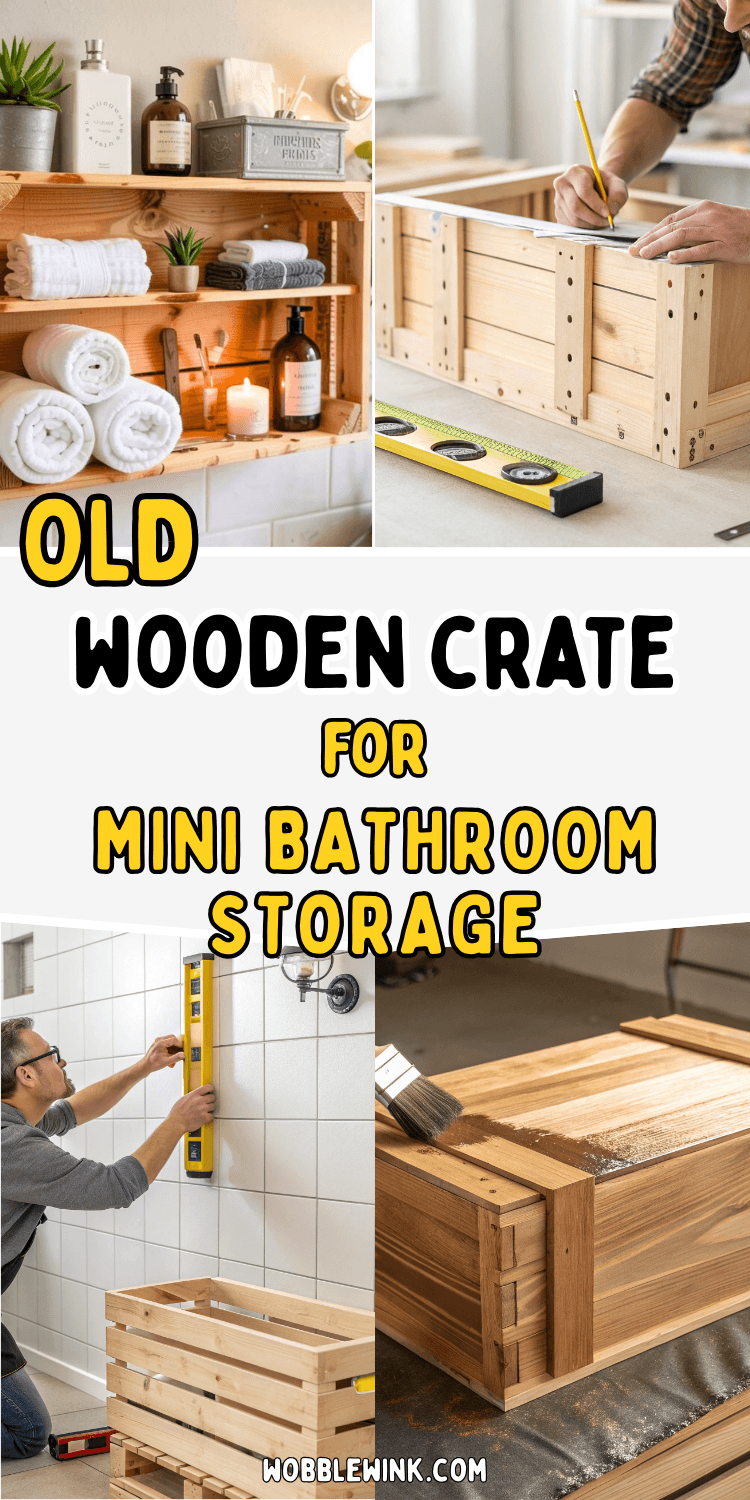
Project Introduction
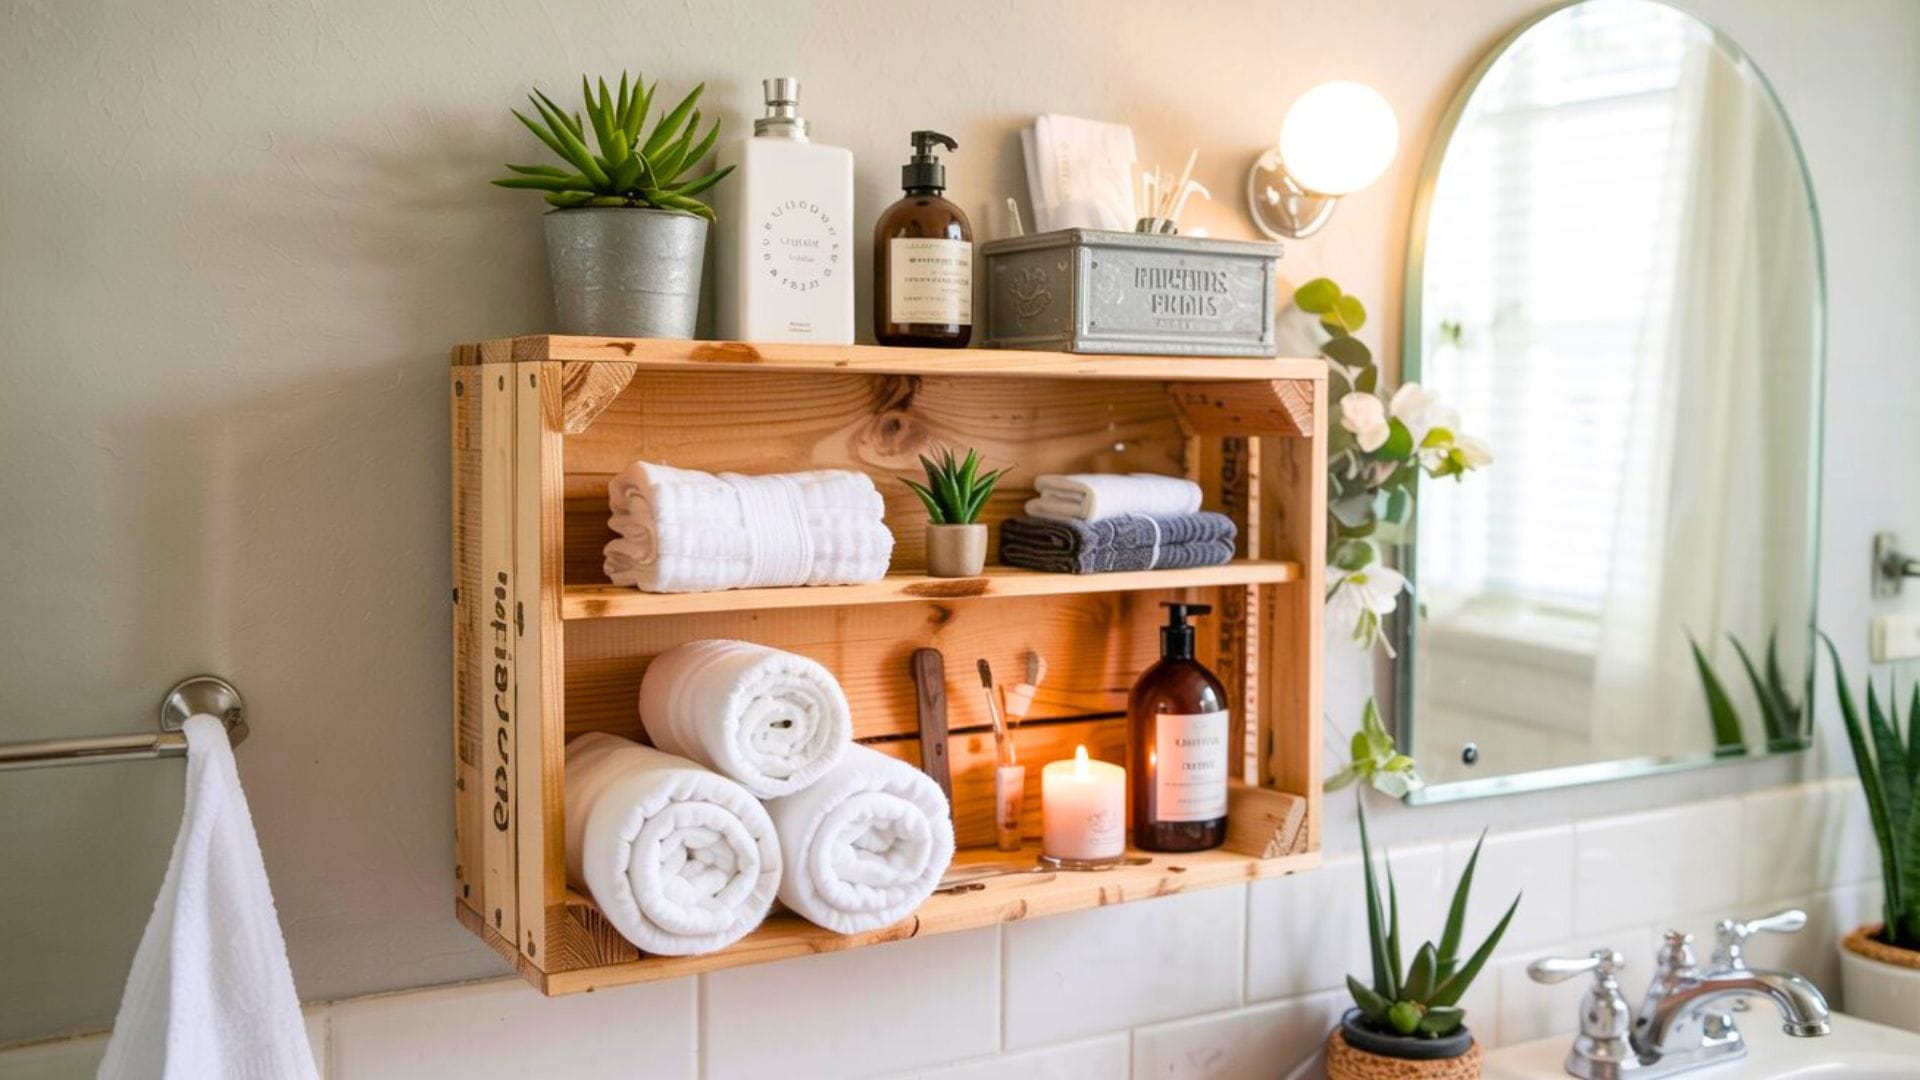
Transform a humble wooden crate into a stylish and functional bathroom storage shelf that adds rustic charm while maximizing your space. This delightful upcycling project breathes new life into forgotten fruit crates or wine boxes, creating a unique storage solution perfect for toiletries, towels, or decorative items.

The natural wood texture and vintage appeal will complement any bathroom décor from farmhouse to modern industrial.
Key Benefits:
- Cost-effective: Repurposes materials that might otherwise be discarded
- Customizable: Easy to paint, stain, or distress to match your style
- Space-saving: Maximizes vertical wall space in small bathrooms
- Eco-friendly: Reduces waste through creative upcycling
Time Commitment: 3-4 hours (including drying time) Difficulty Level: Beginner
Materials & Tools List
Table 1: Materials (Consumables)
| Item | Quantity | Notes |
|---|---|---|
| Wooden Crate | 1 | Fruit crate or wine box, approximately 12″ x 9″ x 6″ |
| Wood Screws | 8-10 pieces | 1¼” length, #8 gauge |
| Wall Anchors | 2-4 pieces | Appropriate for your wall type (drywall/tile) |
| Sandpaper | 3 sheets | 120, 180, and 220 grit |
| Wood Stain or Paint | 1 container | Water-based, bathroom-safe finish |
| Polyurethane Sealant | 1 small can | Clear, satin finish, moisture-resistant |
| Wall Mounting Brackets | 2 pieces | Heavy-duty, rated for 15+ lbs |
Table 2: Tools (Equipment)
| Tool | Notes |
|---|---|
| Drill/Driver | With wood and masonry bits |
| Level | 24″ or longer for accurate mounting |
| Stud Finder | Essential for secure wall mounting |
| Measuring Tape | Standard 16′ tape |
| Pencil | For marking |
| Safety Glasses | Impact-resistant |
| Dust Mask | N95 or equivalent for sanding |
| Drop Cloth | To protect work surface |
Safety Briefing
- Wear safety glasses at all times when drilling, sanding, or using power tools
- Use a dust mask during all sanding operations to avoid inhaling particles
- Work in a well-ventilated area when applying stains, paints, or sealants
- Check wall type before drilling and use appropriate anchors to prevent damage
- Keep workspace clean and free of sawdust to prevent slipping hazards
- Allow proper drying time between coats to ensure chemical safety and finish quality
Step-by-Step Instructions
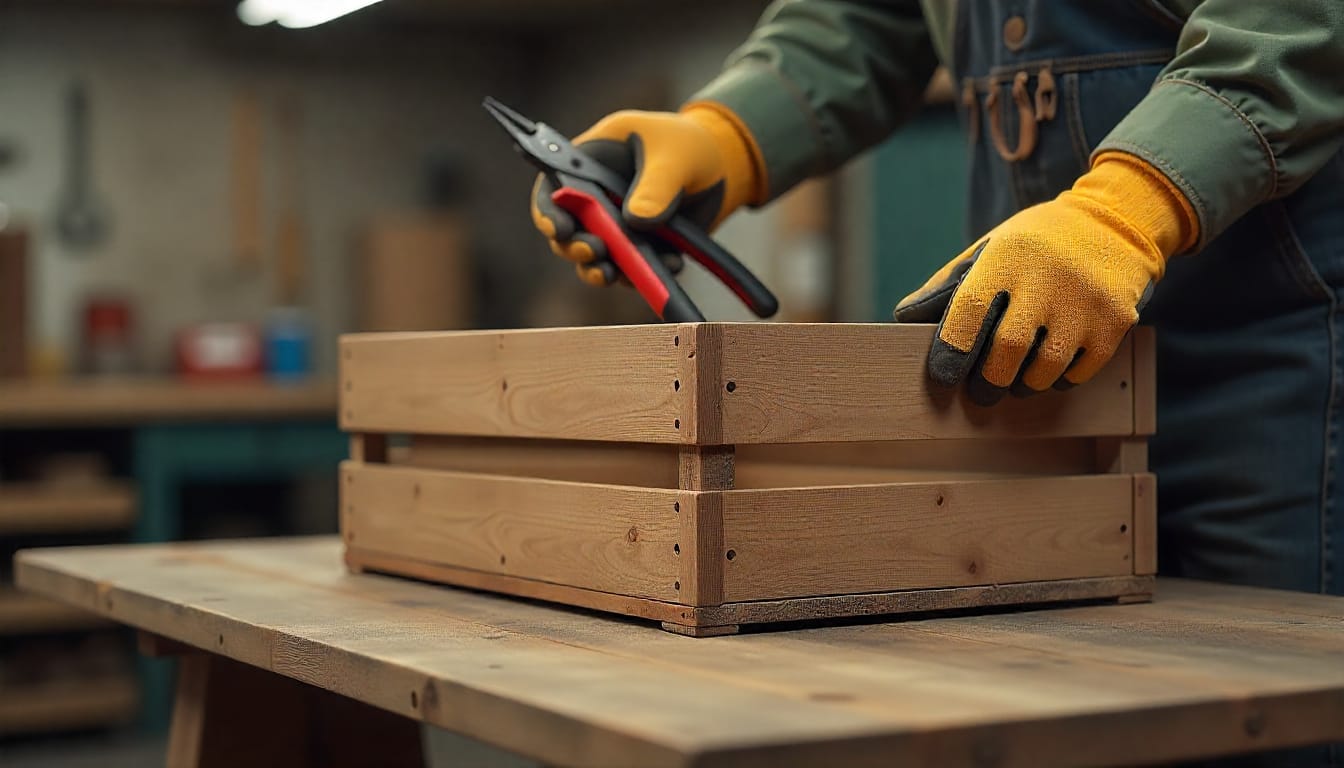
Step 1: Inspect and Prepare the Crate
Action: Thoroughly examine your wooden crate for loose boards, protruding nails, or damaged sections that need repair. Remove any old labels, staples, or hardware, then clean the entire surface with a damp cloth to remove dirt and debris.
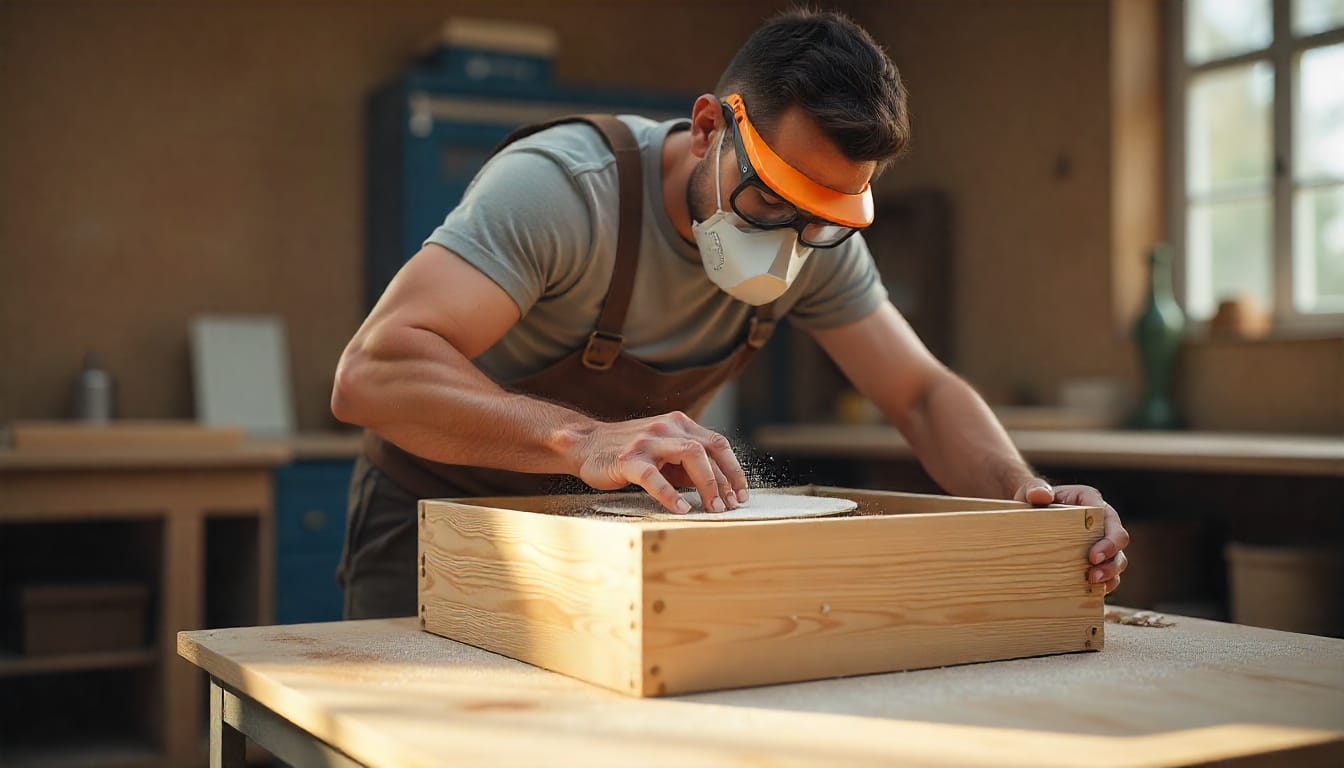
Step 2: Sand the Entire Crate
Action: Begin with 120-grit sandpaper to smooth rough areas and remove splinters, then progress to 180-grit for a finer finish. Pay special attention to the interior surfaces where you’ll be placing items. Finish with 220-grit sandpaper for a silky-smooth surface that will accept stain evenly.
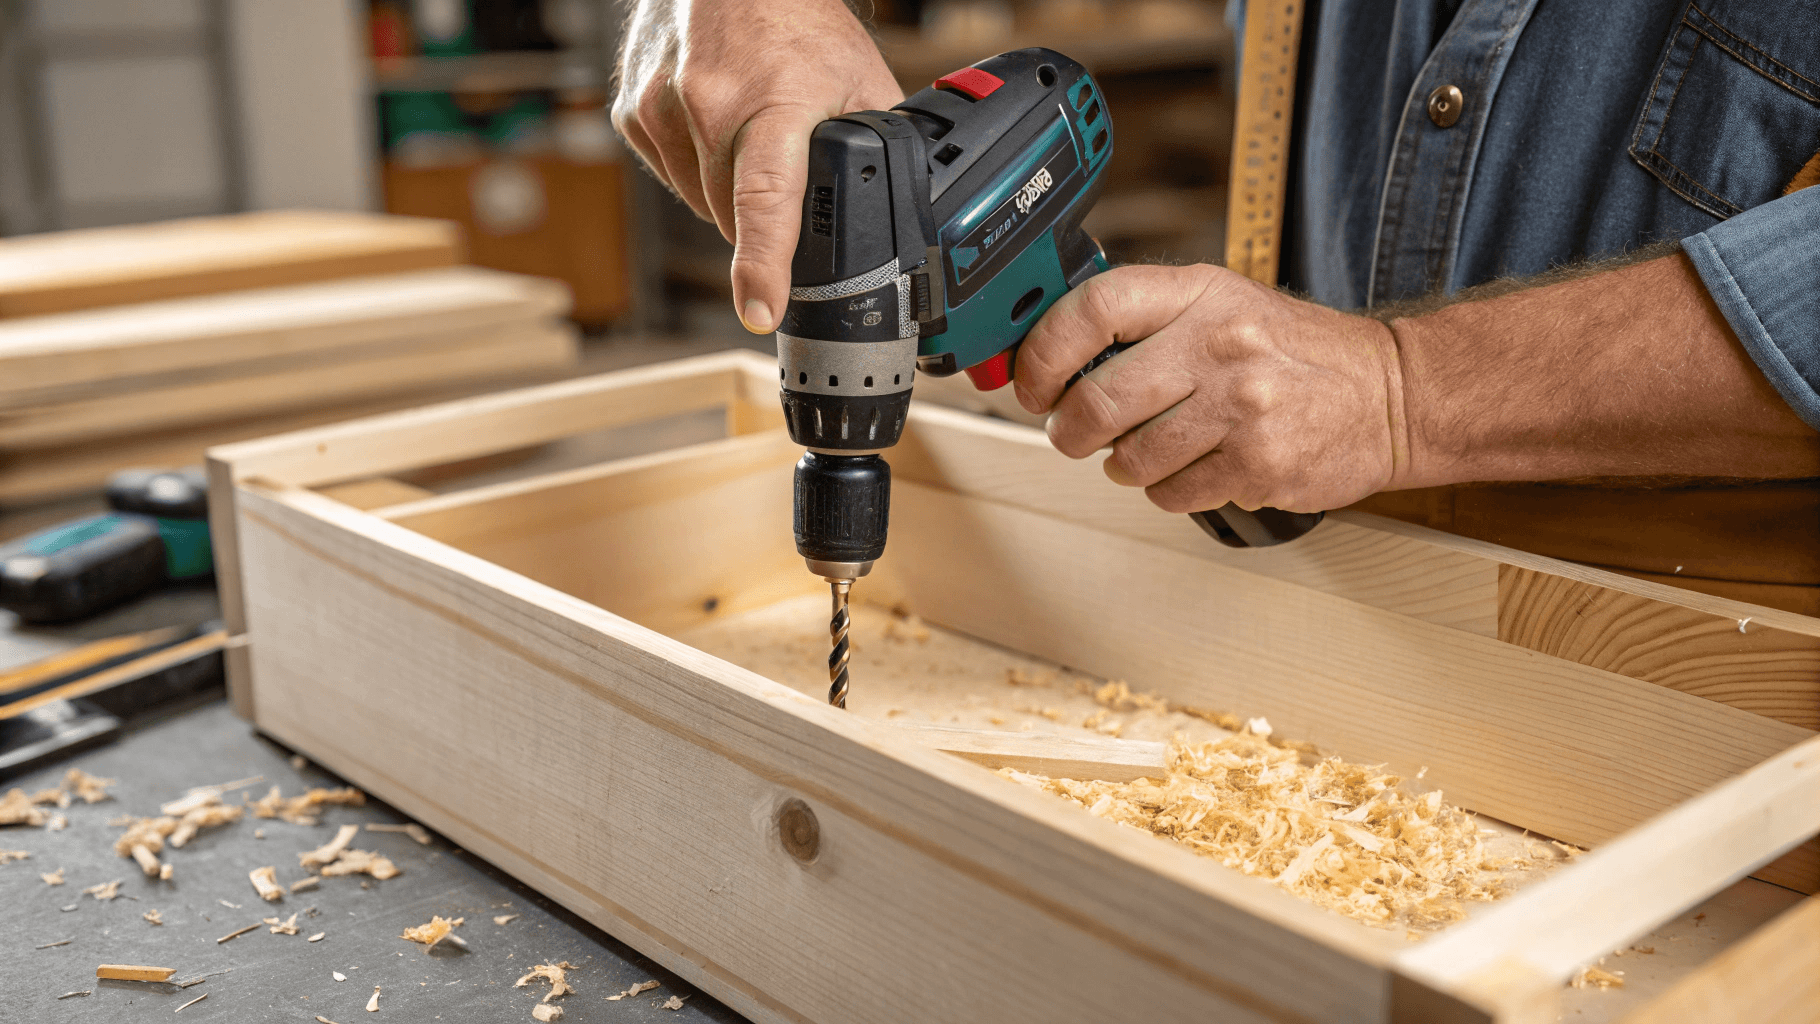
Step 3: Reinforce Loose Joints
Action: Check all corner joints and boards for stability. If you find any loose connections, drill pilot holes and secure with 1¼” wood screws. Drive screws from the inside of the crate when possible to maintain a clean exterior appearance.
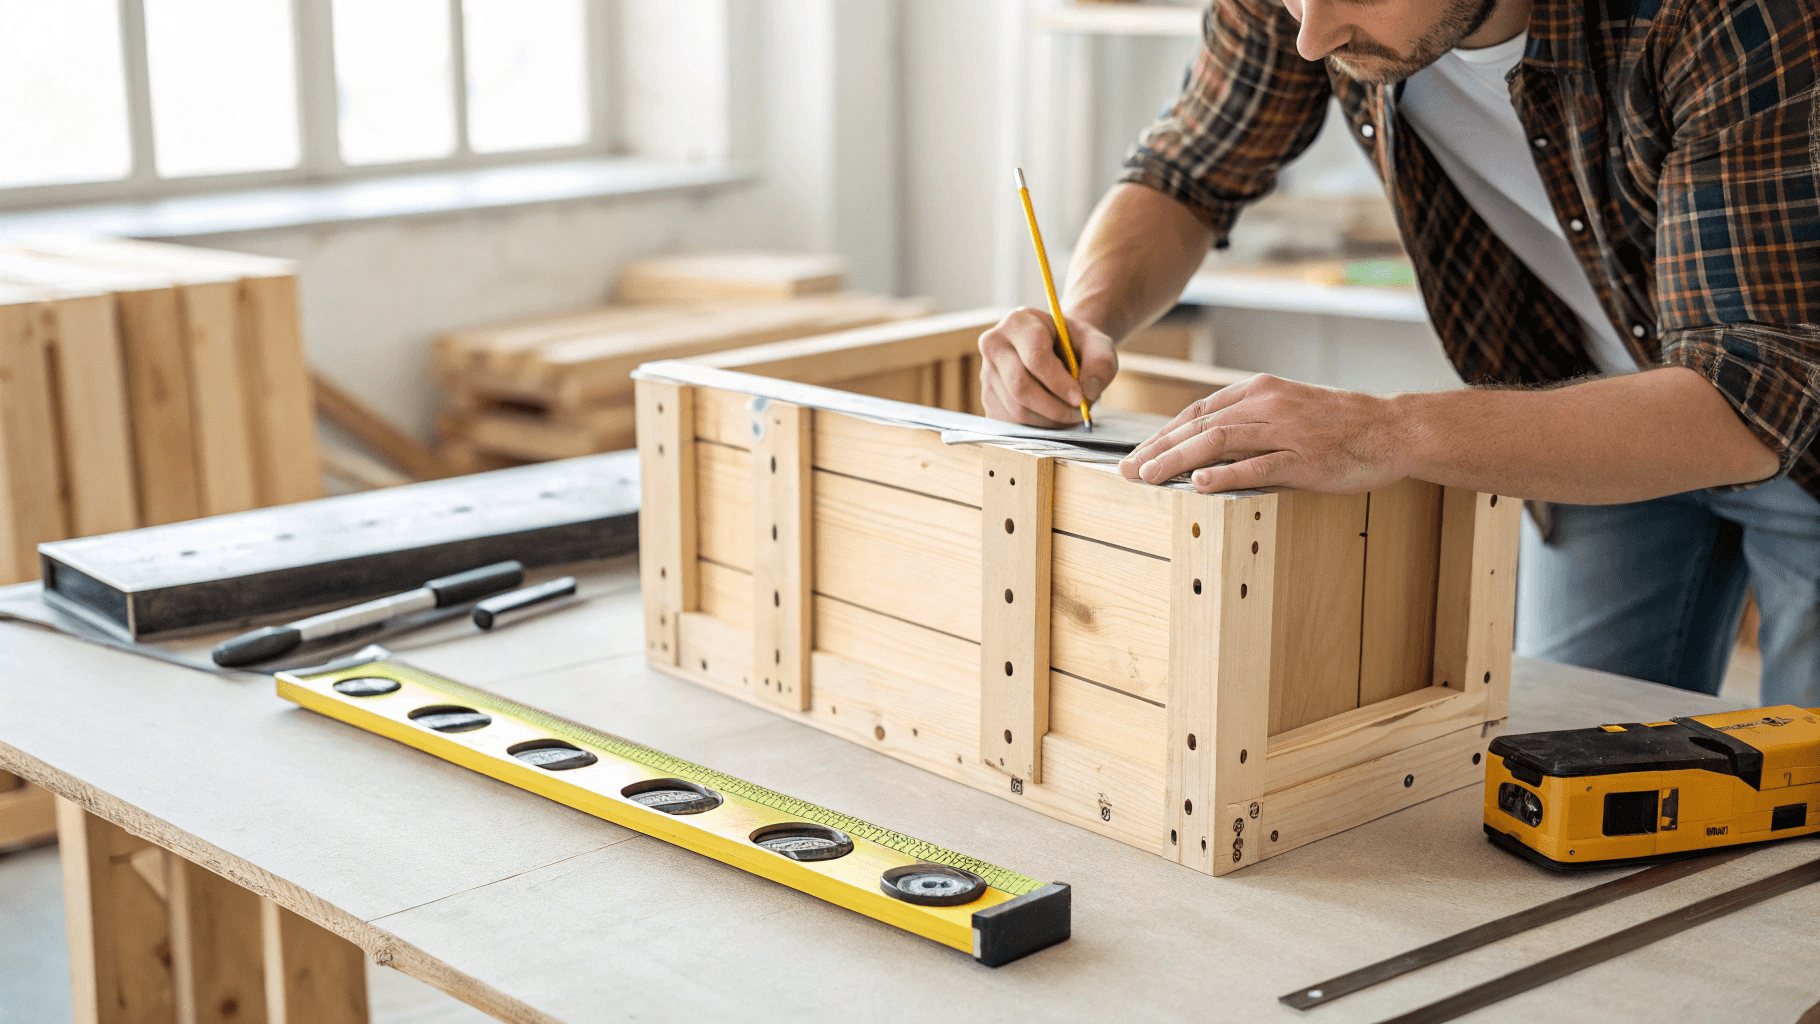
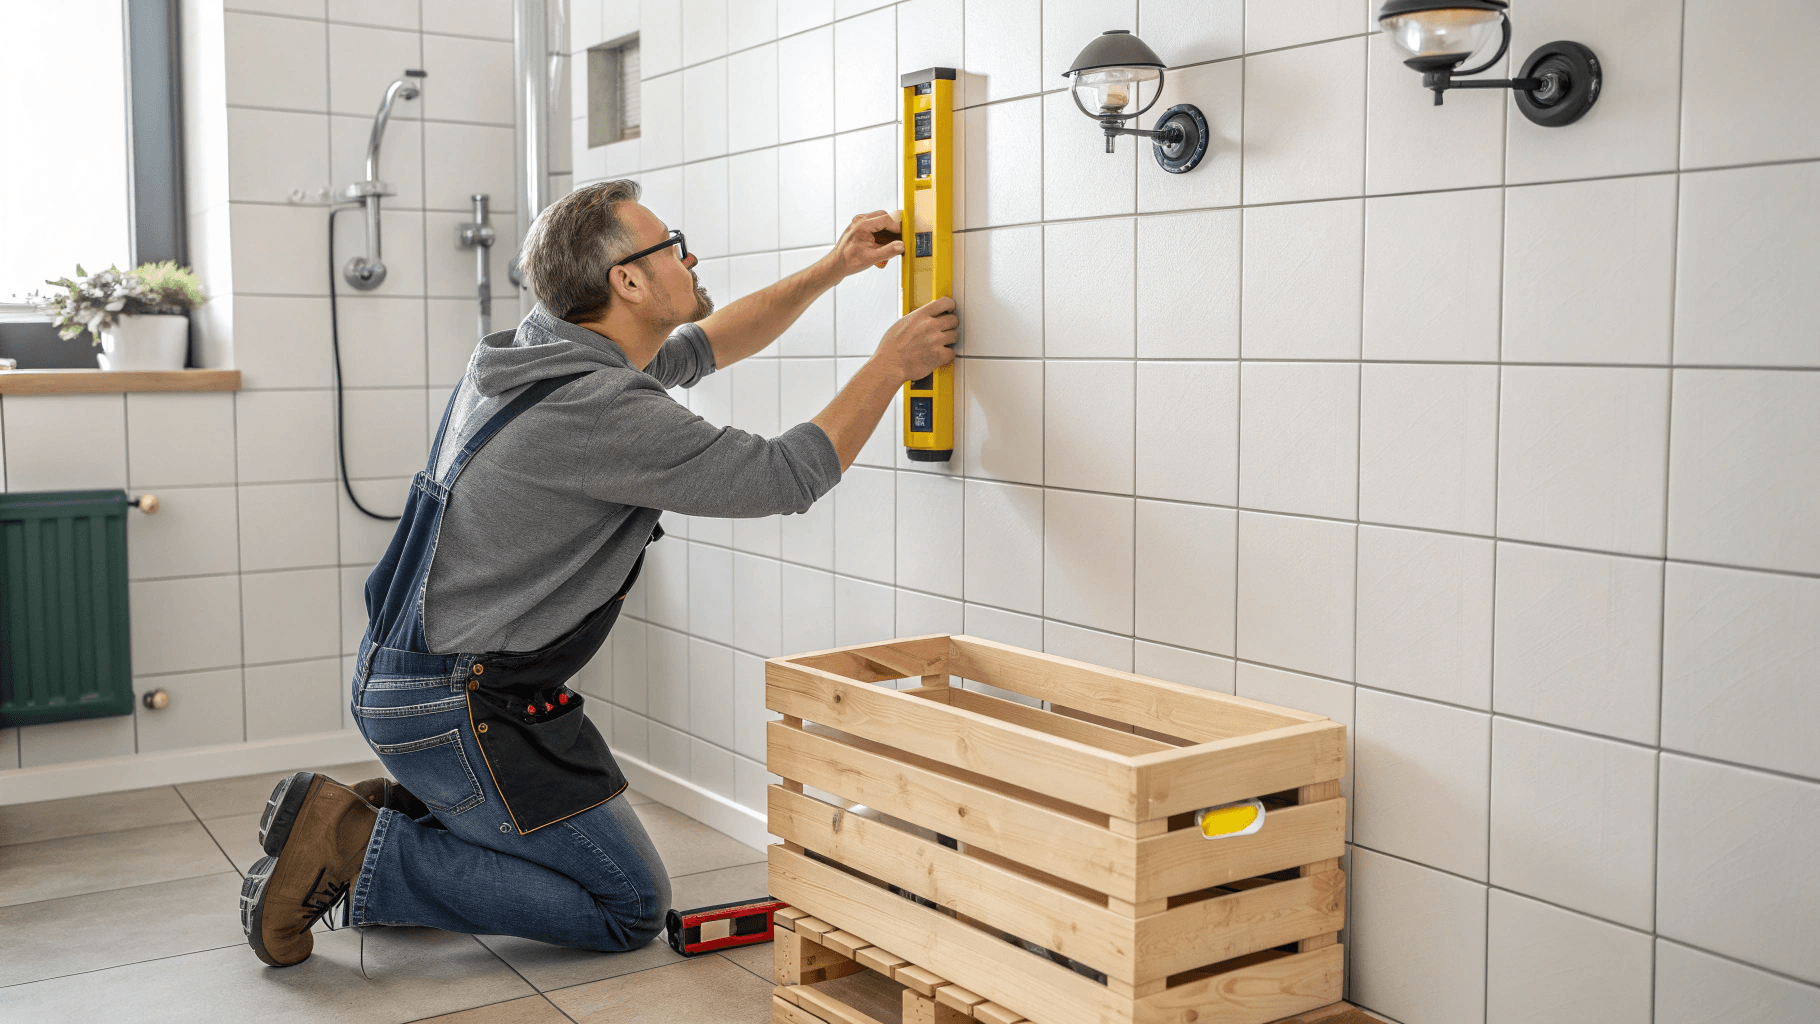
Step 4: Plan Your Mounting System
Action: Decide whether you want the crate opening facing forward (for open shelving) or upward (for closed storage). Mark the back panel where you’ll attach mounting brackets, ensuring they align with wall studs for maximum support. Use a level to ensure your marks are perfectly horizontal.
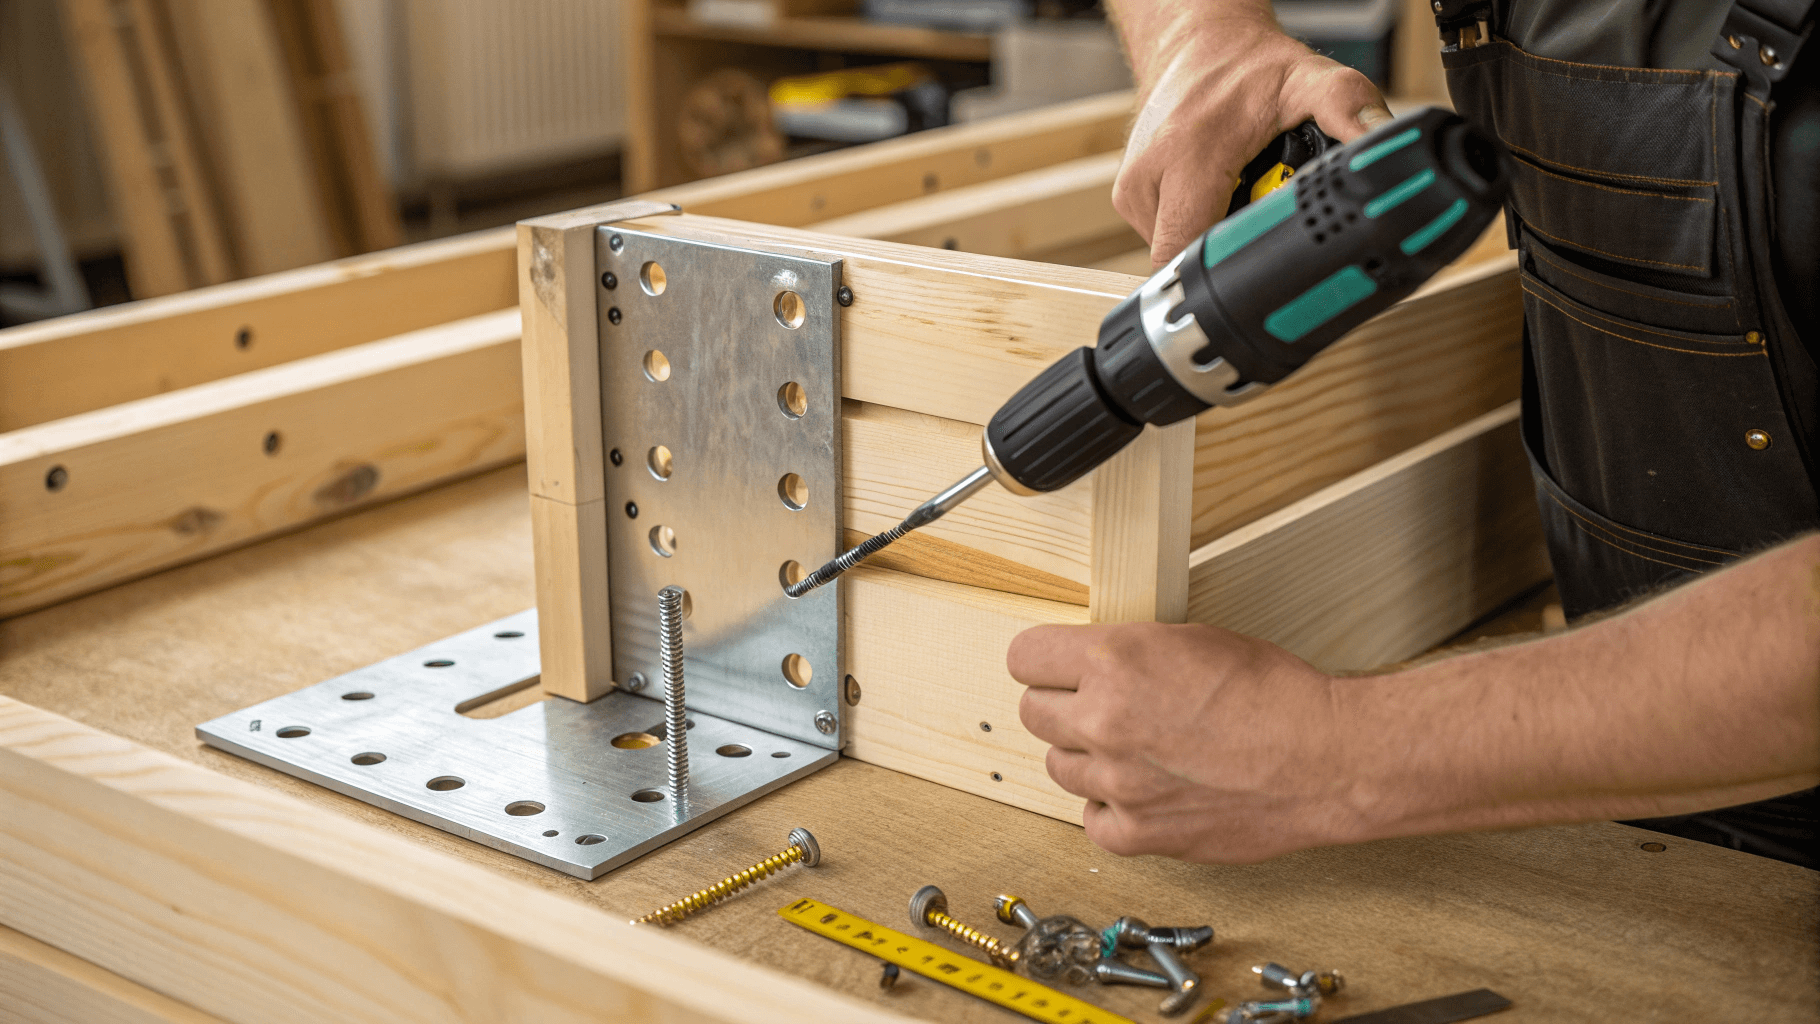
Step 5: Install Mounting Brackets
Action: Drill pilot holes at your marked locations and attach heavy-duty mounting brackets to the back panel using wood screws. Choose brackets rated for at least 15 pounds to ensure your loaded shelf stays securely mounted. Test the attachment by gently pulling on the brackets.
Step 6: Apply Your Chosen Finish
Action: Using a high-quality brush or foam applicator, apply your chosen stain or paint in thin, even coats following the wood grain direction. For bathrooms, consider a moisture-resistant stain that enhances the natural wood character while providing protection against humidity.
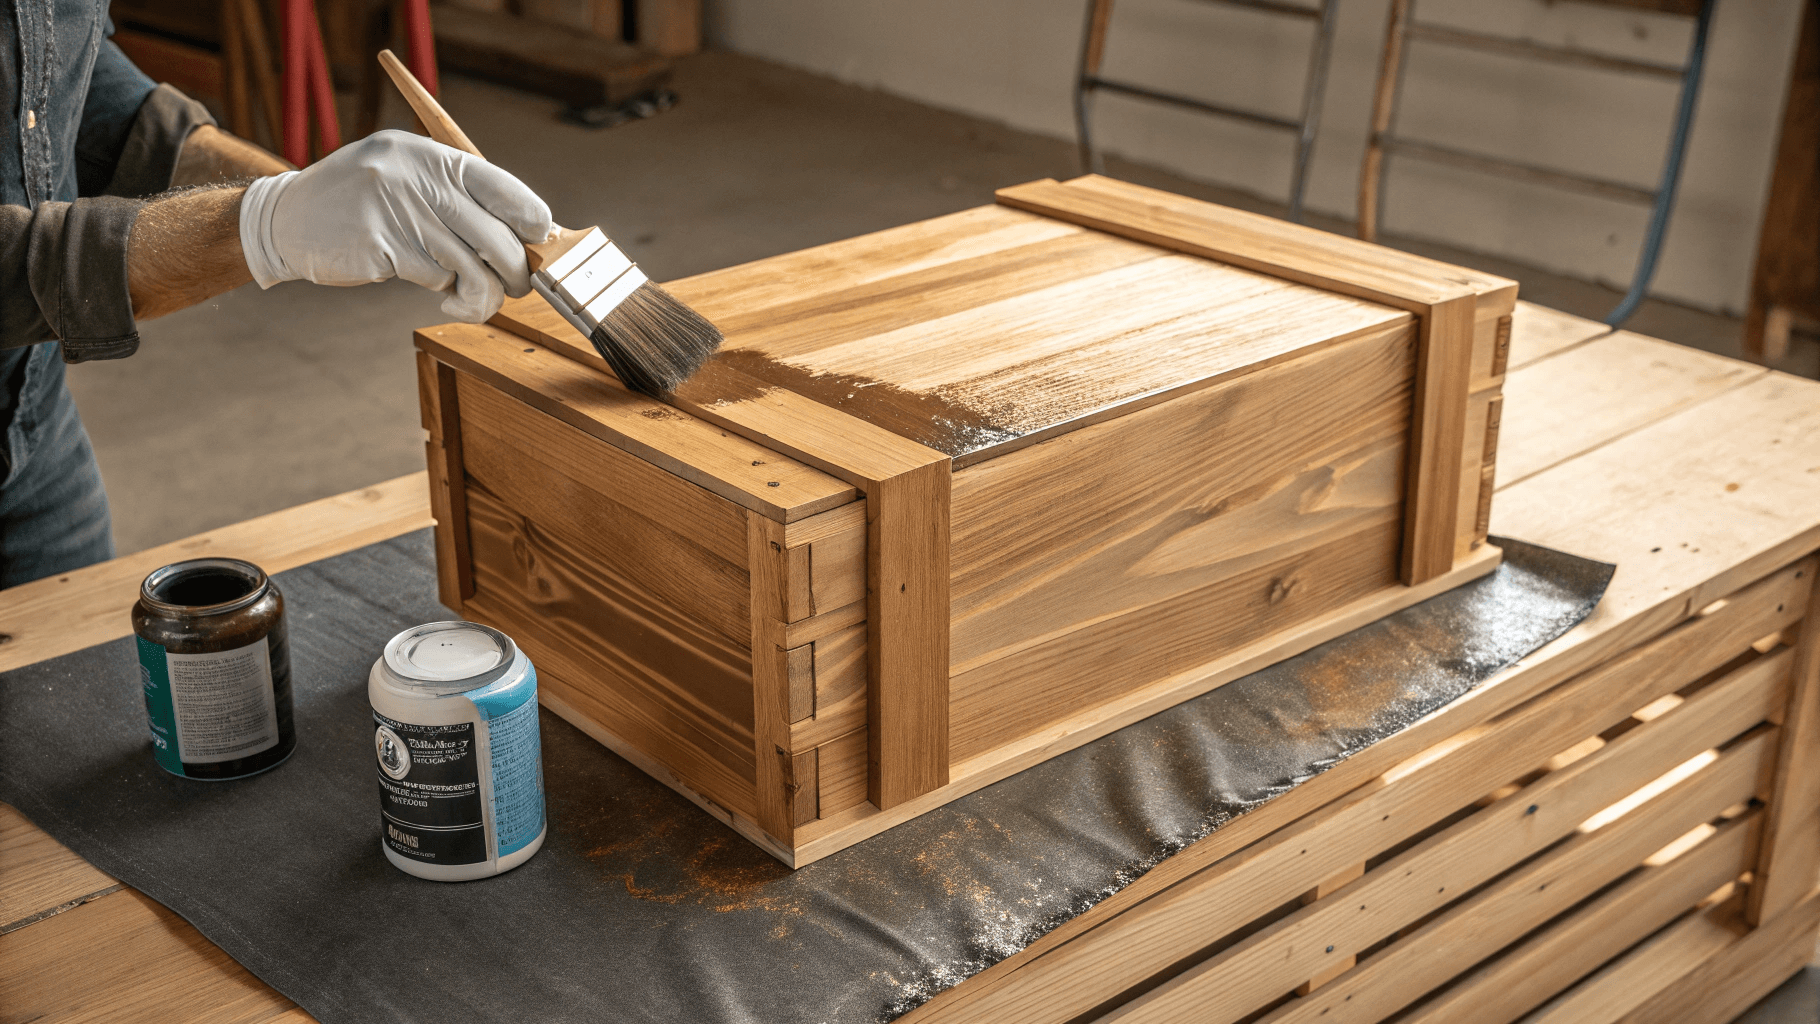
Step 7: Seal for Bathroom Use
Action: Once your stain or paint is completely dry (follow manufacturer’s recommendations), apply a clear polyurethane sealant designed for high-moisture environments. Use thin coats and allow proper drying time between applications for maximum durability and water resistance.
Step 8: Locate Wall Studs and Mark Mounting Points
Action: Use your stud finder to locate at least one wall stud where your shelf will mount. Mark the stud locations with light pencil marks, then hold your prepared crate against the wall at your desired height. Use a level to ensure it’s perfectly horizontal, then mark where the brackets will contact the wall.
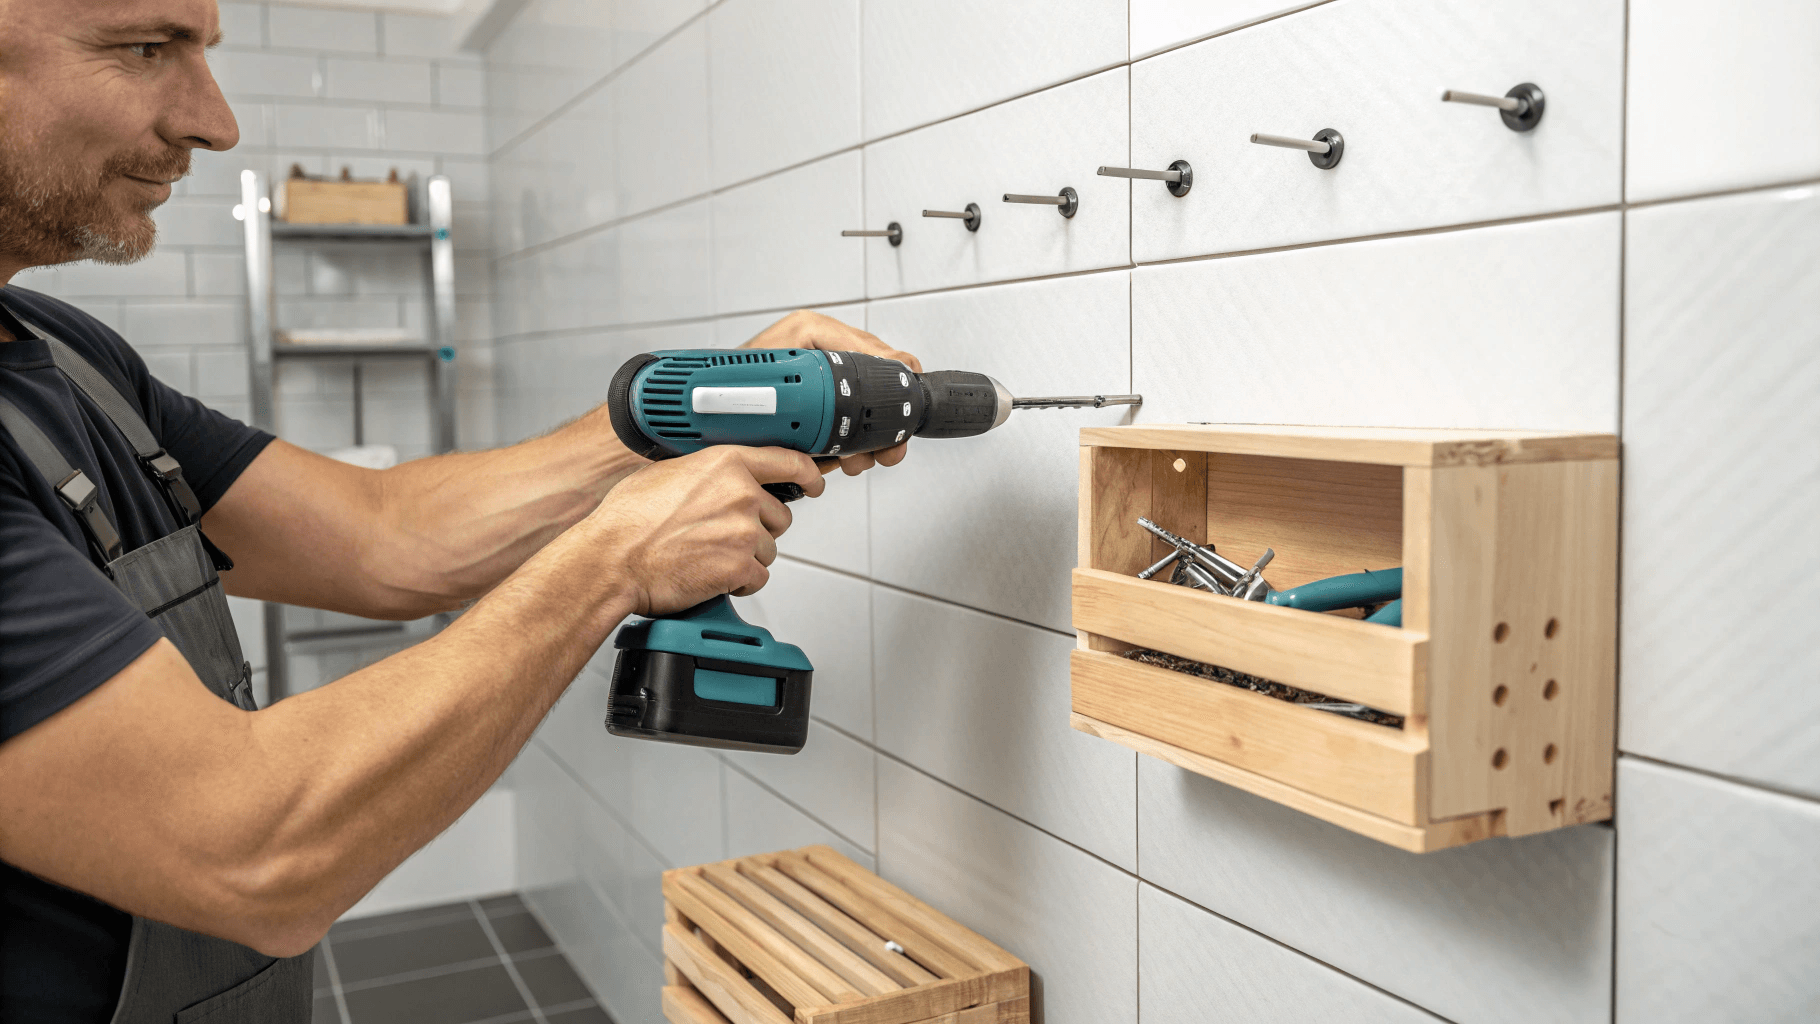
Step 9: Install Wall Anchors and Mount the Shelf
Action: Drill holes for your wall anchors at the marked locations, using the appropriate drill bit size for your anchor type. Install the anchors flush with the wall surface, then carefully mount your finished crate shelf, ensuring it sits level and feels secure before adding any weight.
Finishing Touches
For the final protective finish, lightly sand between coats with 220-grit paper if you’re applying multiple coats of polyurethane. This ensures optimal adhesion and a glass-smooth final surface.
Consider adding felt pads to the bottom interior corners to protect items you’ll store and prevent sliding. If you want to add personality, consider rope handles attached to the sides or small hooks screwed to the bottom for hanging washcloths or loofahs.
Final Result & Usage
AI Image Prompt for Final Shot: Photorealistic image of the beautifully finished rustic wooden crate shelf mounted on a modern bathroom wall, filled with neatly arranged white towels, small potted plants, and stylish toiletry containers.
Natural light streams in from a frosted window, creating a warm, inviting atmosphere. The wood grain and finish are clearly visible, professional home décor photography style, 8k resolution.
Your new bathroom storage shelf is perfect for holding everyday essentials like extra toilet paper, towels, toiletries, or decorative items. The moisture-resistant finish makes it ideal for humid bathroom environments.
Clean it regularly with a slightly damp cloth, and reapply polyurethane annually in high-moisture areas to maintain protection. Avoid placing extremely heavy items on the shelf, and check mounting hardware periodically to ensure continued security.
Troubleshooting & Pro-Tips
Common Issues & Solutions:
- If the crate feels wobbly after mounting: Check that your wall anchors are appropriate for your wall type and properly installed. Consider adding additional mounting points for extra stability.
- If the stain looks blotchy or uneven: This usually means the wood wasn’t sanded uniformly. Lightly sand the affected area and apply a wood conditioner before re-staining.
- If items slide around inside the shelf: Add a thin piece of rubber shelf liner or install small wooden dividers to create organized compartments.
Pro-Tips for Professional Results:
- Pre-drill all screw holes to prevent wood splitting, especially near edges and corners.
- Test your stain color on a hidden area first, as different wood types absorb stain differently.
- Use a tack cloth between sanding grits to remove all dust particles for the smoothest possible finish.
- Install during low humidity for the best finish adhesion and fastest drying times.
Final Thought;
This charming crate-to-shelf transformation proves that the most rewarding DIY projects often come from the simplest materials. By rescuing a forgotten wooden crate and giving it new purpose, you’ve created storage that’s both functional and full of character.
The beauty of this project lies not just in its practicality, but in the satisfaction of breathing new life into something that might have been discarded. Every time you reach for a towel or toiletry from your handcrafted shelf, you’ll feel that special pride that comes from creating something useful with your own hands. The rustic charm and personalized finish make this piece uniquely yours, while the moisture-resistant treatment ensures it will serve your bathroom faithfully for years to come.
Whether this is your first DIY adventure or one of many, you’ve proven that with a little creativity and effort, ordinary objects can become extraordinary solutions. Your bathroom is now a little more organized, a lot more stylish, and completely reflective of your personal touch. Happy crafting, and enjoy your beautiful new storage solution!