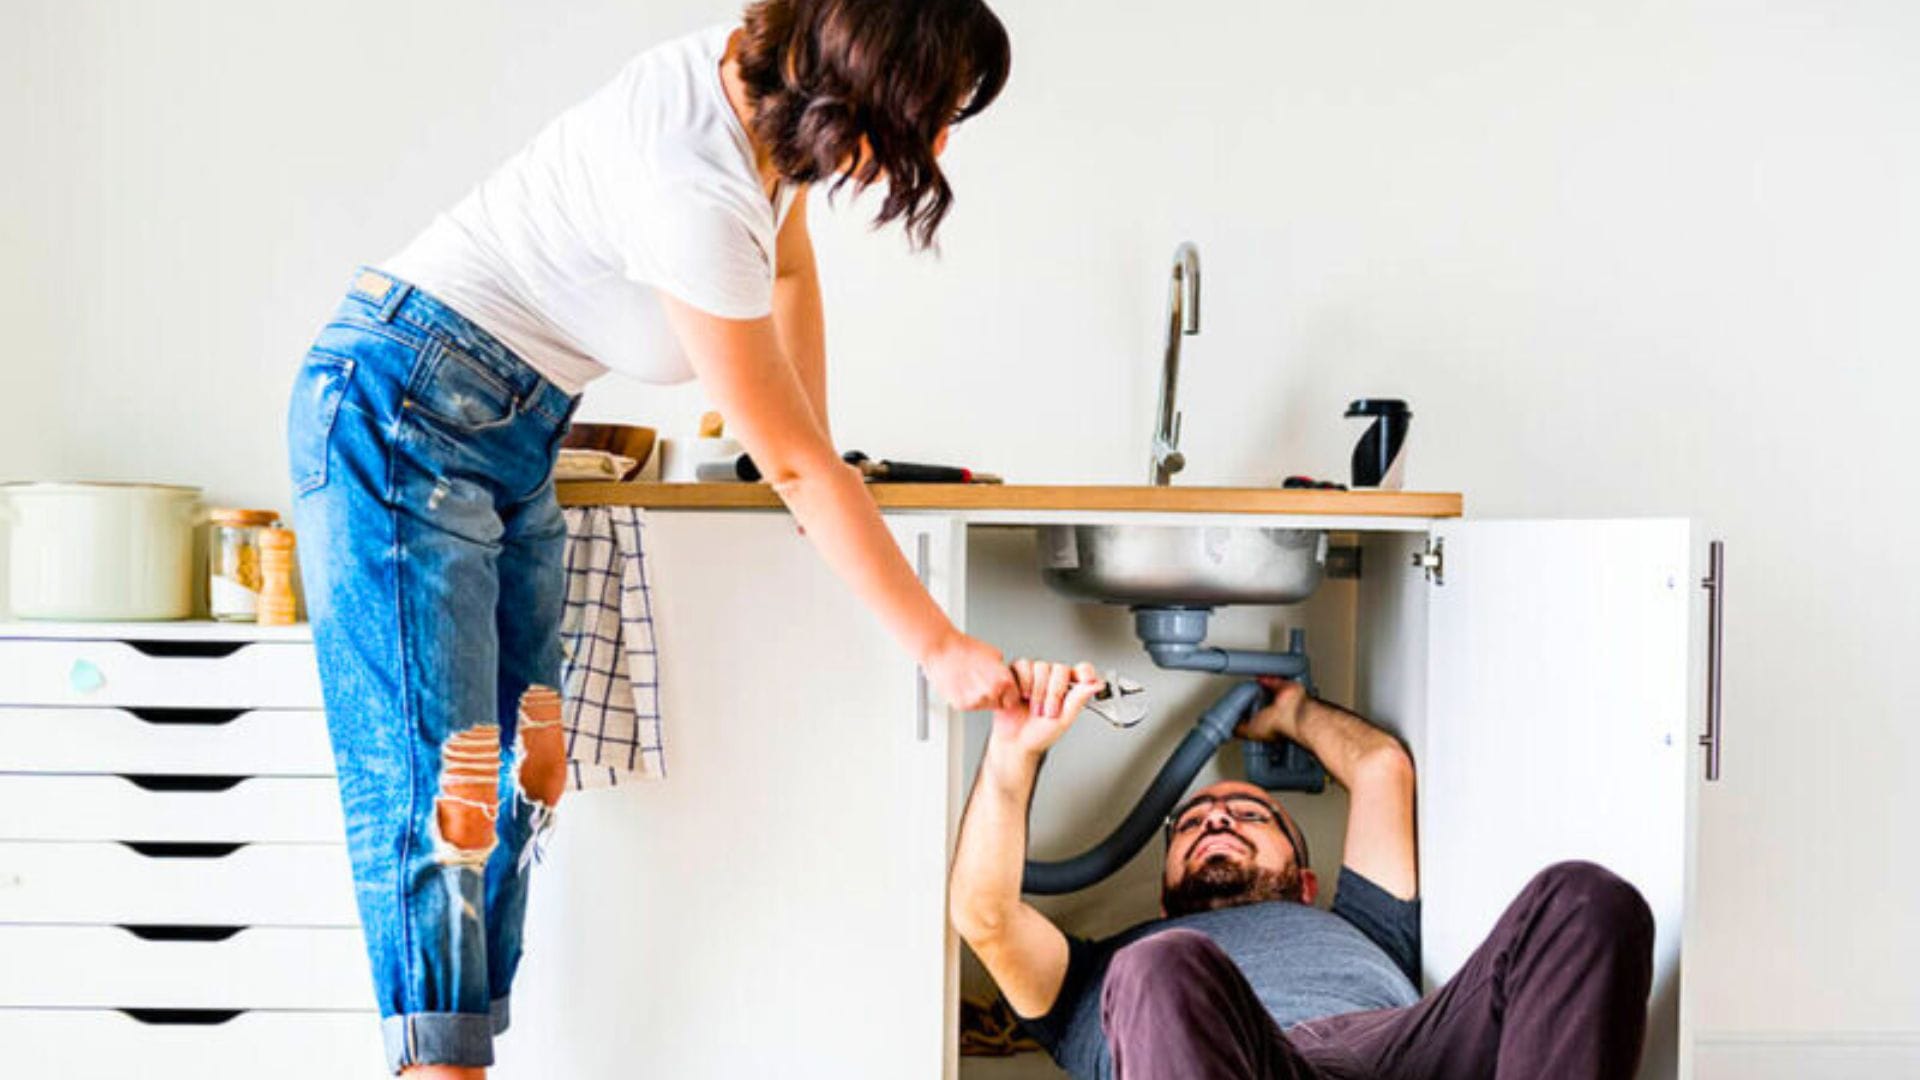
That dripping faucet has been driving you crazy for weeks. And that loose doorknob shakes every time someone walks in. But calling a handyman for small problems like these can cost you $200 before they even start working.
Here’s the truth: most homeowners waste $300–800 a year paying for simple repairs they could easily do themselves. If you’re scared to try, you’re not alone. Many people worry they’ll mess it up or just don’t know where to begin.
This guide shows you 5 easy DIY home repairs that anyone can do—no experience needed. You’ll use basic tools you already have, get clear step-by-step instructions, and see how much money and time you’ll save. We’ll also tell you when it’s smarter to call a professional.
Ready to save some cash this weekend? Let’s start with quick fixes that take less time than waiting for a handyman to call back.
Essential Tools You’ll Need for These 5 Repairs
Good news: you can handle all five weekend home projects with tools that cost less than $100 total. You don’t need a garage full of expensive equipment. A basic toolkit gets the job done.
Here’s what you need for beginner repairs. Get an adjustable wrench, a screwdriver set with Phillips and flathead heads, pliers, a utility knife, and a measuring tape.
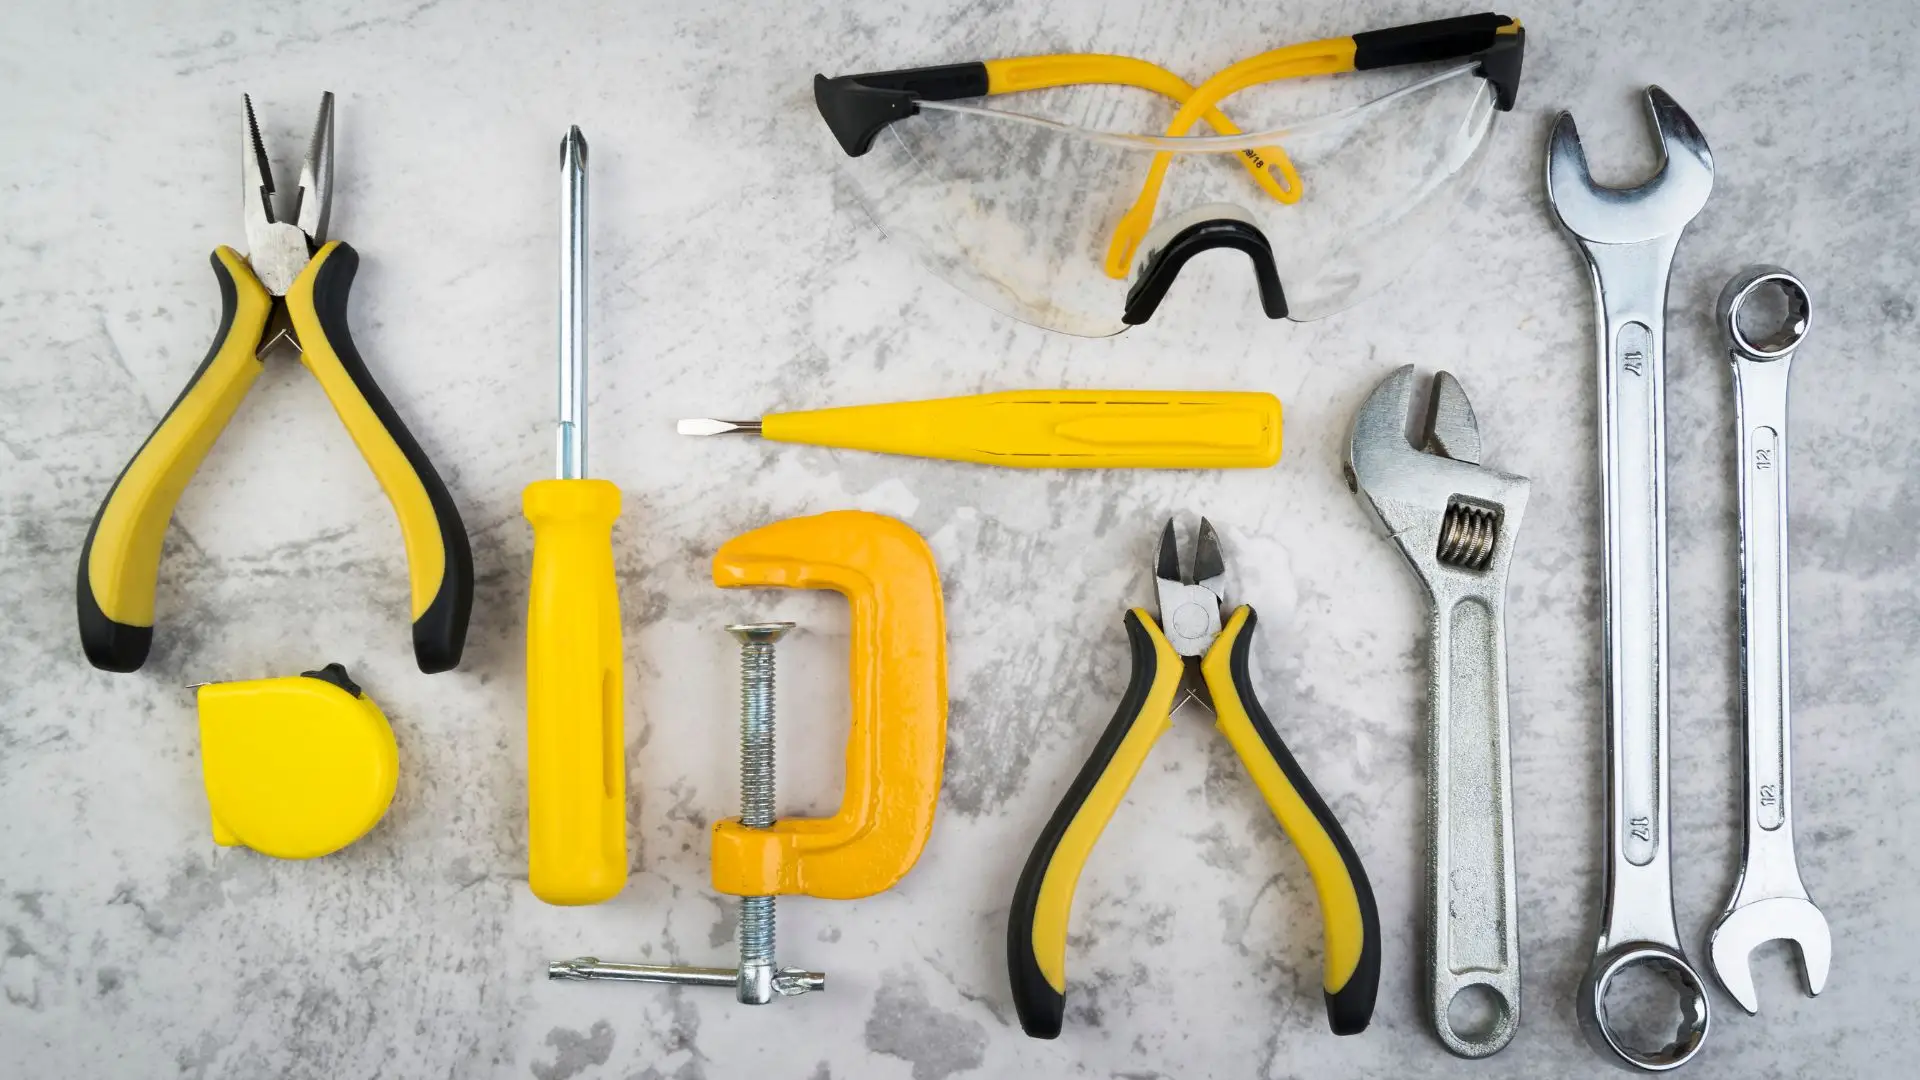
Amazon Basics sells a complete toolkit for around $40 that covers everything.
You’ll also need a few repair-specific items. Grab plumber’s tape (also called thread seal tape),
a caulk gun with caulk, sandpaper in different grits, wood filler or spackling paste, and touch-up paint. These are cheap and last for multiple projects.
Shop smart to save money. Harbor Freight has budget-friendly tools that work fine for occasional use. Home Depot and Lowe’s sell beginner starter kits. Amazon Basics is reliable and cheap. Estate sales sometimes have quality vintage tools for almost nothing.
Here’s my rule: buy quality tools for things you’ll use often, go budget-friendly for occasional repairs. That wrench you’ll use repeatedly? Spend $15 on a good one. That specialty tool you need once? Borrow it from a neighbor or rent it from Home Depot.
You’re now equipped for all five repairs.
1. Fix a Dripping Faucet (Save $200-300)
That annoying drip wastes 3,000 gallons of water every year and adds $35+ to your water bill. Most drips happen because a tiny rubber washer or O-ring wore out. This is one of the easiest DIY home repairs you can do.
You need an adjustable wrench, replacement washers or O-rings ($5-10 at any hardware store), plumber’s grease, and a towel or bucket. This easy home repair takes 30-45 minutes, even for beginners.
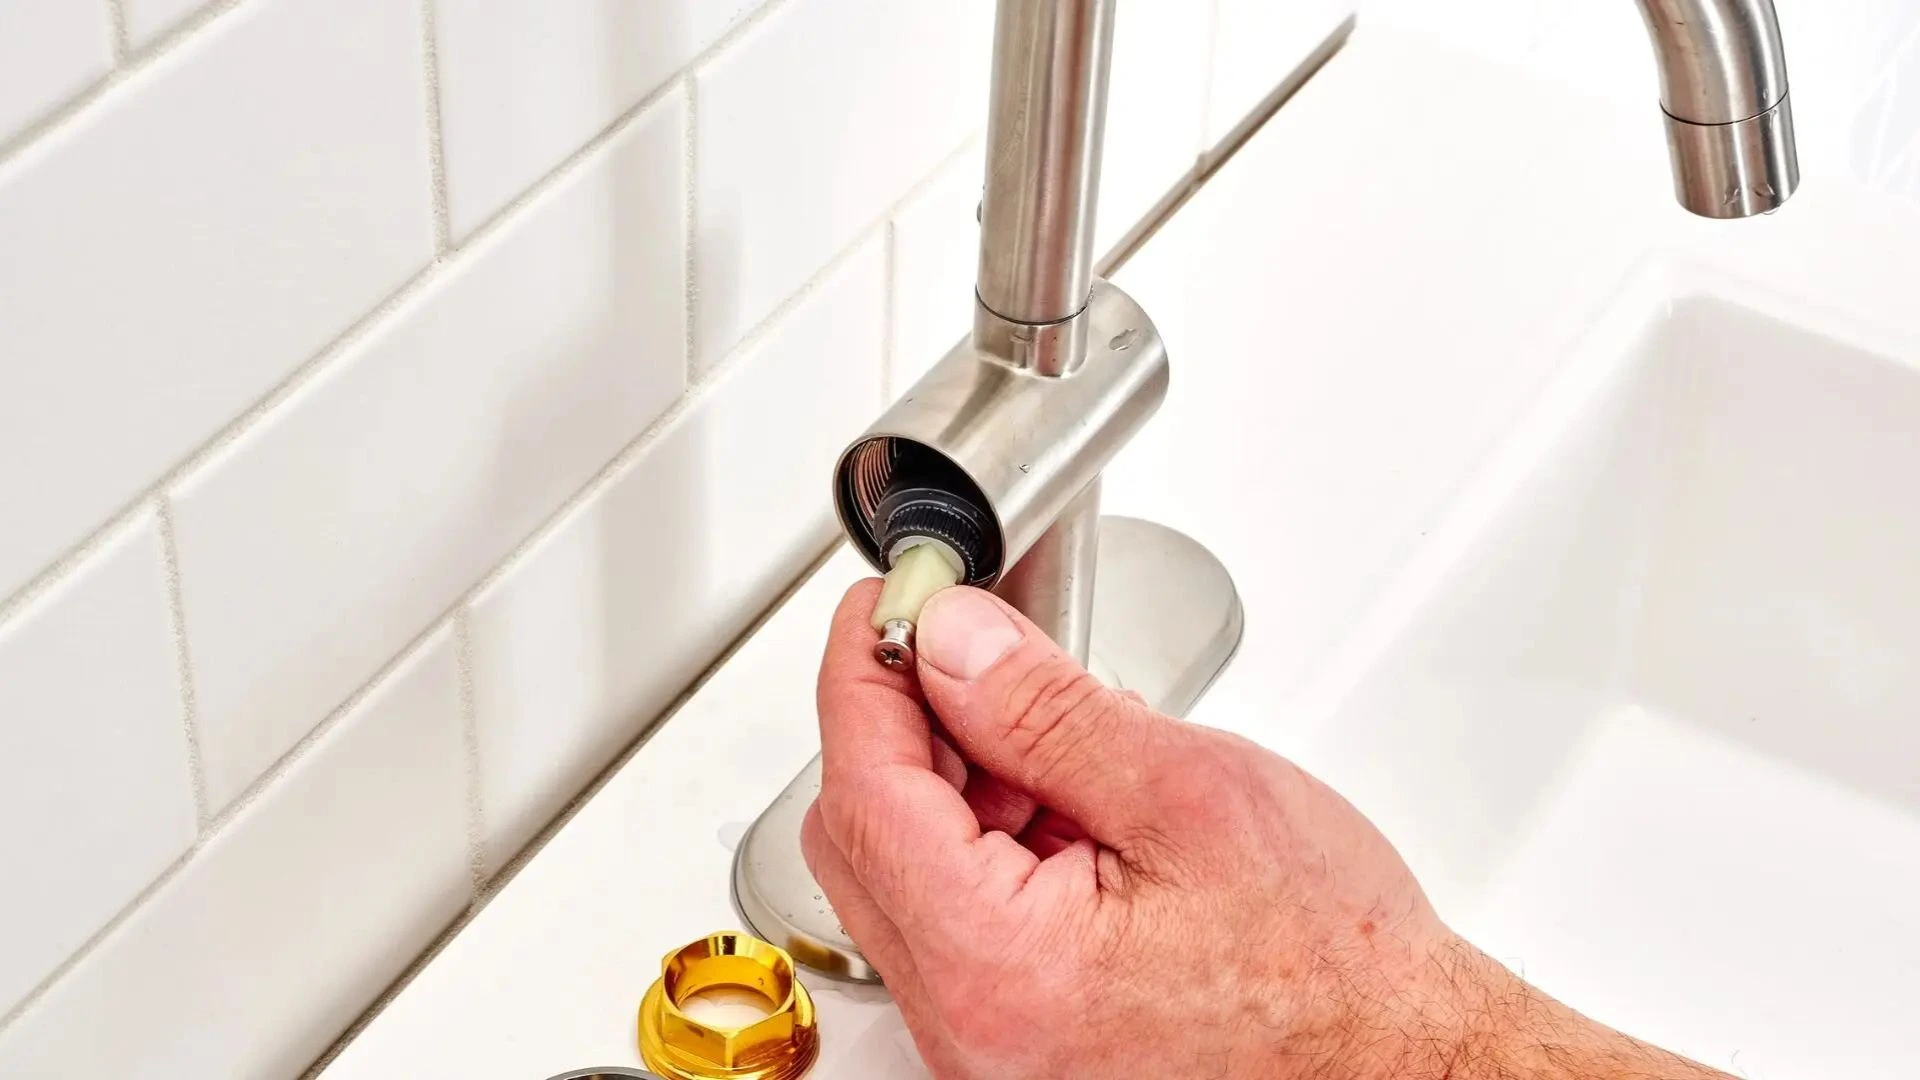
Here’s how to fix it step by step. First, turn off the water supply under your sink.

You’ll see a valve there—turn it clockwise. Next, remove the faucet handle. The screw might hide under a decorative cap you can pop off with your fingernail.
Take out the cartridge or stem assembly by unscrewing it. Here’s a pro tip: take photos with your phone as you take things apart. This helps you remember how everything goes back together.
Look at the rubber washer or O-ring. If it’s worn, cracked, or flat, that’s your problem. Take the old washer to Home Depot or Lowe’s so they can match the exact size. Older compression faucets need new washers every 2-3 years.
Put in the new washer,
add a bit of plumber’s grease, and put everything back the way it came apart. Turn the water back on and check for leaks.
Don’t make these mistakes. Never skip turning off the water—you’ll flood your bathroom. Keep all small parts in a bowl so you don’t lose them. Don’t overtighten when you reassemble things. You’ll crack the fixture.
Still dripping after you finish? The valve seat might be damaged. Multiple drips mean you might need a whole new cartridge. If you see corroded fixtures or pipe damage, call a plumber.
2. Patch Drywall Holes (Save $150-250)
A 4-pack of wall repair patches costs $12 at Home Depot, but hiring someone to patch your walls runs $150-250. This is perfect for weekend home projects because it’s simple and makes a huge visual difference.
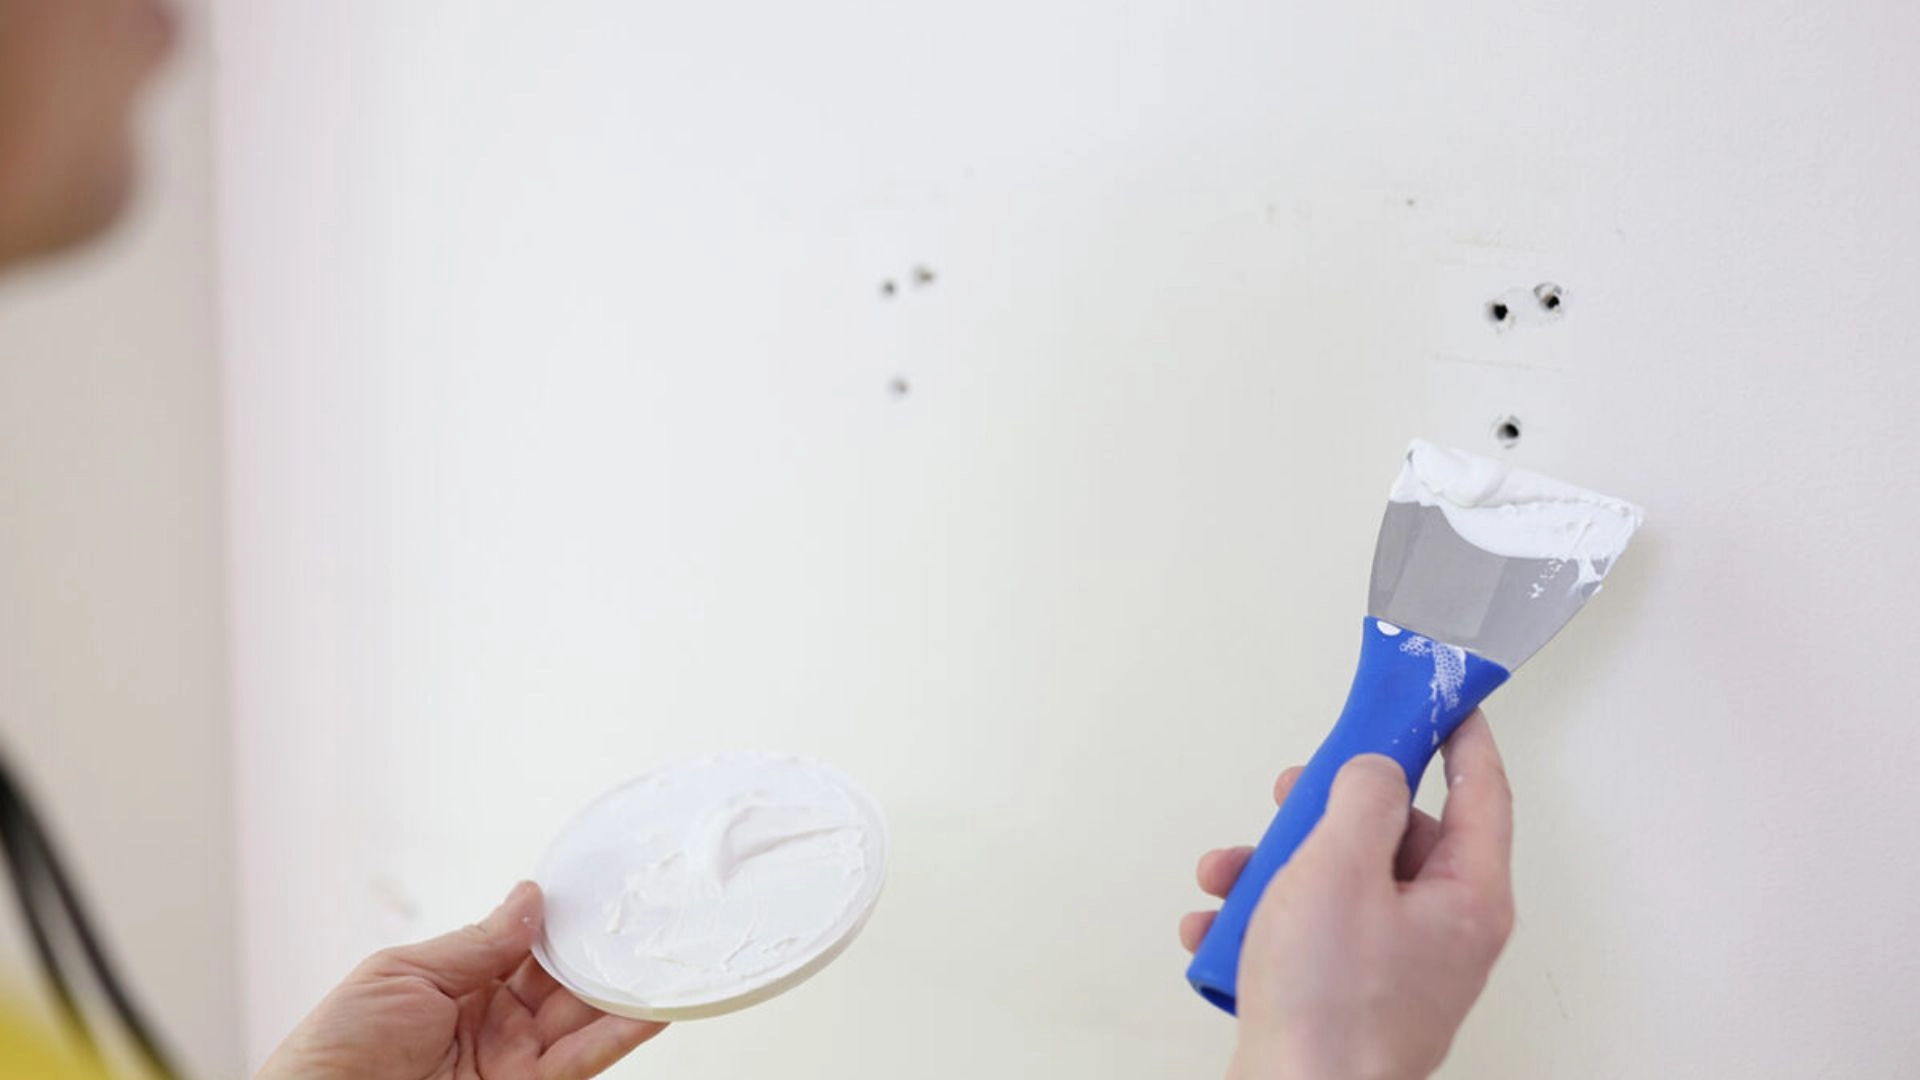
You can fix two types of holes yourself. Nail holes under half an inch need only spackling paste.
Medium holes between half an inch and 4 inches need a patch kit. Large holes that need new drywall sheets? Call a pro for those.
Grab spackling paste or joint compound ($8-12), a putty knife, sandpaper in 120 and 220 grit, primer, and paint. For bigger holes, get a self-adhesive mesh patch. Plan for 1-2 hours of work, plus drying time between coats.
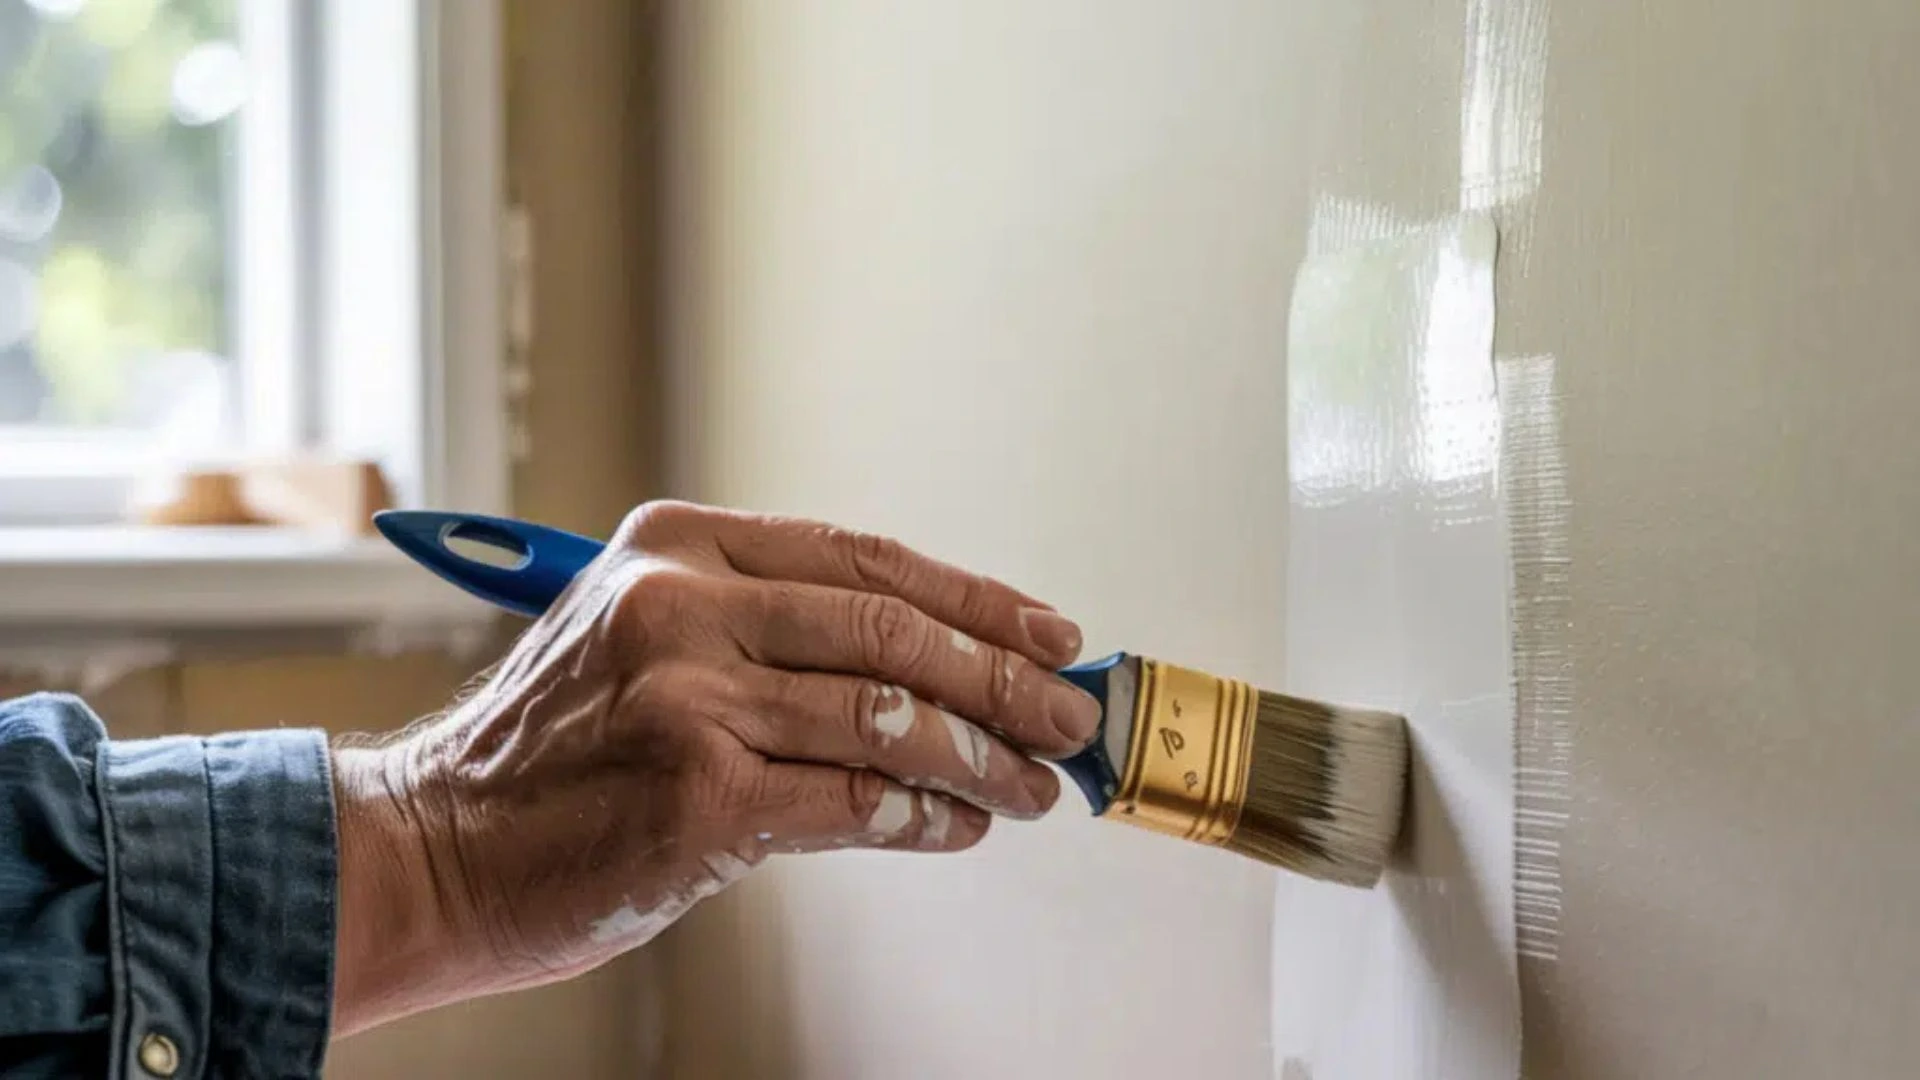
For small nail holes, clean the edges first. Apply spackling with your putty knife and smooth it flat. Let it dry completely—this takes 1-2 hours. Sand it smooth with 220-grit sandpaper, then prime and paint to match your wall.
Medium holes need more steps but stay simple. Stick a self-adhesive mesh patch over the hole.
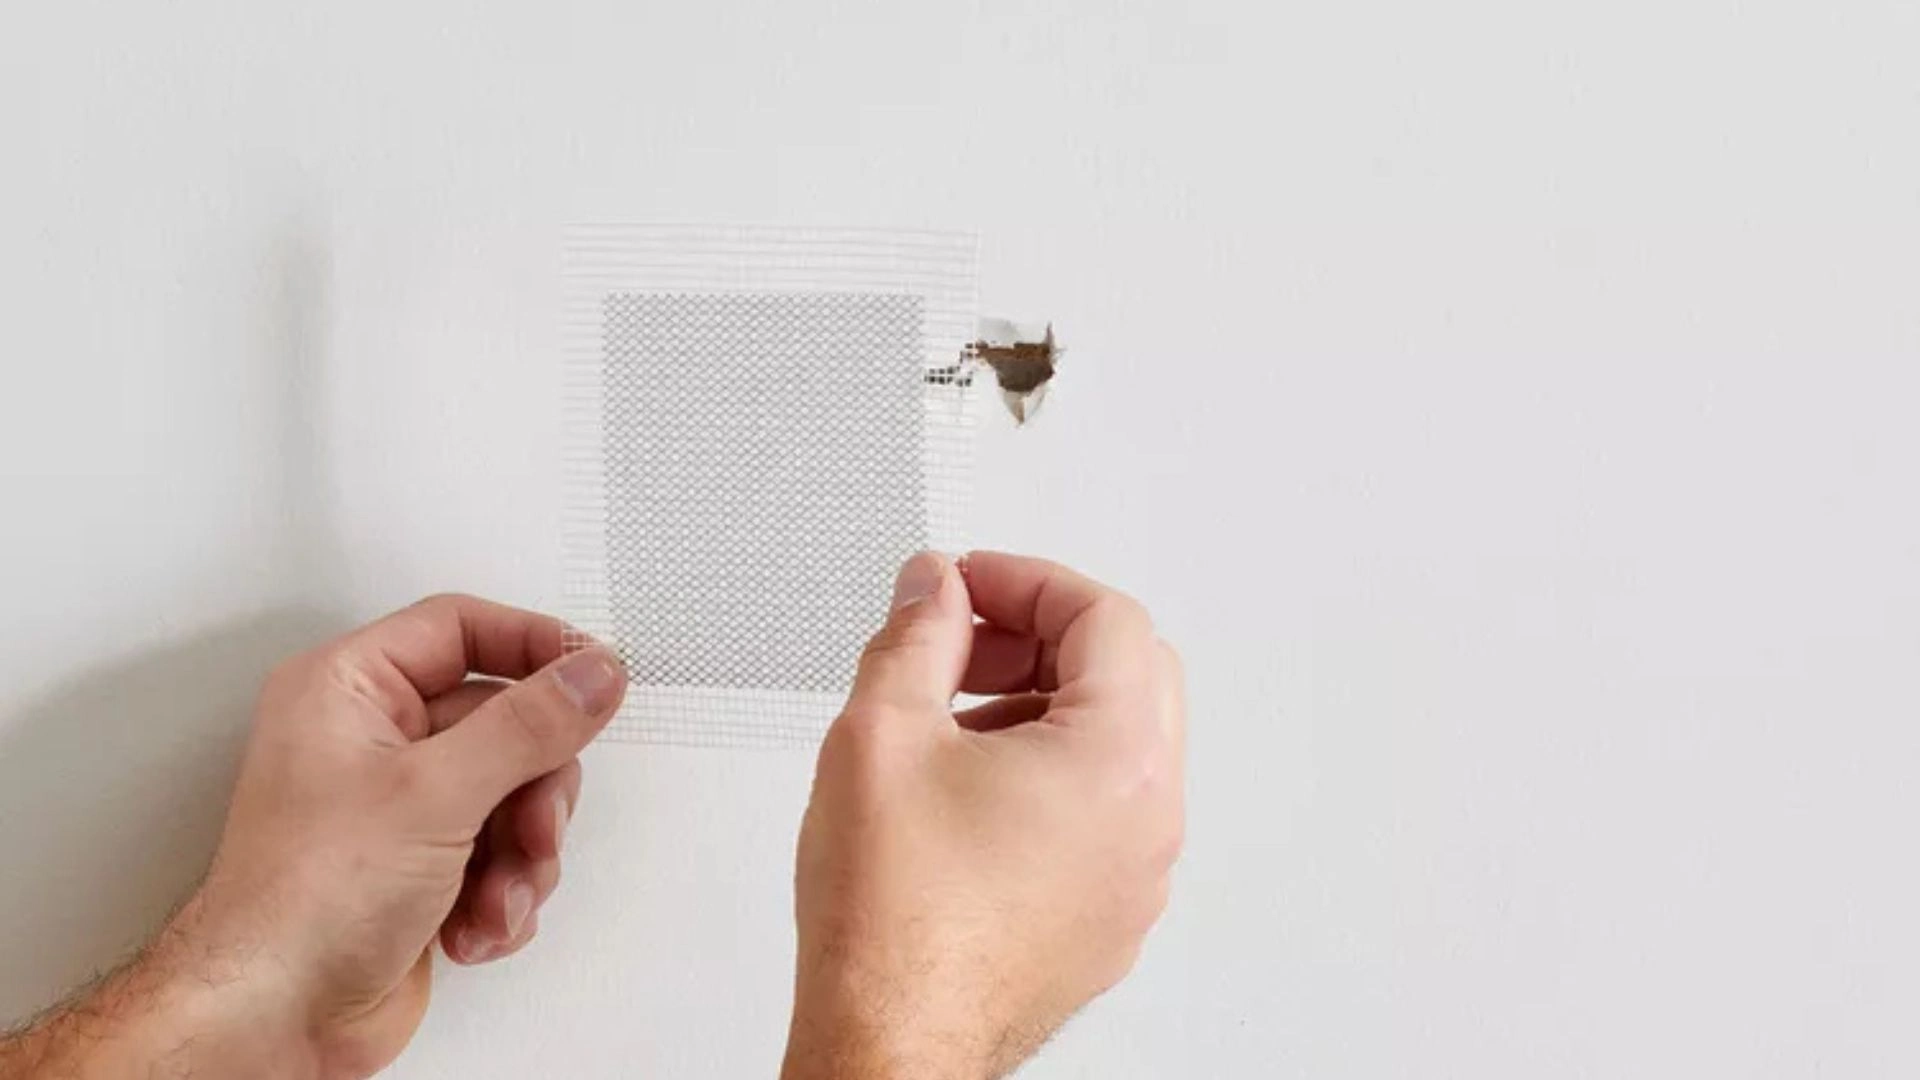
Apply joint compound in thin layers with your putty knife. Spread it 2-3 inches past the patch edges—this is called feathering, and it makes the repair invisible.
Let each coat dry completely. Rushing this causes cracks. Sand lightly between coats. You’ll need 2-3 coats total for a smooth finish that blends with your wall.
Here’s what works: multiple thin coats always beat one thick coat. Match your paint sheen when you finish. If your wall is eggshell, use eggshell touch-up paint. Flat paint on a semi-gloss wall looks obvious.
Keep leftover paint labeled with the room name and date. Future touch-ups become easy beginner home maintenance tasks you can do in 10 minutes.
3. Stop a Running Toilet (Save $150-200)
A running toilet wastes over 200 gallons of water every single day. That’s money literally flowing down the drain. The good news? This is one of the easiest DIY home repairs you’ll ever do.
Most running toilets have a bad flapper valve.
Sometimes the fill valve breaks or the float sits too high. All are quick fixes that take 15-30 minutes.
Here’s how to figure out what’s wrong. Drop food coloring into the toilet tank. Wait 15 minutes without flushing. If colored water shows up in the bowl, your flapper is shot. If the tank keeps refilling on its own, check the fill valve and float.
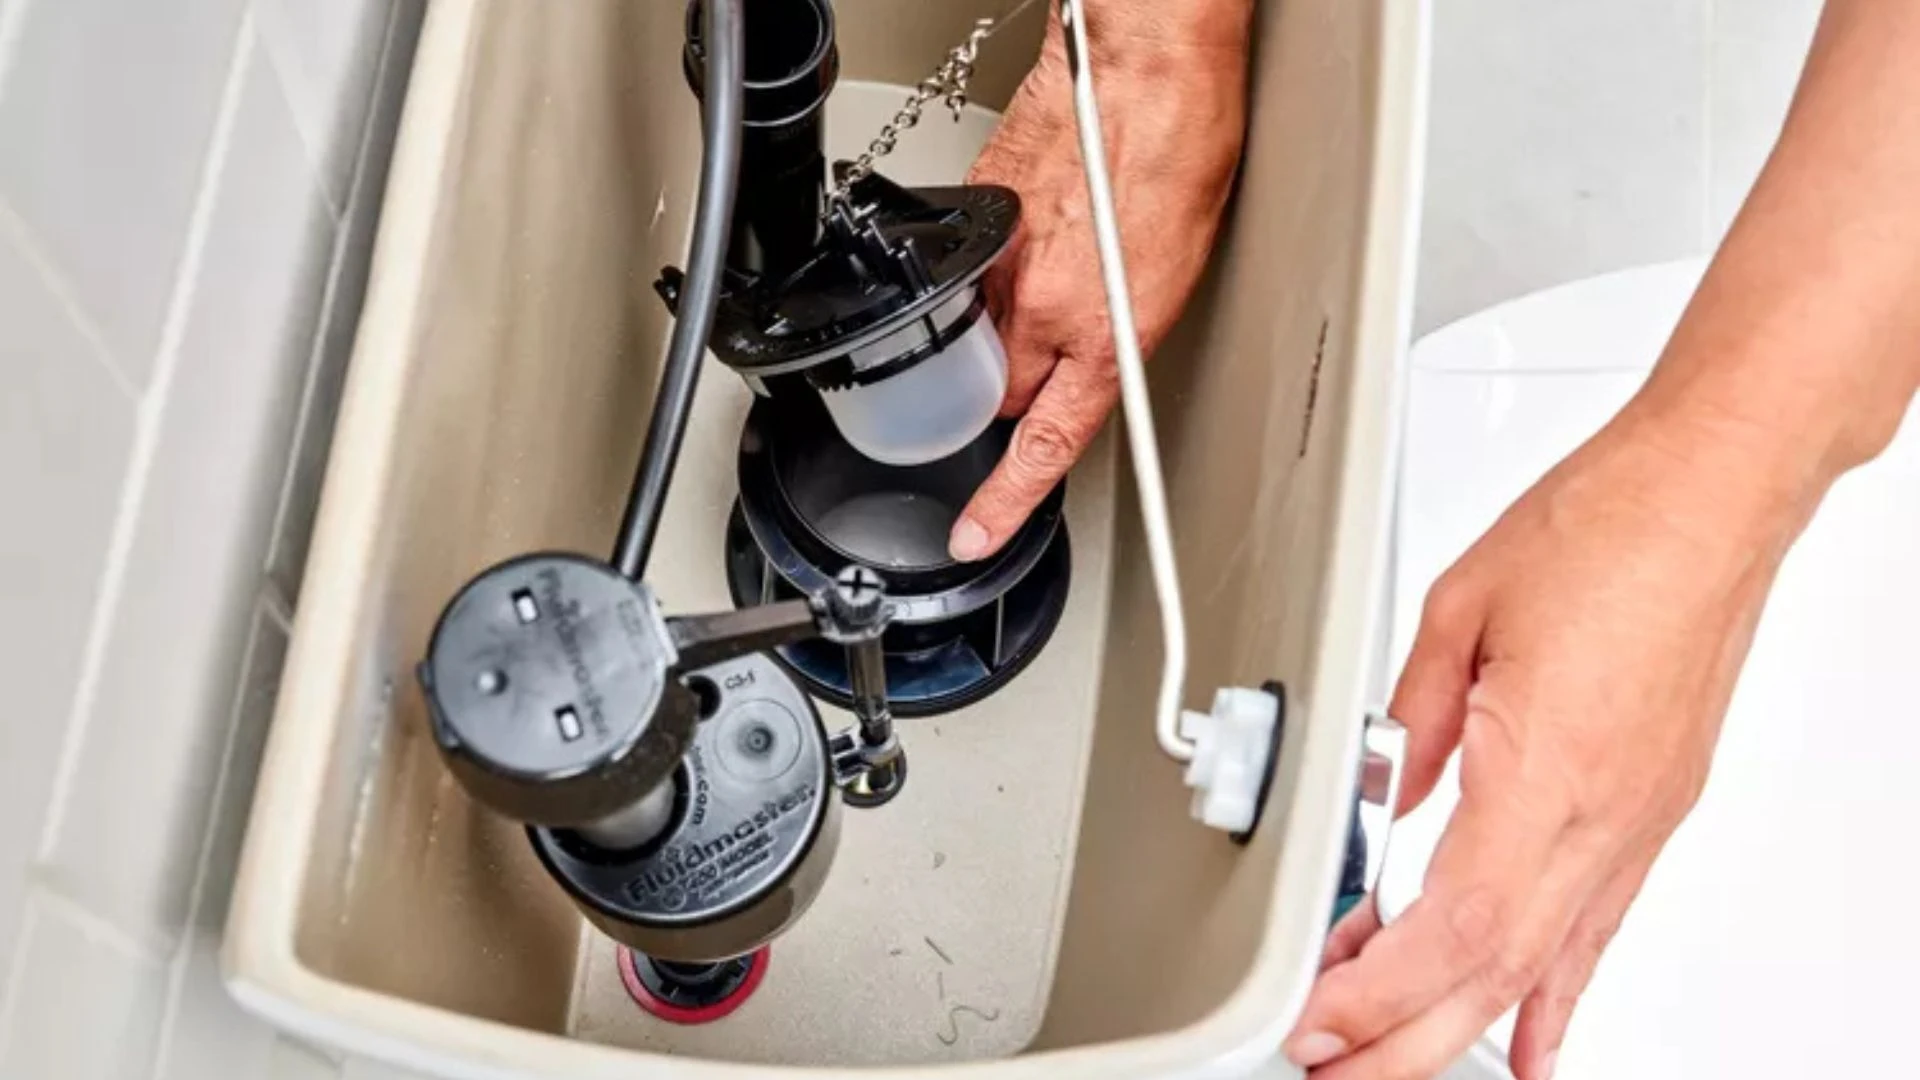
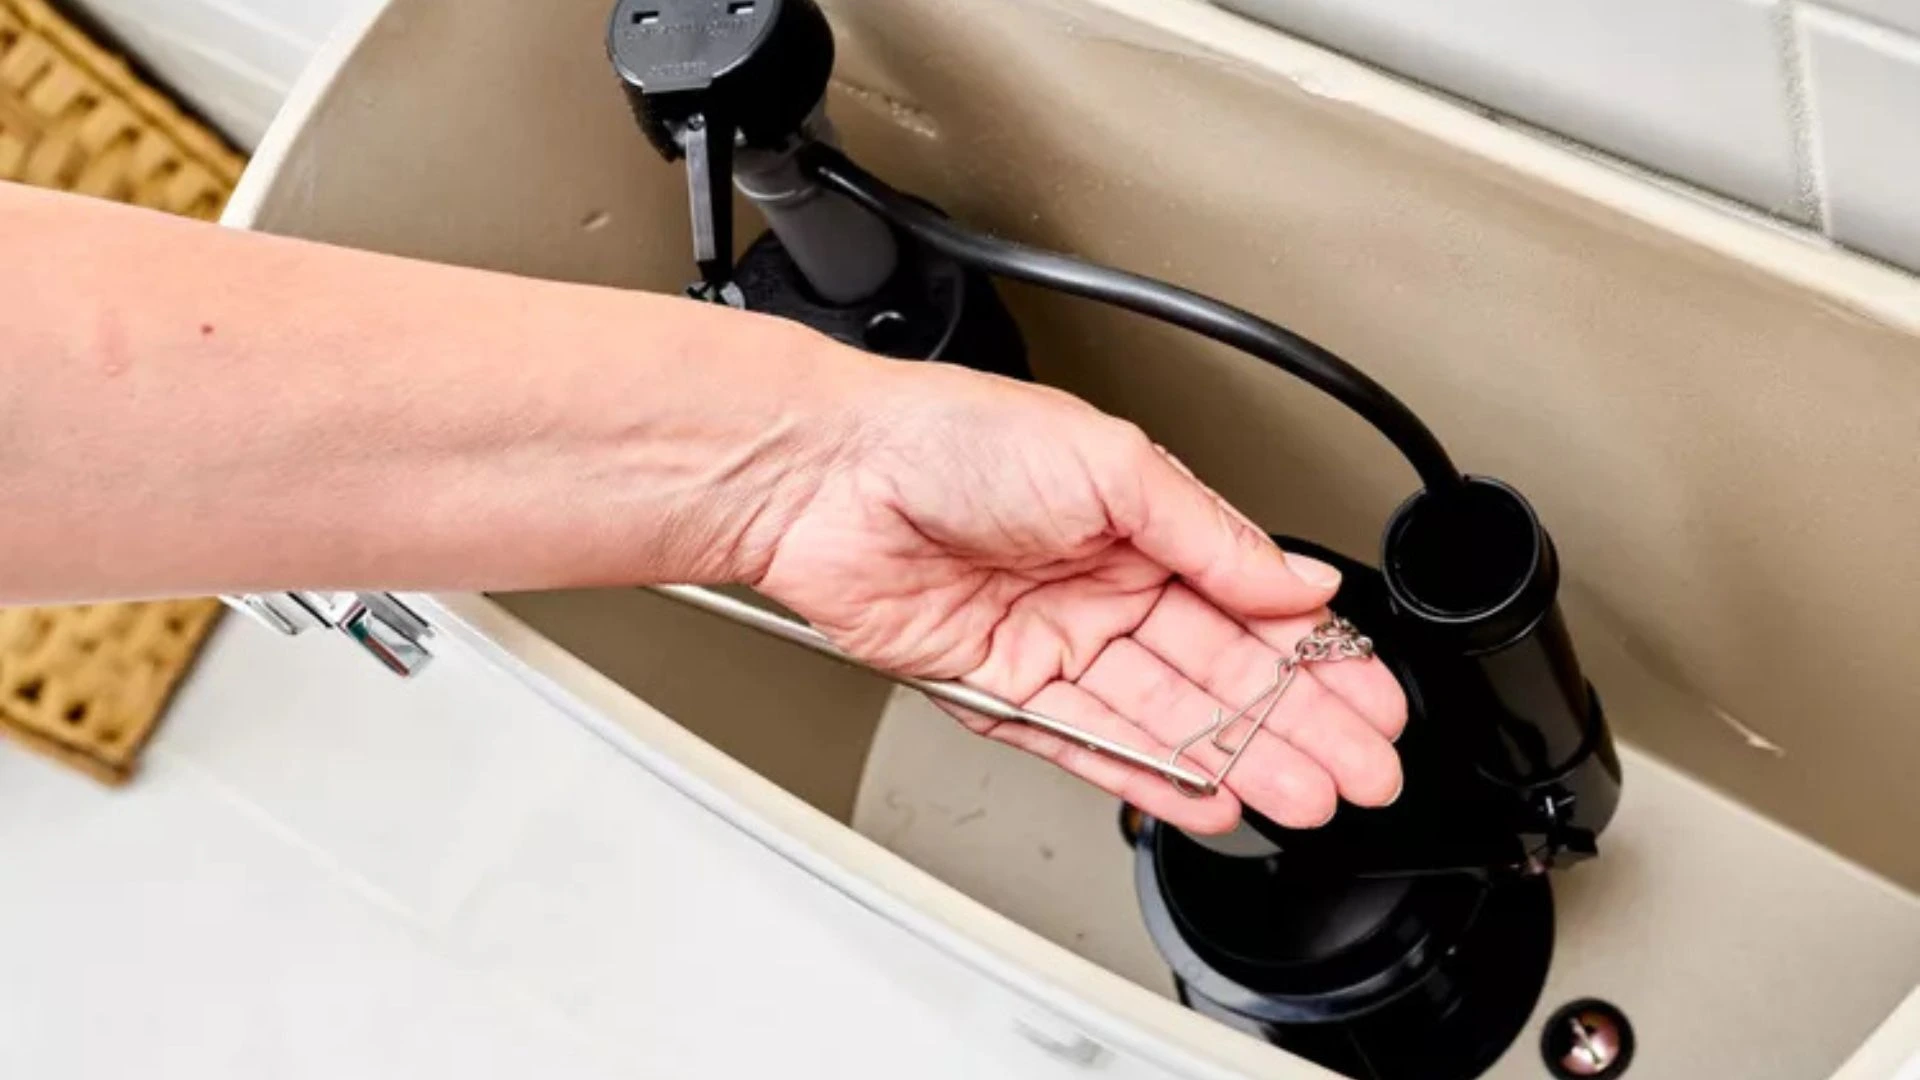
The flapper fix is super common and costs $5-8. Turn off the water at the shut-off valve behind your toilet. Flush once to empty the tank. Remove the old flapper from the chain and the overflow tube in the center.
Take the old flapper to Home Depot so you get the right size—they come in 2-inch and 3-inch sizes. Install the new one by hooking it to the same spots. Adjust the chain so it has just a tiny bit of slack. Too tight and the toilet keeps running. Too loose and it won’t flush right.
Turn the water back on and test it. The running should stop.
If your tank overflows into the center tube, adjust the float. Bend the float arm down or turn the adjustment screw (depends on your toilet model).
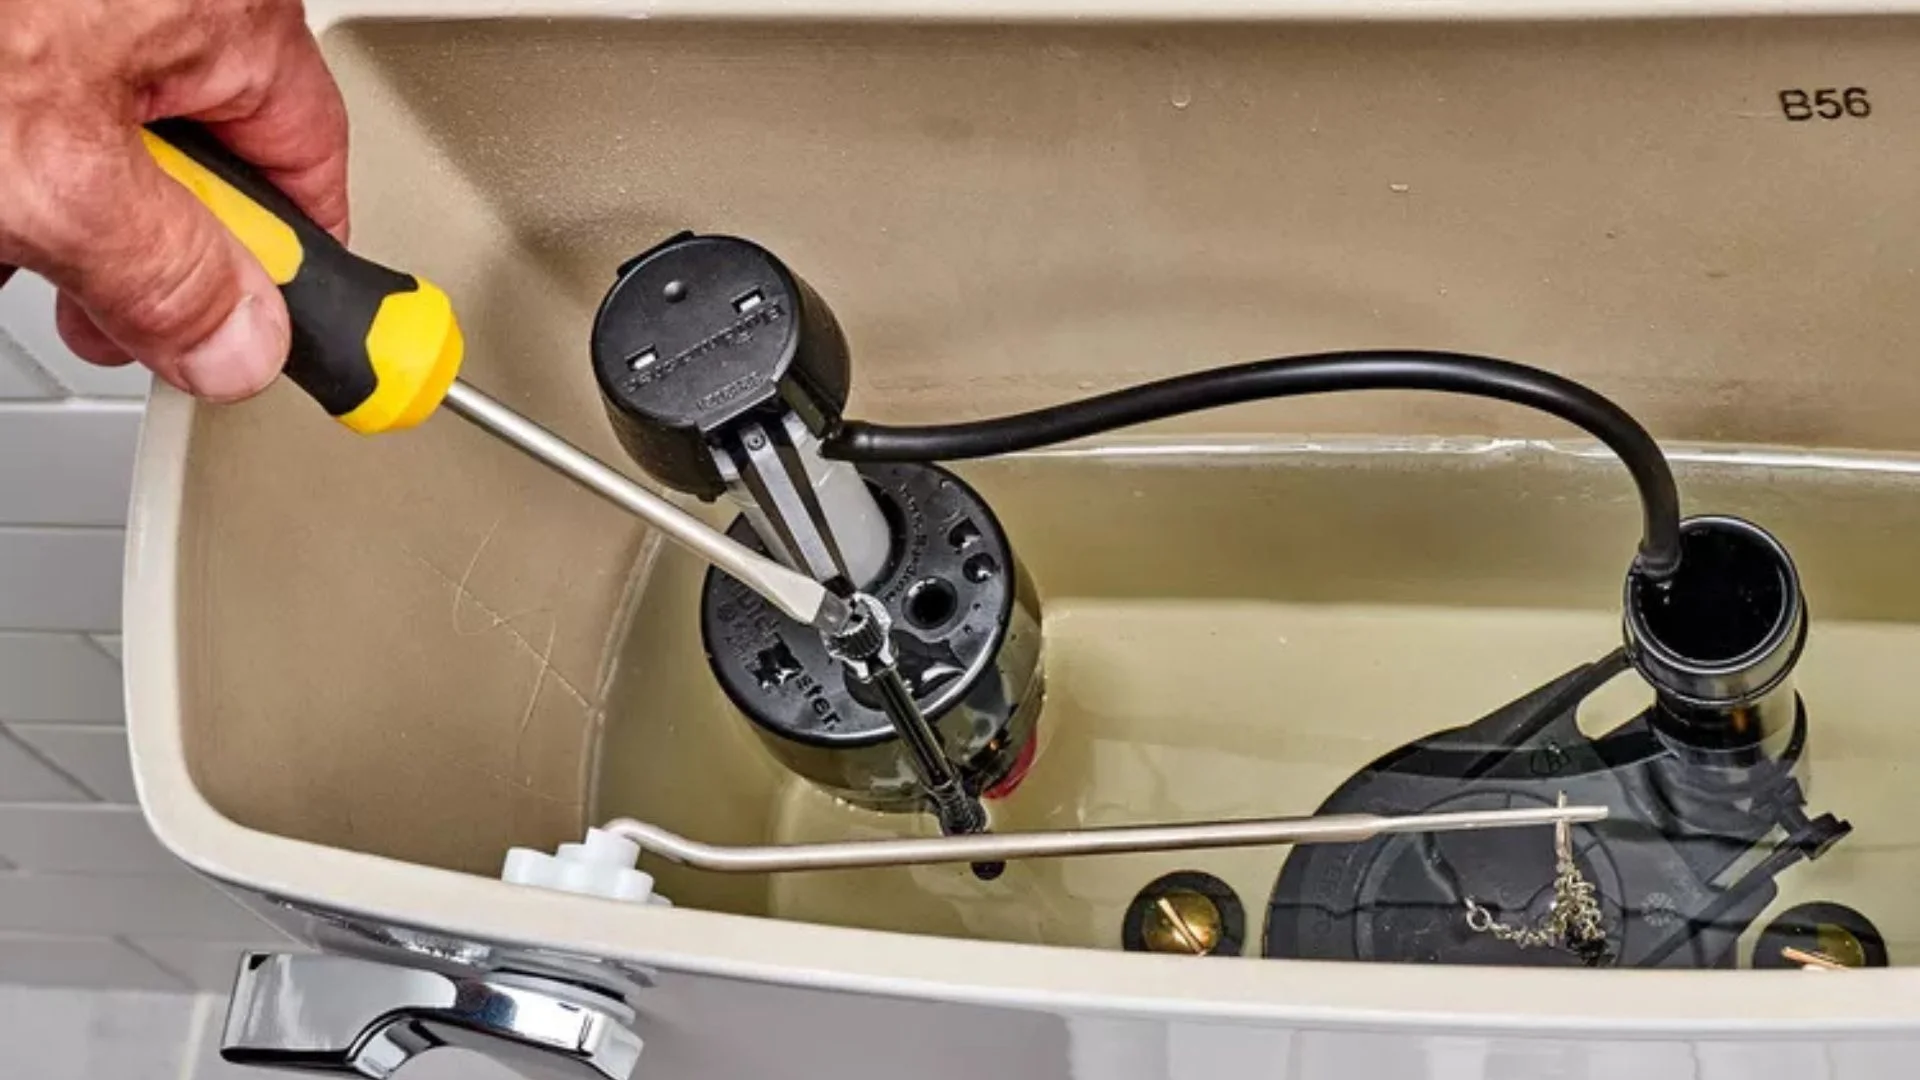
The water should sit about 1 inch below the top of the overflow tube.
Still having problems? The Fluidmaster 400A fill valve costs under $15 and replaces almost any toilet valve. It’s a slightly bigger job but still easy home repairs territory.
You just saved $150-200 and learned a skill you’ll use for life.
4. Replace Cabinet Handles and Drawer Pulls (Save $100-200)
New cabinet handles completely transform a dated kitchen or bathroom. This is the easiest upgrade on our list. You need zero special skills, and handles cost just $2-10 each. Contractors charge $15-20 per handle to install, but you can do your whole kitchen in 1-2 hours.
Amazon sells 25-packs of modern handles for $35-50. That’s enough for most kitchens at a fraction of what you’d pay hiring someone.
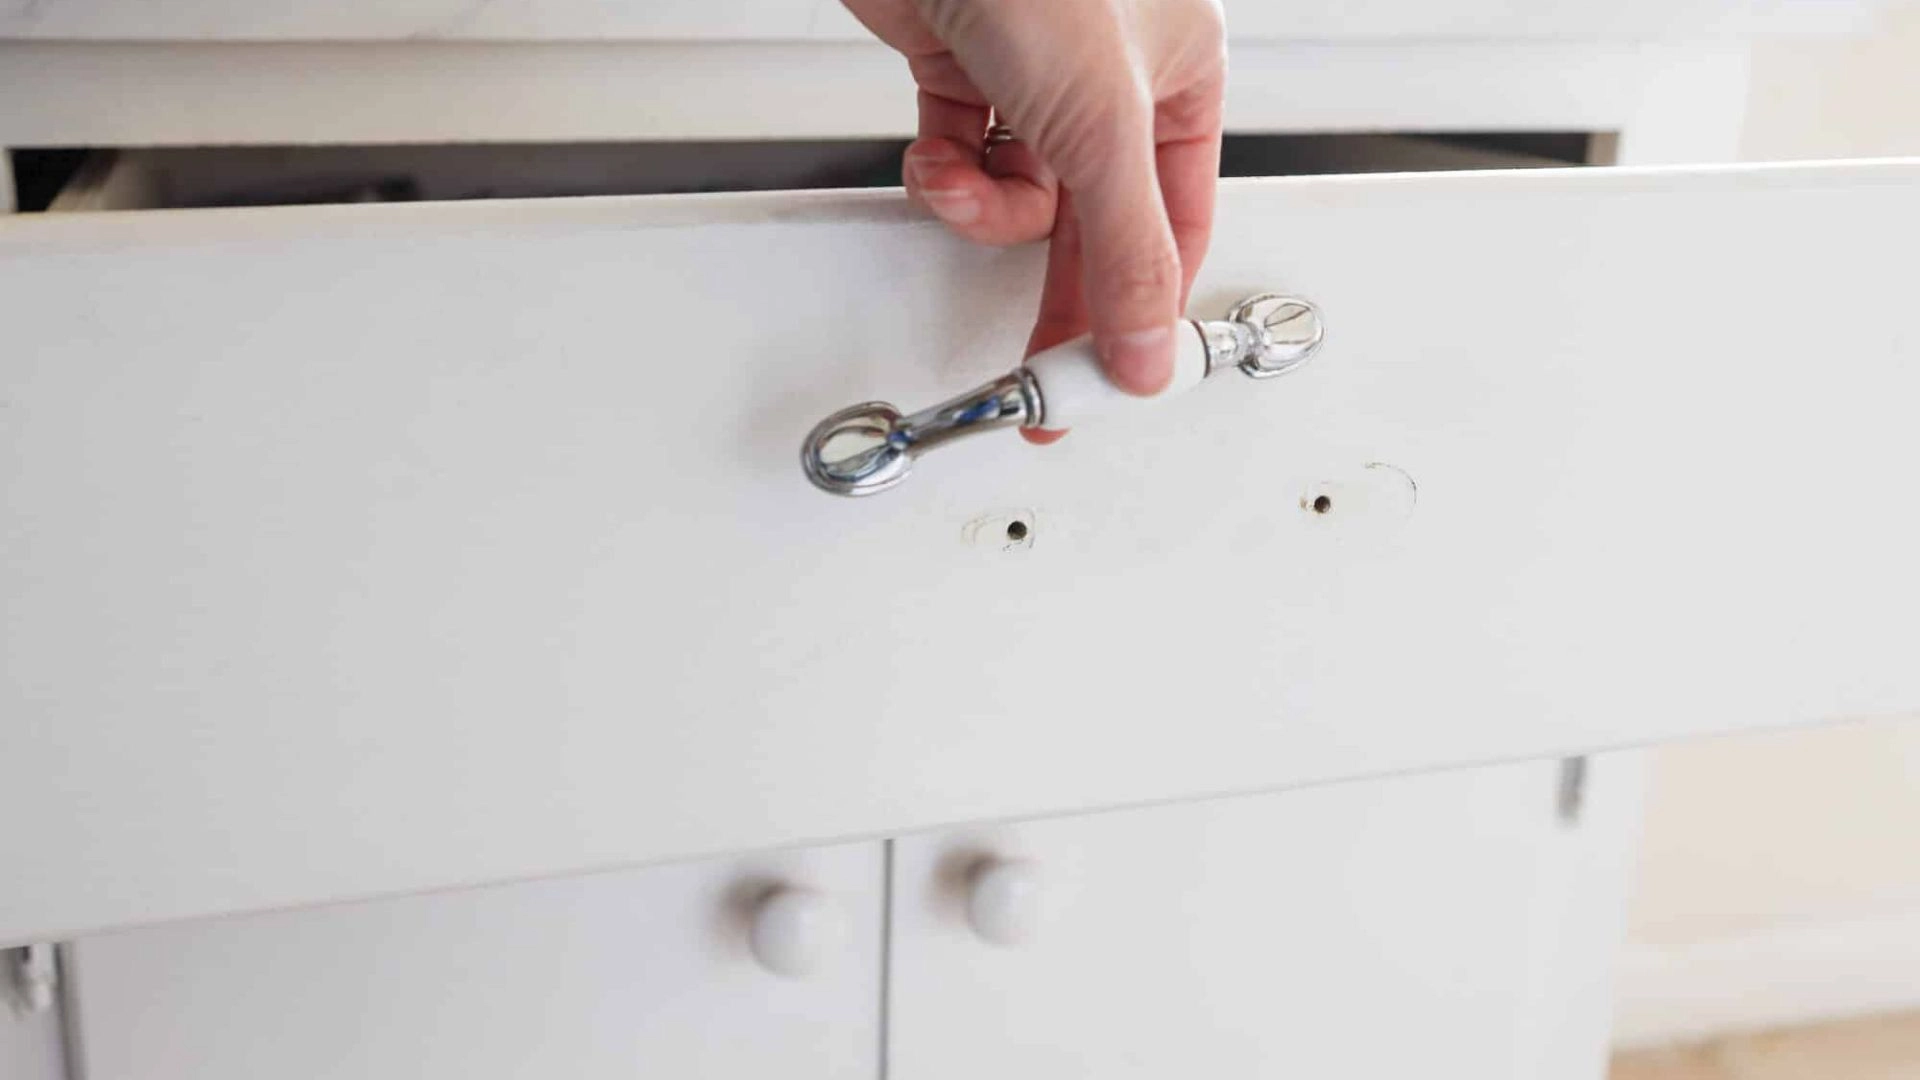
Here’s your simple process. Measure the existing holes center to center with your measuring tape.
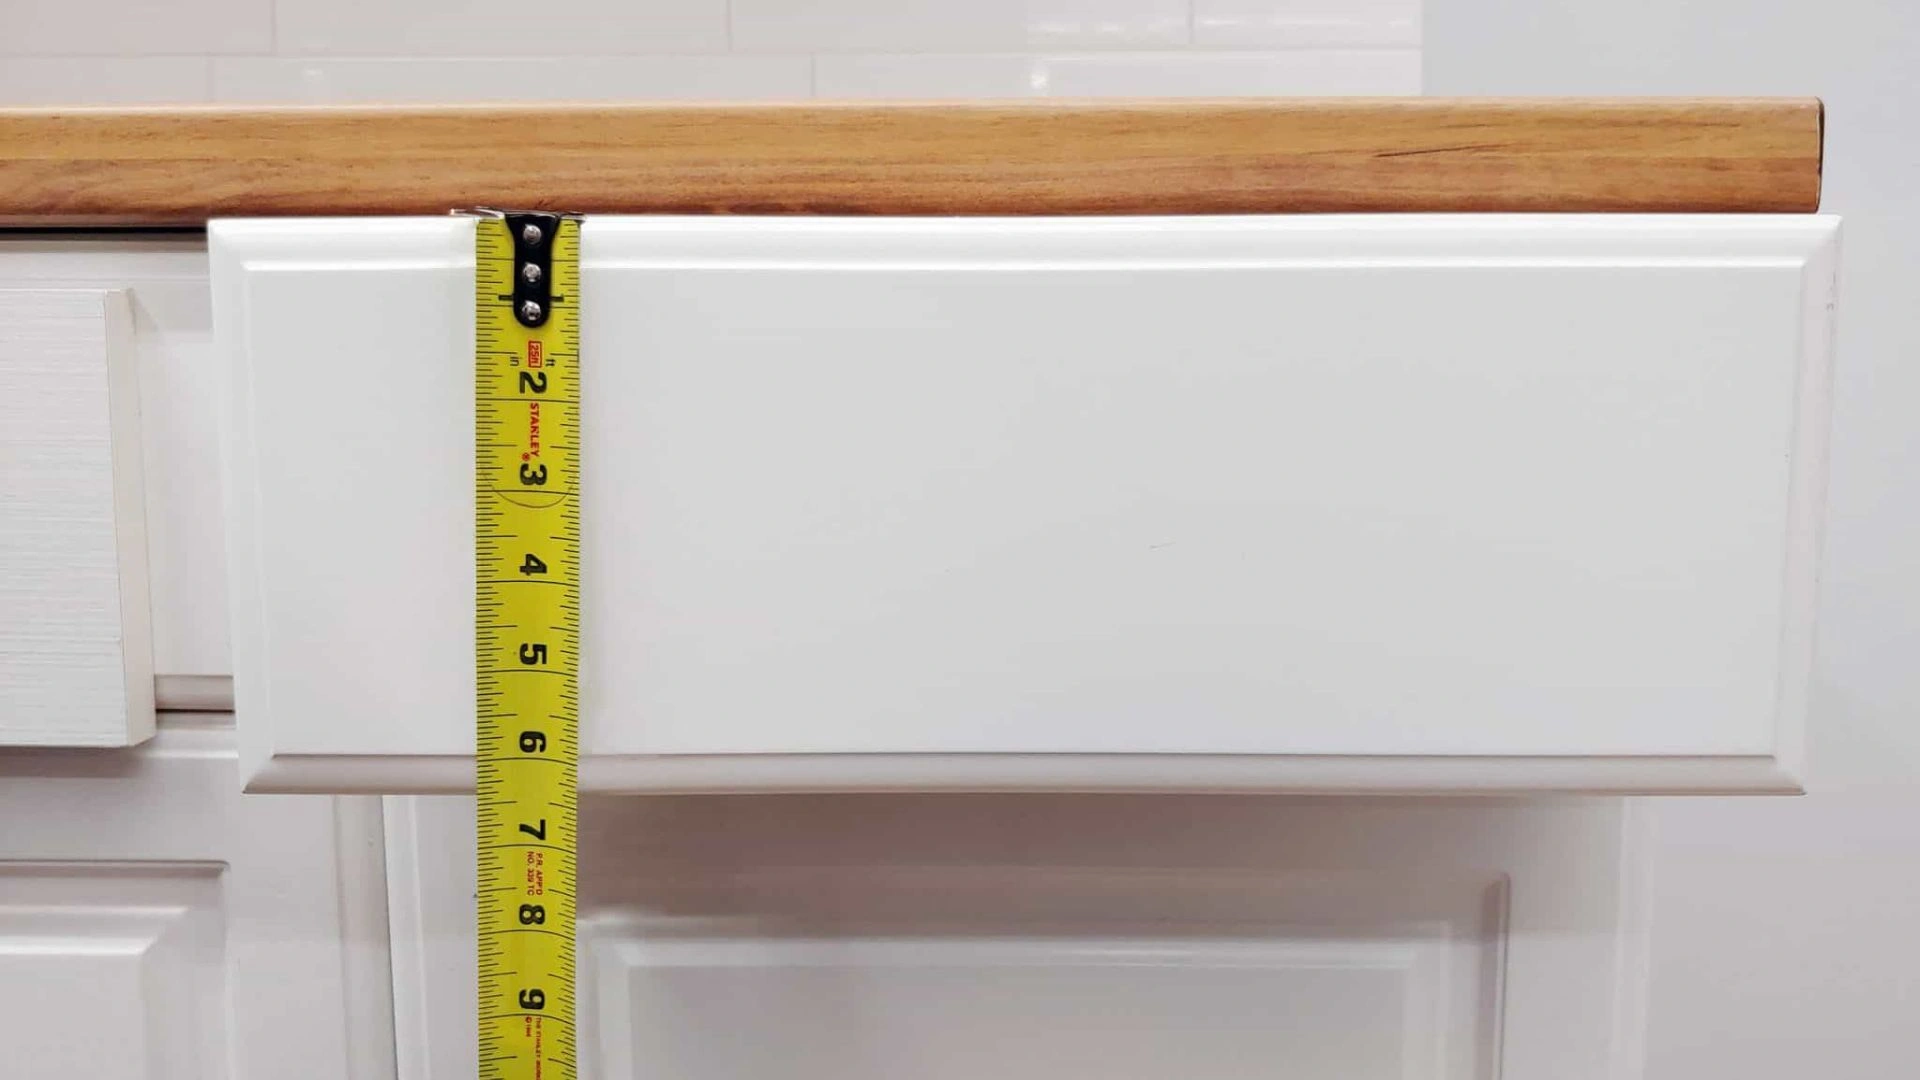
Buy new handles that match that spacing—this is the easiest route. If you want different spacing, fill the old holes with wood filler and drill new ones later.
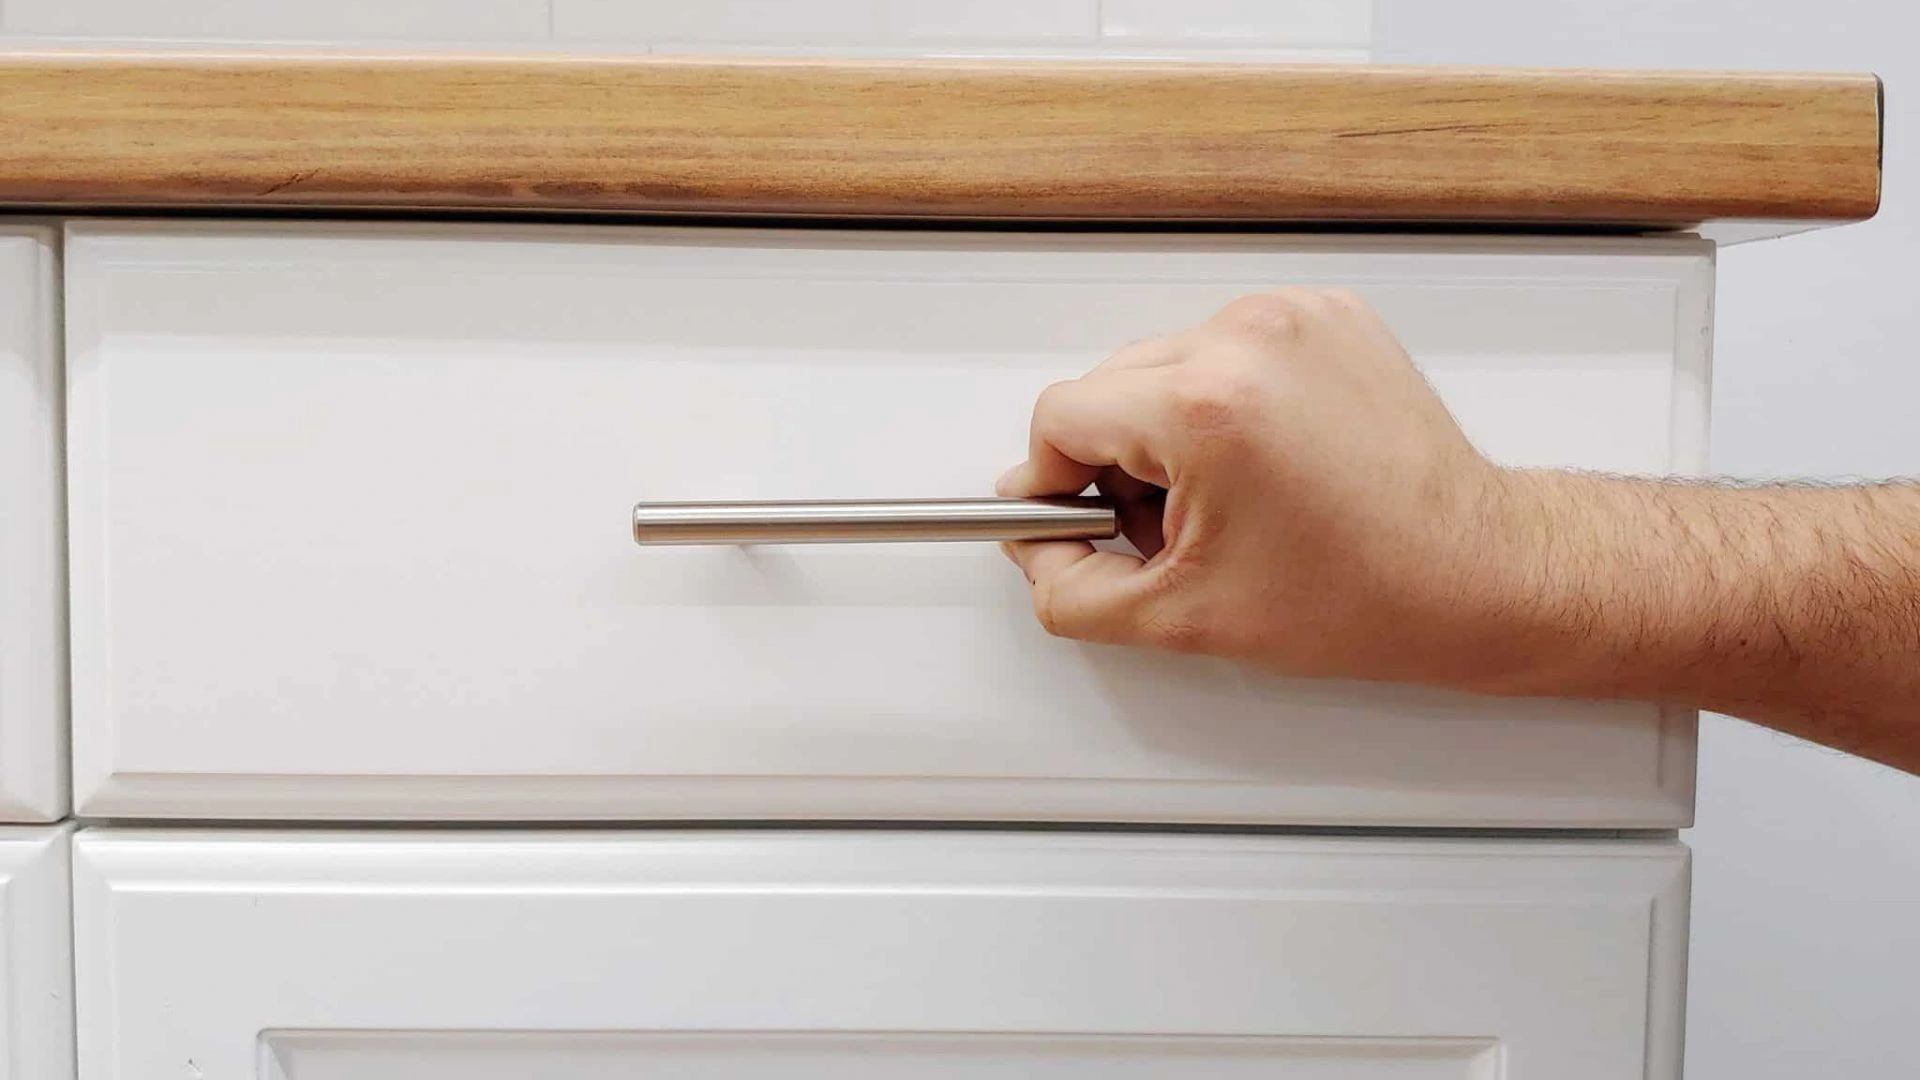
Remove the old hardware with your screwdriver. Install the new handles using the screws that come in the package. Make sure you place them at consistent heights on each cabinet.
Pro tip: install one cabinet completely first and step back to check how it looks. This test run prevents mistakes across your whole kitchen. For upper cabinets, place handles on the bottom corners. For lower cabinets, put them on the top corners. This feels natural when you open doors.
Use painter’s tape as a guide to keep placement consistent. If you drill new holes, drill from the front side to prevent ugly tear-out on the back.
Match your style to your space. Brushed nickel works for modern kitchens. Matte black looks contemporary. Brass fits traditional homes. Match your faucet and lighting finishes for a pulled-together look.
This weekend home project makes the biggest visual impact for the least effort.
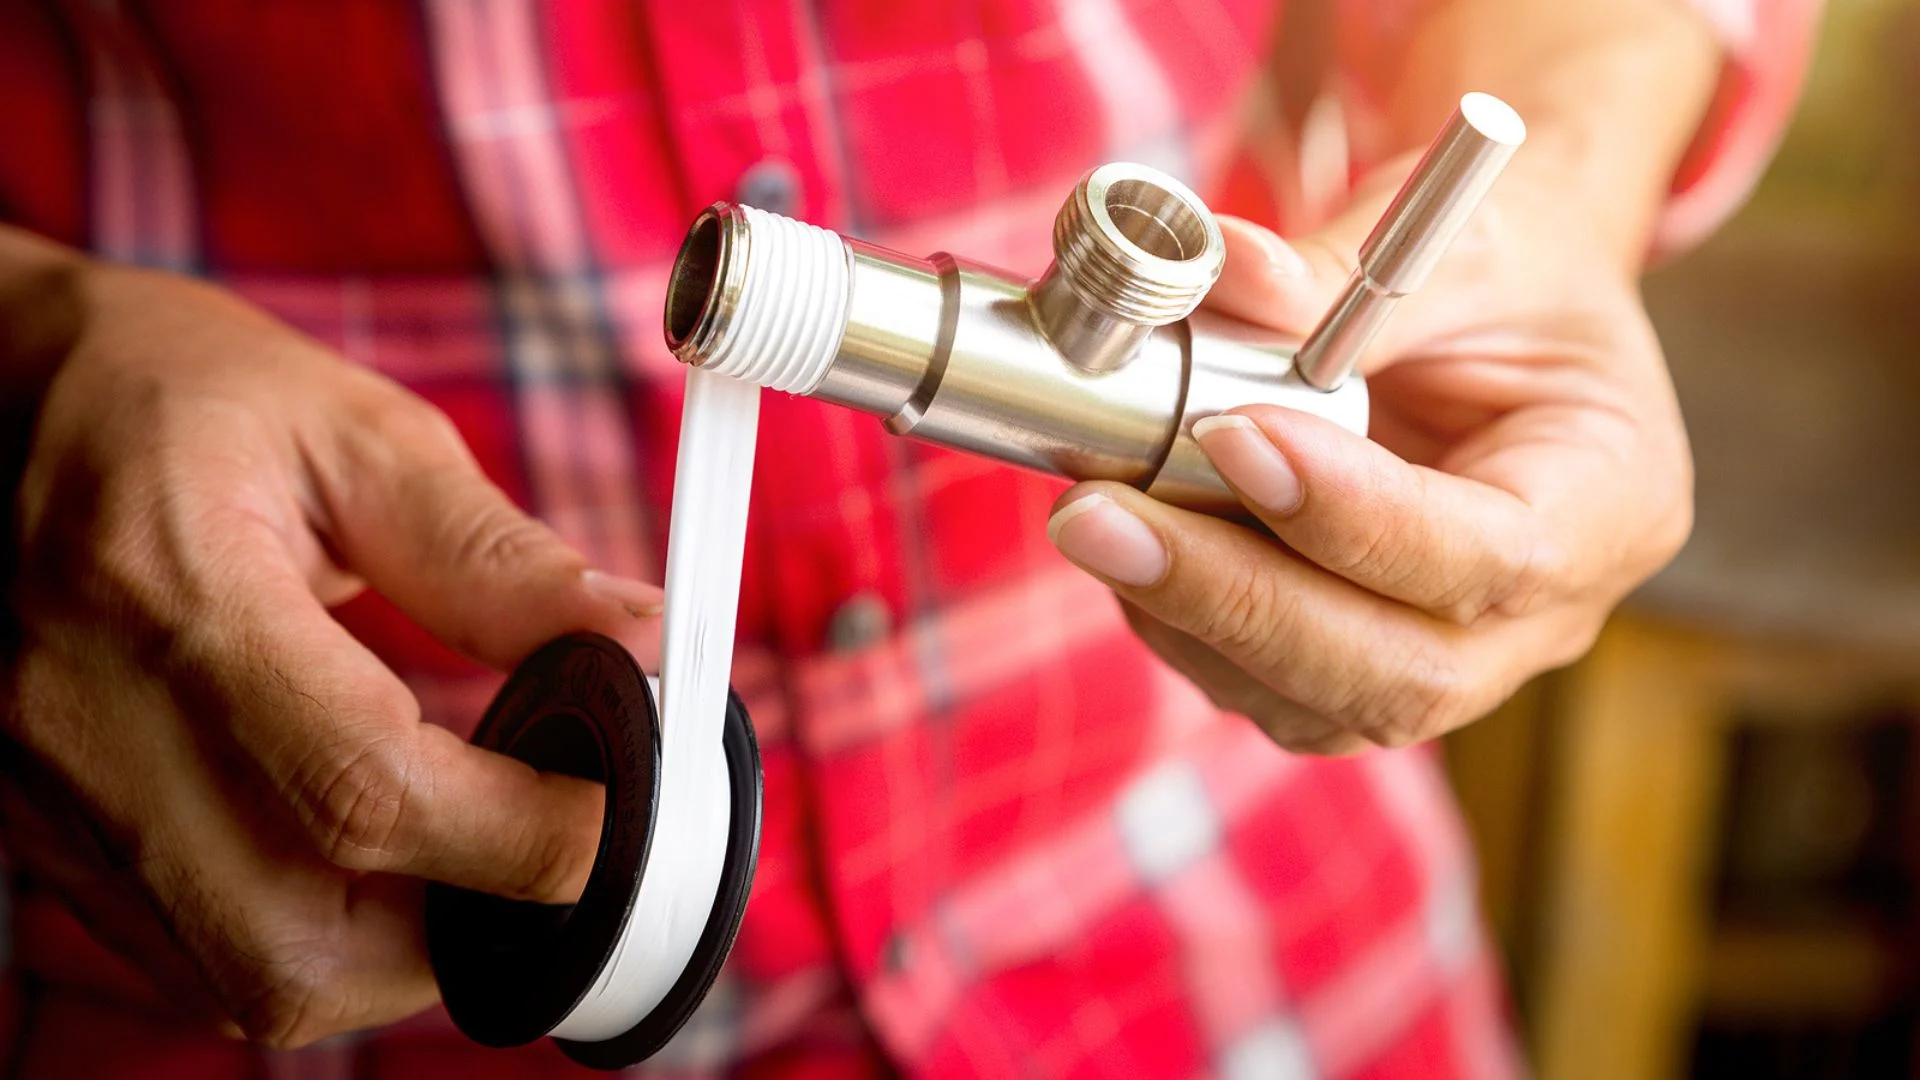
5. Caulk Bathroom or Kitchen (Save $150-250)
Bad caulk causes over $1,000 in water damage every year in thousands of homes. If your caulk looks yellow, cracked, or peeling, water is sneaking behind your tub or sink right now. This beginner home maintenance task prevents mold and stops expensive damage before it starts.
You should recaulk every 2-5 years. It seals gaps around tubs, sinks, and countertops where water loves to hide.
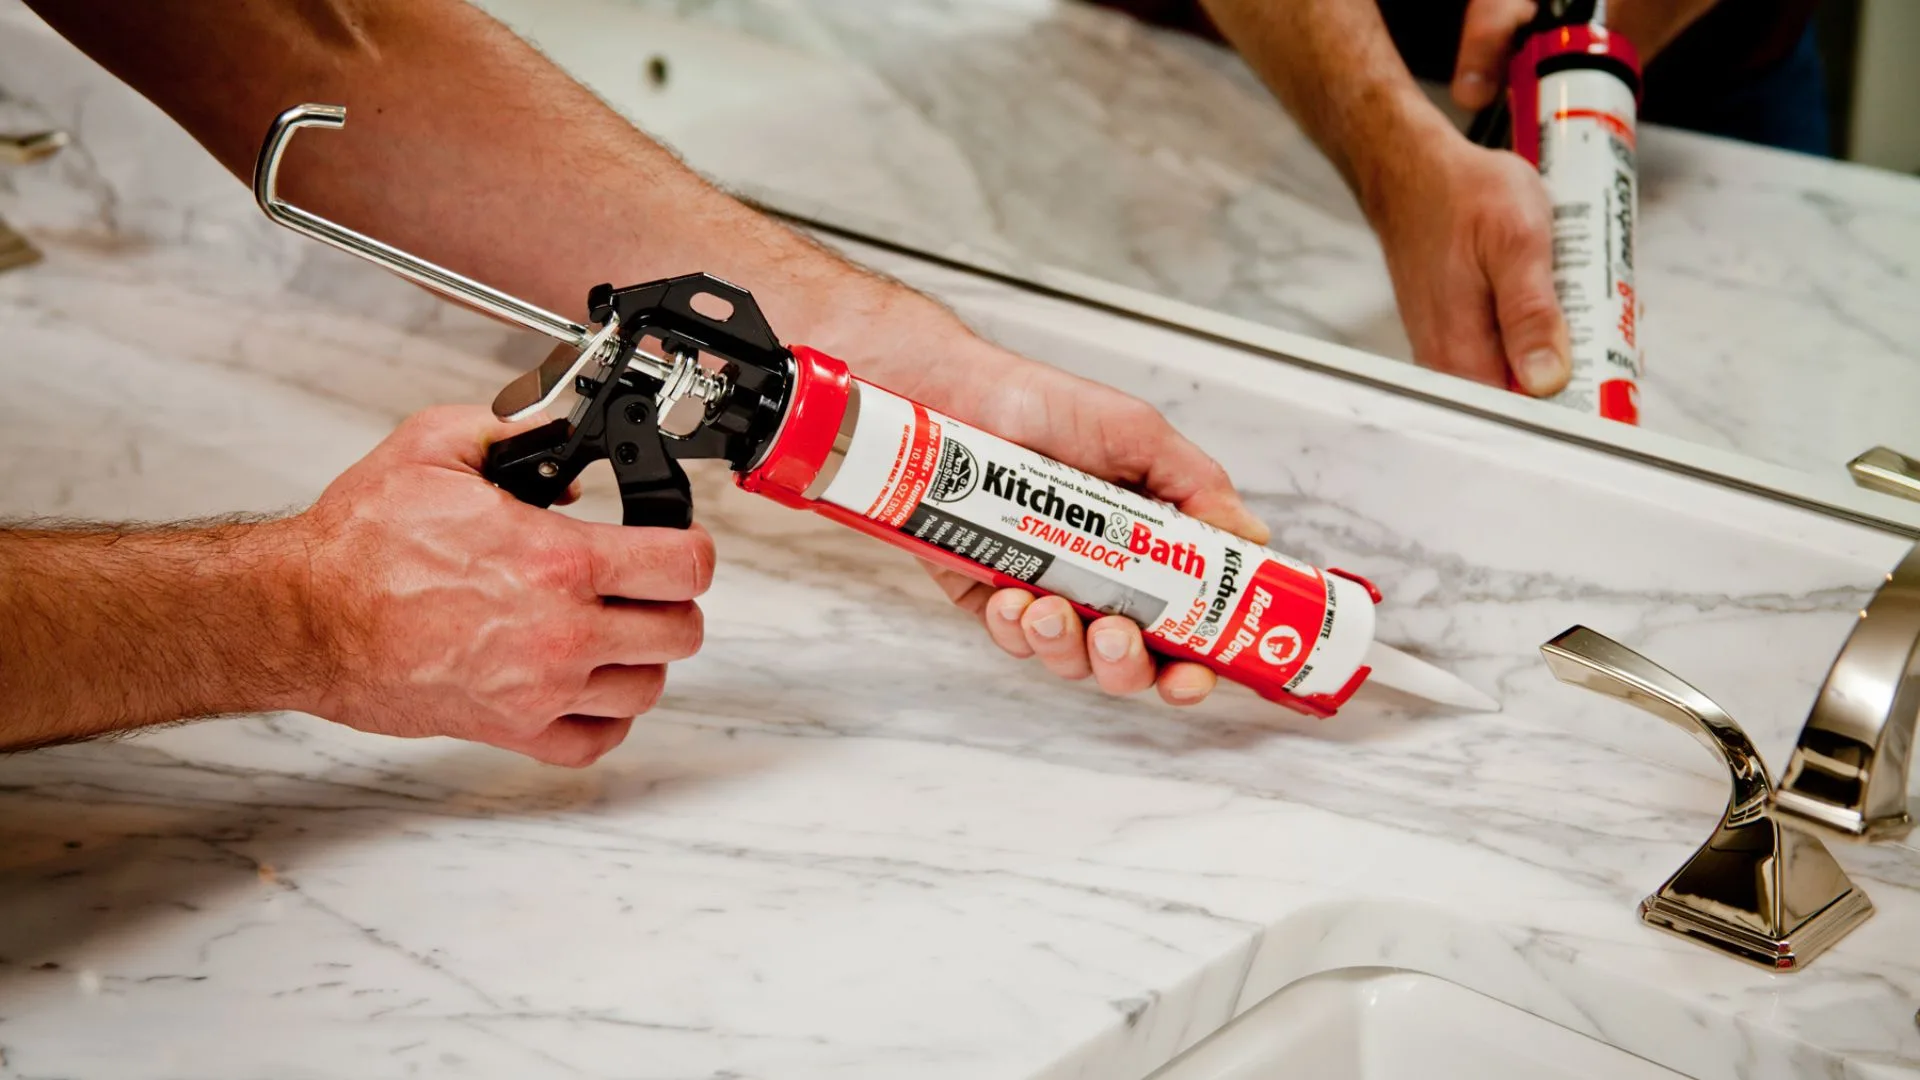
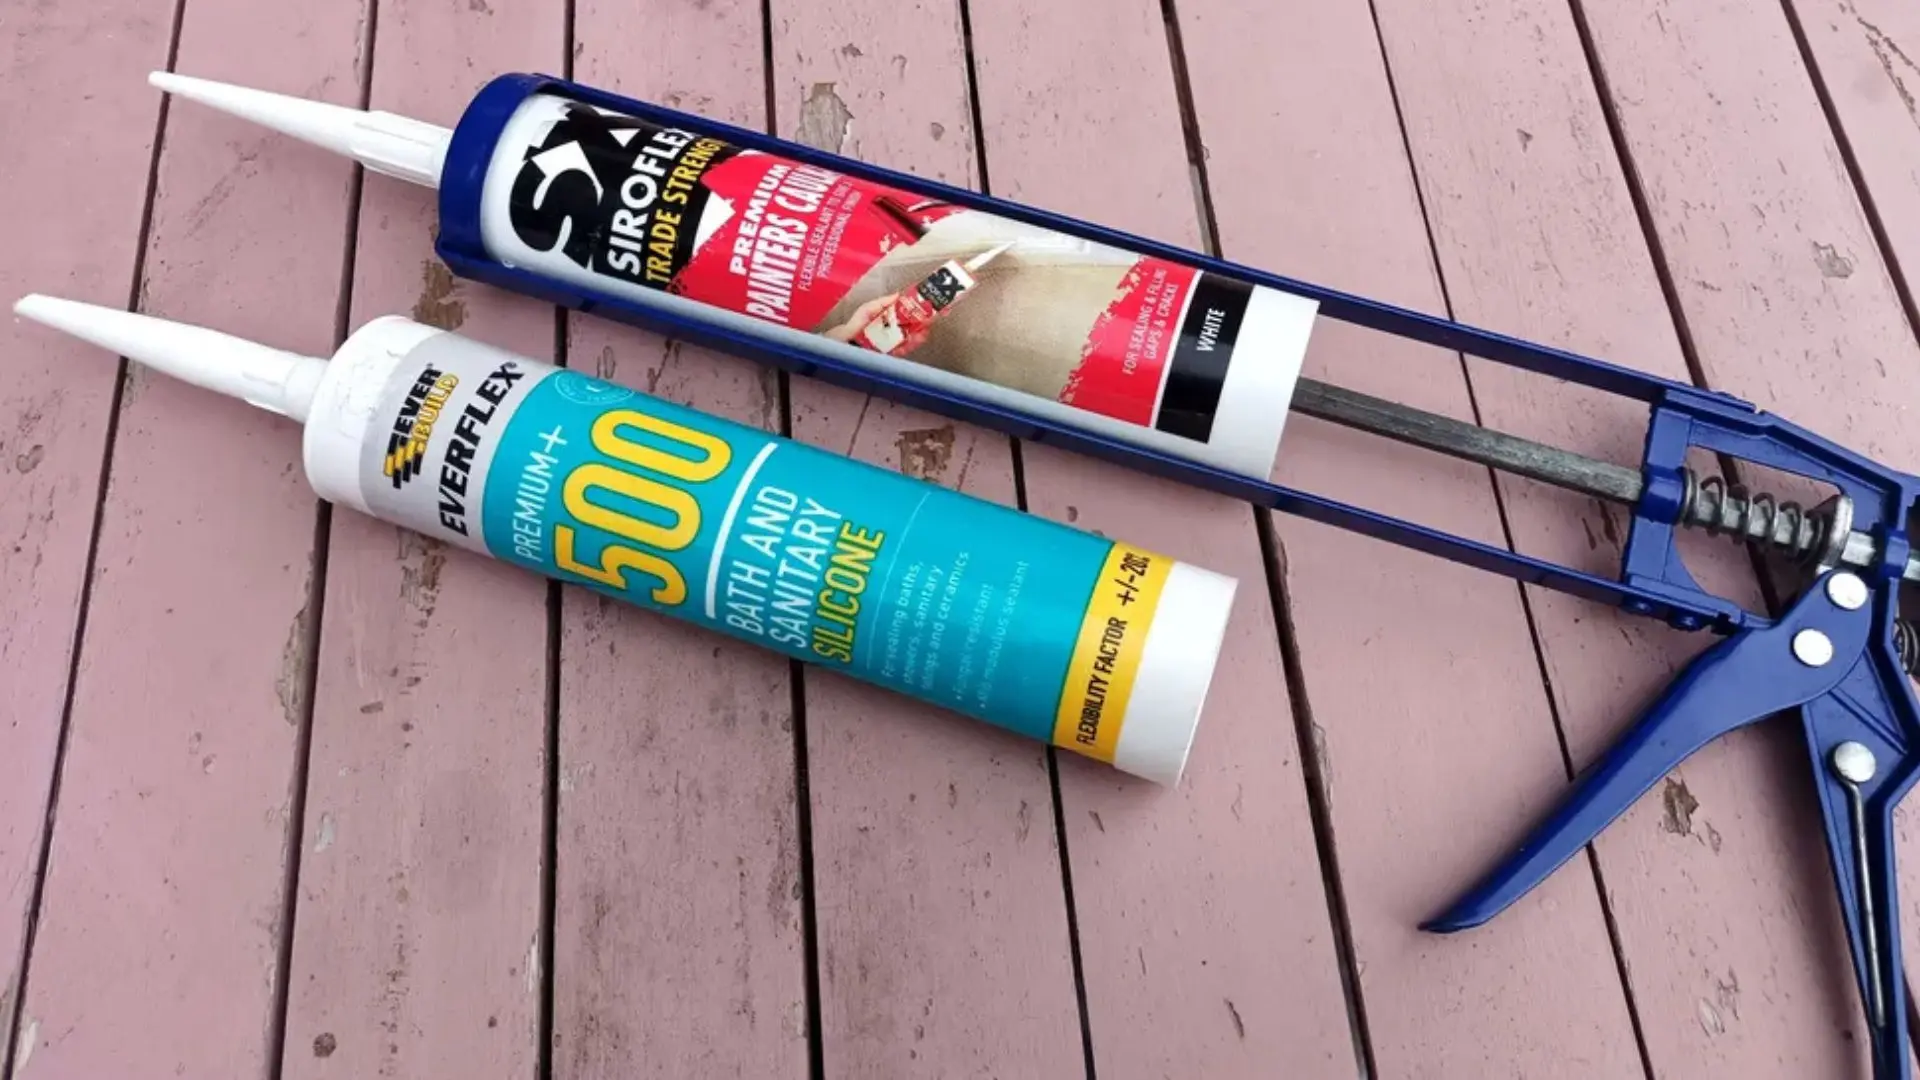
Grab silicone or latex caulk ($5-8), a caulk gun, utility knife, rubbing alcohol, and paper towels. GE Supreme Silicone Kitchen & Bath costs under $7 and works great. Plan for 1-2 hours total.
Removing old caulk is the most important step. Cut along both sides of the old caulk with your utility knife.
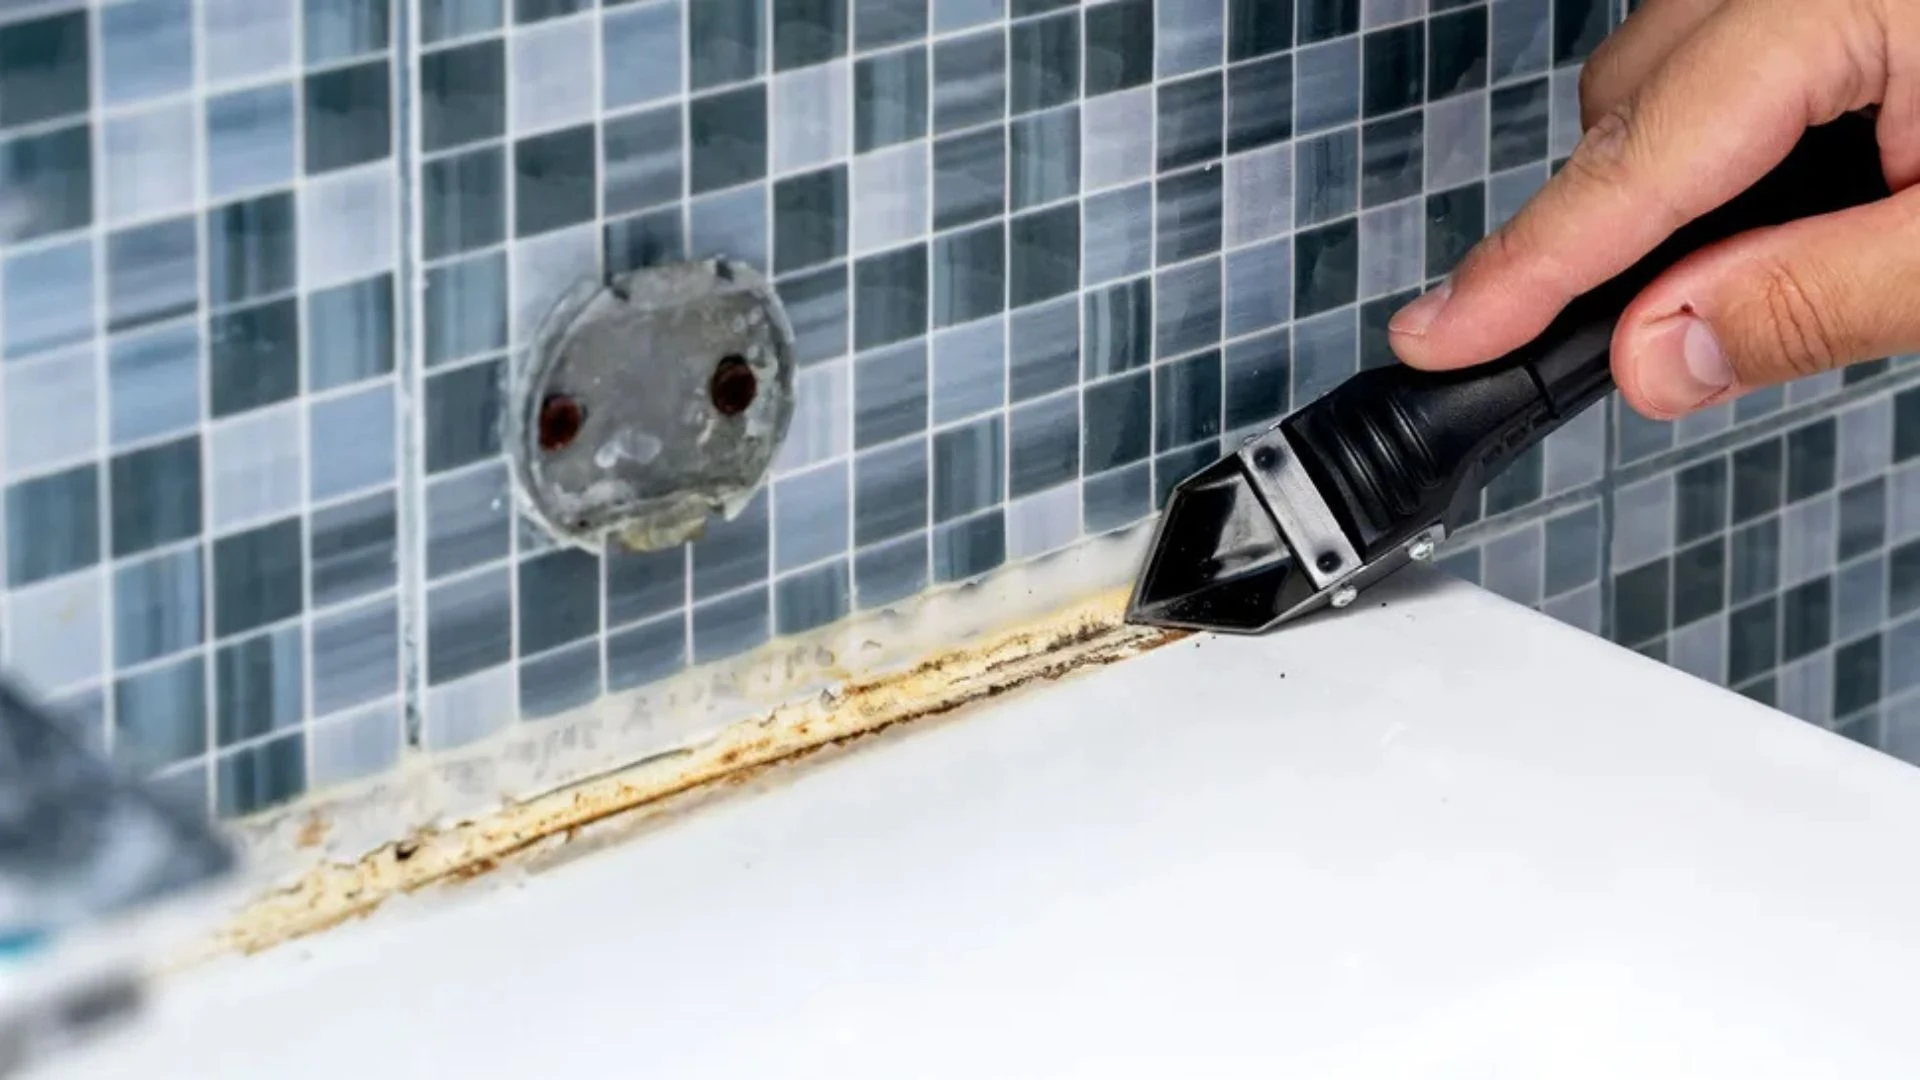
Peel it away in strips. Scrape off any leftover residue with an old screwdriver or caulk removal tool.
Clean the surface with rubbing alcohol and let it dry completely. Skipping this step makes new caulk fail fast. Water can’t stick to dirty or wet surfaces.
Cut the caulk tube tip at a 45-degree angle. Load it into your caulk gun. Start in a corner or somewhere less visible—this gives you practice. Apply a steady, continuous bead along the gap.
Smooth it immediately with a wet finger or caulk tool. Work in 3-4 foot sections so the caulk doesn’t start drying before you smooth it. If you used painter’s tape for clean lines, remove it while the caulk is still wet.
Wait 24 hours before getting it wet. This lets it cure properly.
Choose silicone caulk for tubs and showers
it’s waterproof and flexible. Use latex for areas you might paint later. Always buy mold-resistant formula for bathrooms. Match the color to your grout or fixtures for a clean look.
This DIY home repair prevents water damage and keeps your bathroom looking fresh.
You’re Ready to Start Saving Money
These five DIY home repairs save you $950-1,500 compared to hiring pros. You don’t need years of experience or expensive tools. Basic knowledge and a weekend afternoon get the job done.

Pick the repair that bugs you most. Set aside time this weekend. Fix it yourself and feel the confidence grow.
Master these easy home repairs today, and you’ll approach future weekend home projects like a pro. Share your success in the comments below. We’d love to hear about your DIY victories.