
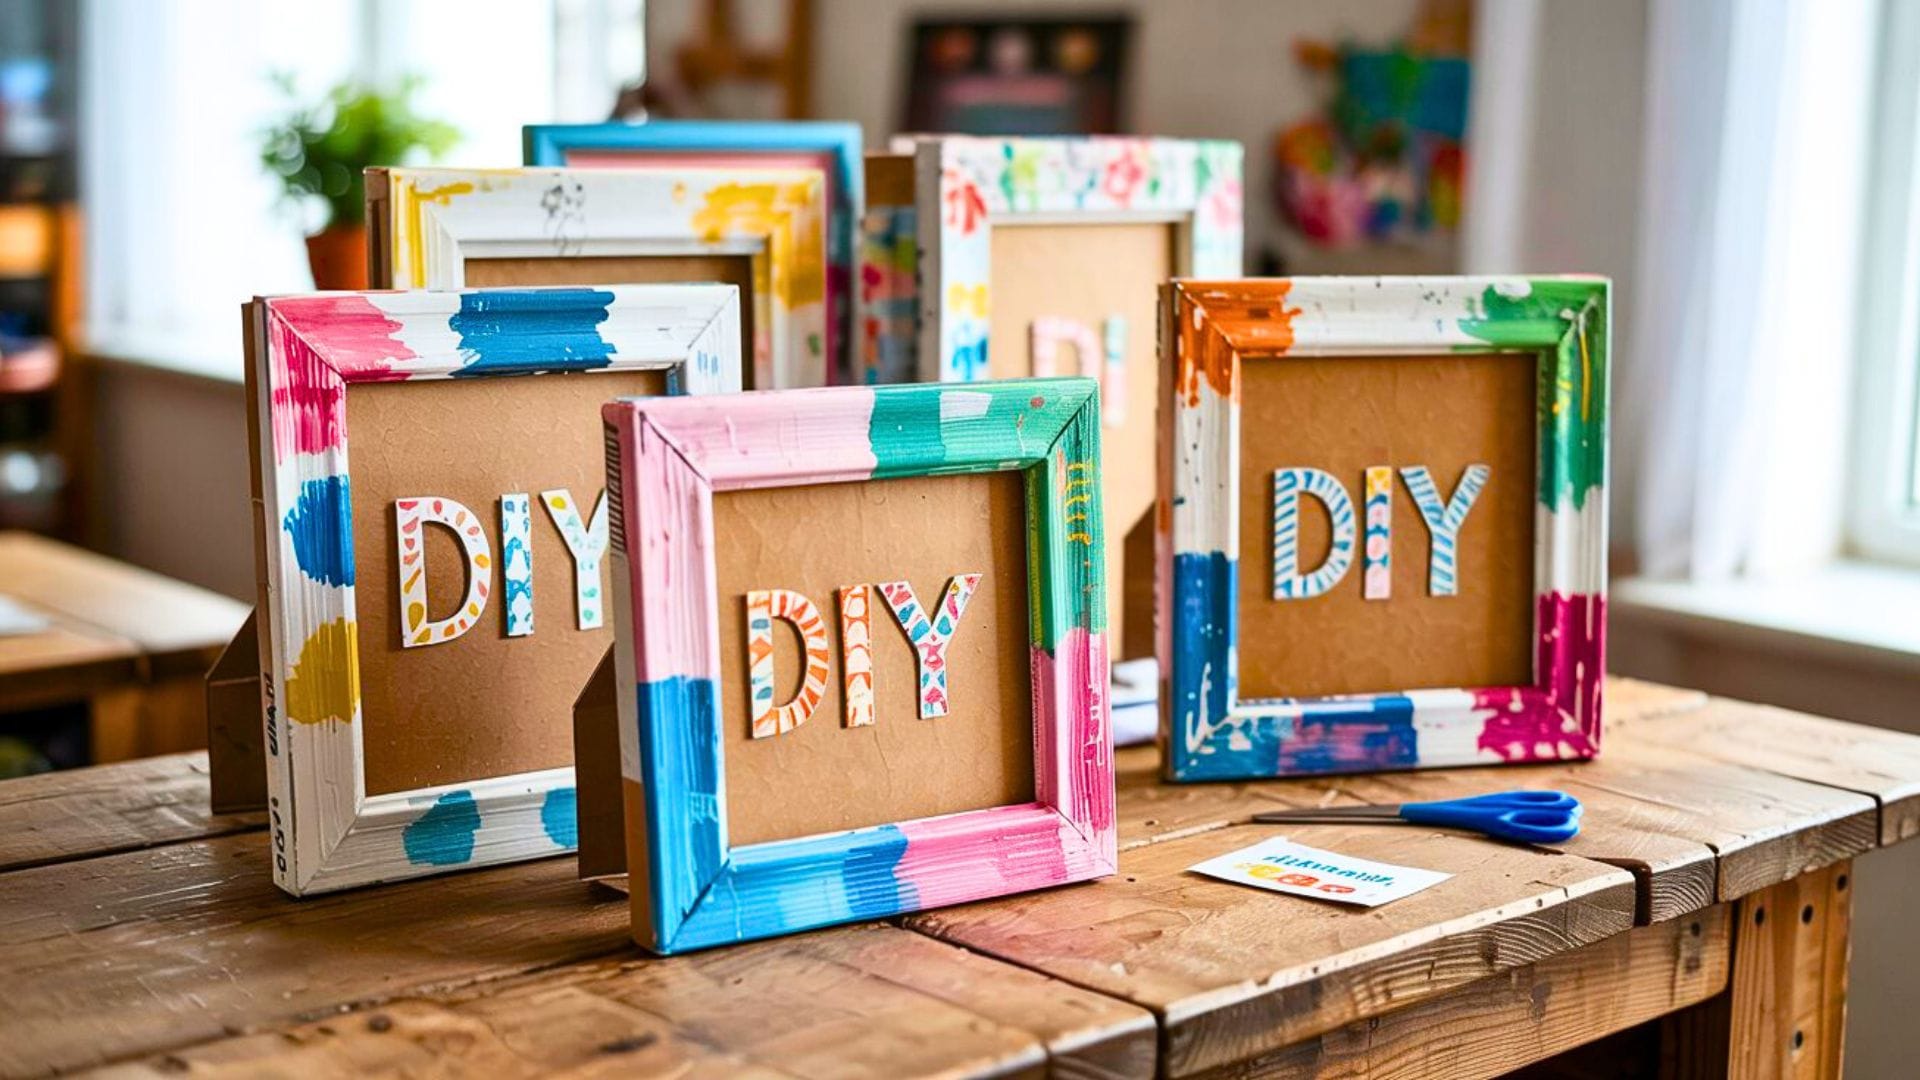
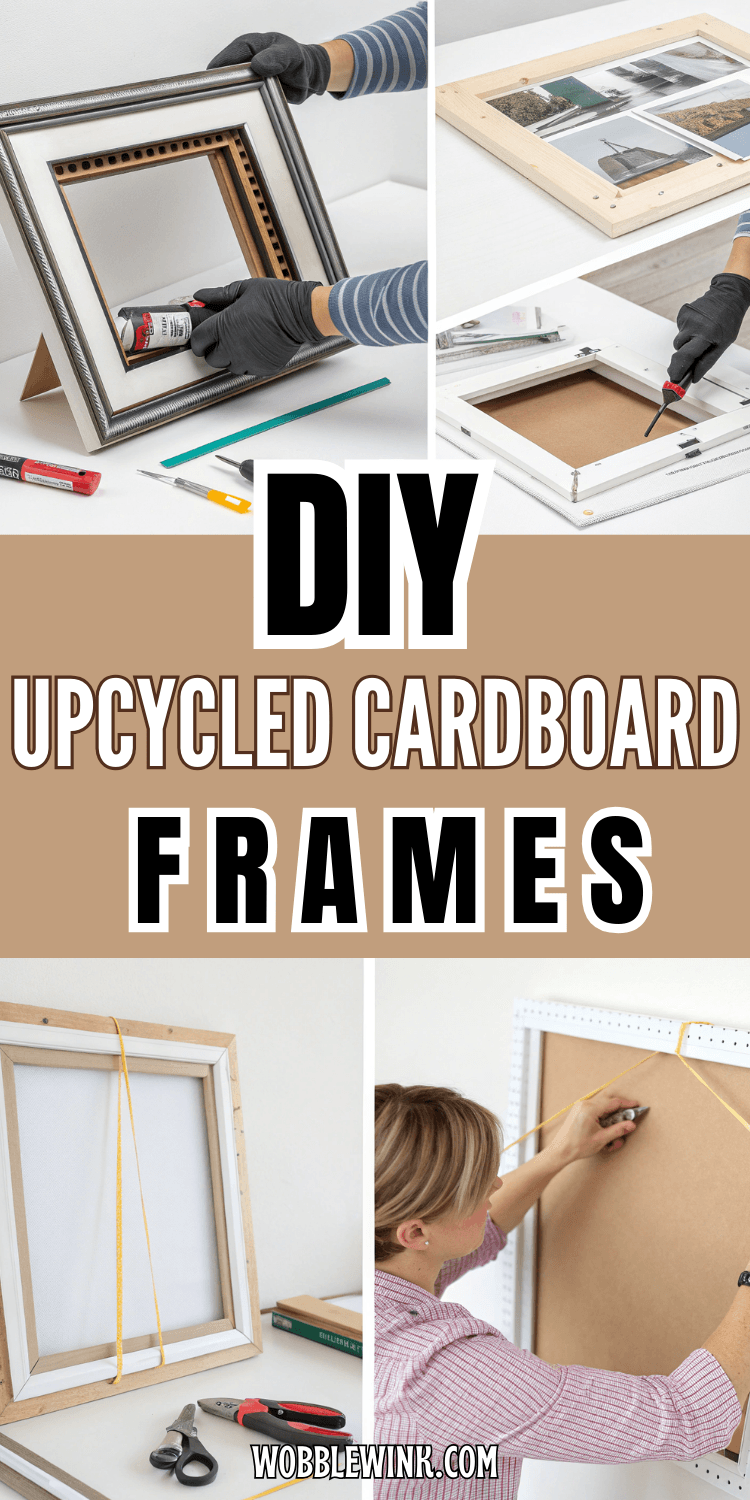
Have you ever looked at a pile of cardboard boxes and seen potential instead of trash? With just a few basic household items and some creativity, you can transform ordinary cardboard into stunning, personalized picture frames that rival store-bought versions.
This eco-friendly craft project proves that beautiful home décor doesn’t require expensive materials or fancy tools – just scissors, glue, and your imagination. Whether you’re displaying cherished family photos, children’s artwork, or inspirational quotes, these handmade frames add a unique, personal touch to any space.

Perfect for crafters of all skill levels, this step-by-step guide walks you through creating professional-looking frames using materials you likely already have at home.
In under an hour, you’ll have a completely customized frame that reflects your personal style while giving new life to cardboard that would otherwise end up in the recycling bin. It’s budget-friendly, environmentally conscious, and endlessly customizable.
Materials Needed
Cardboard Sources
- Large cardboard boxes (shipping boxes, appliance boxes, or cereal boxes)
- Pizza boxes (clean ones work great!)
- Shoe boxes
- Any sturdy corrugated cardboard
Basic Supplies
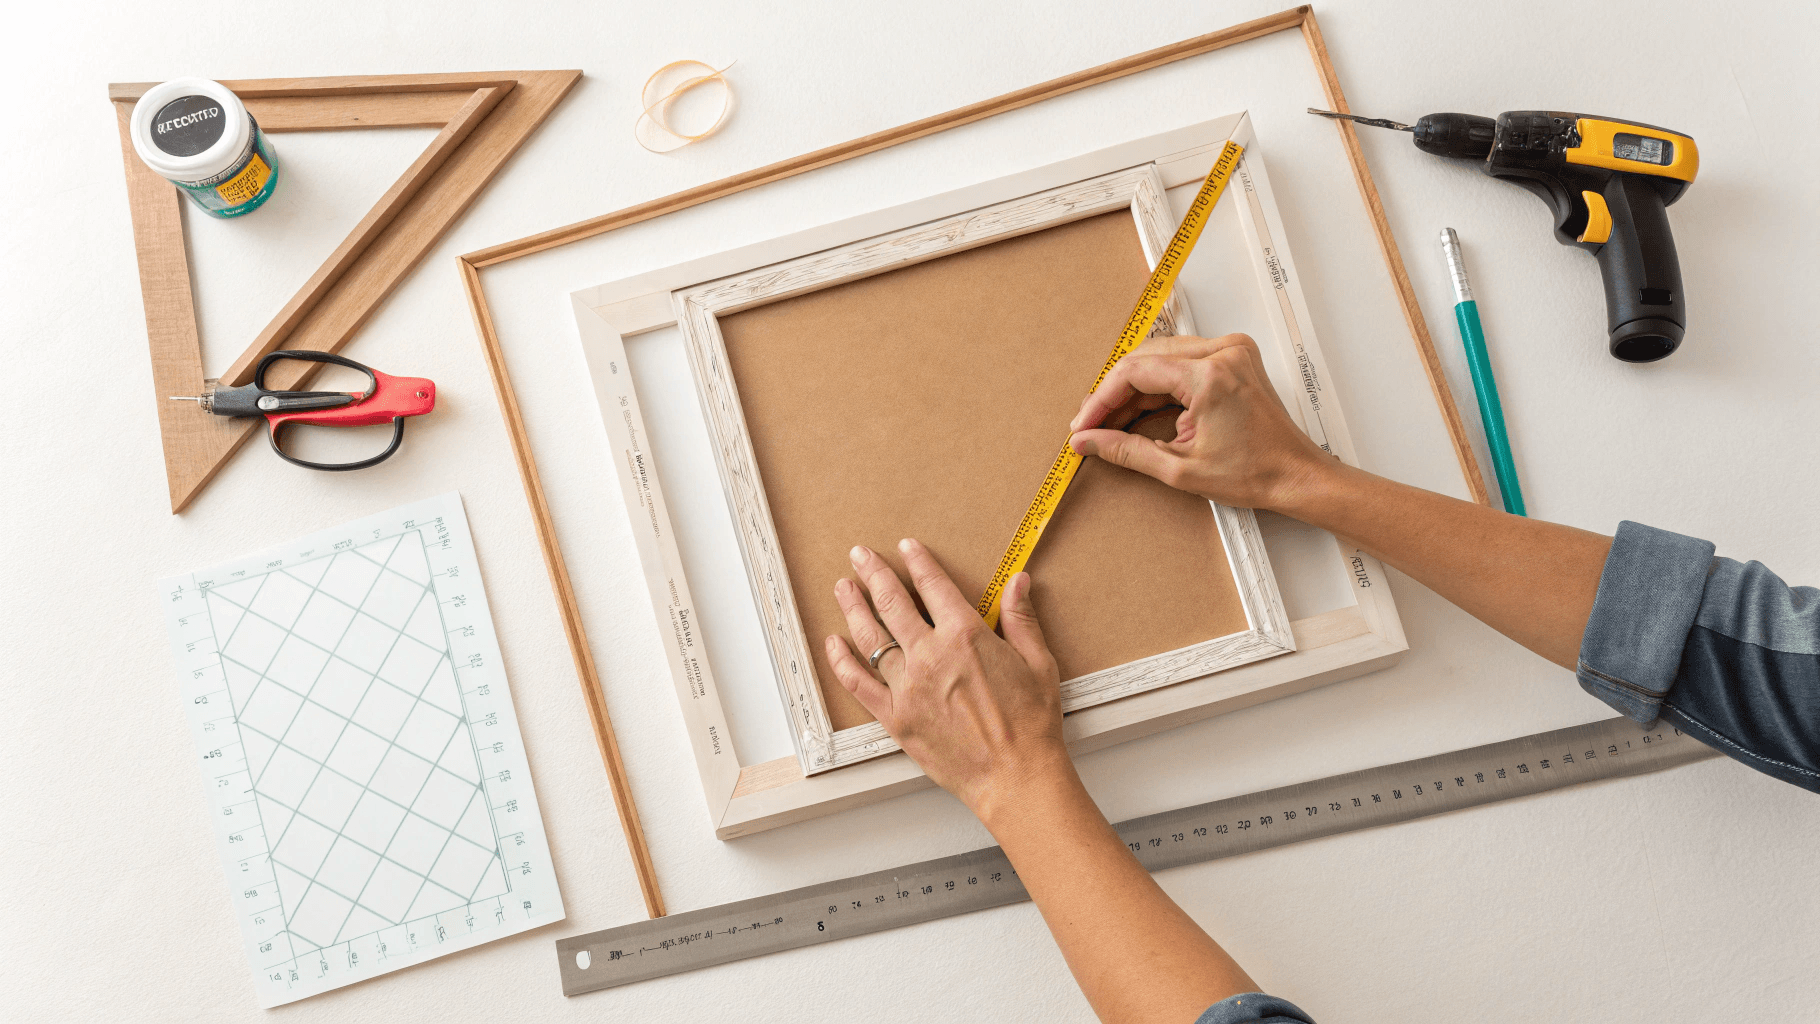
- Ruler or measuring tape – for measuring your frame dimensions
- Pencil – for marking cuts and guidelines
- Scissors or box cutter – for cutting cardboard (adult supervision needed for box cutters)
- White glue or glue stick – for assembling pieces
- Clear tape (optional) – for extra reinforcement
Decoration Materials (Choose Your Favorites!)
- Paint – acrylic, watercolor, or even nail polish
- Markers or colored pencils
- Decorative paper – wrapping paper, magazine pages, scrapbook paper
- Fabric scraps – old t-shirts, bandanas, or fabric remnants
- Natural elements – dried flowers, leaves, twigs, shells
- Craft supplies – buttons, ribbon, yarn, stickers, glitter
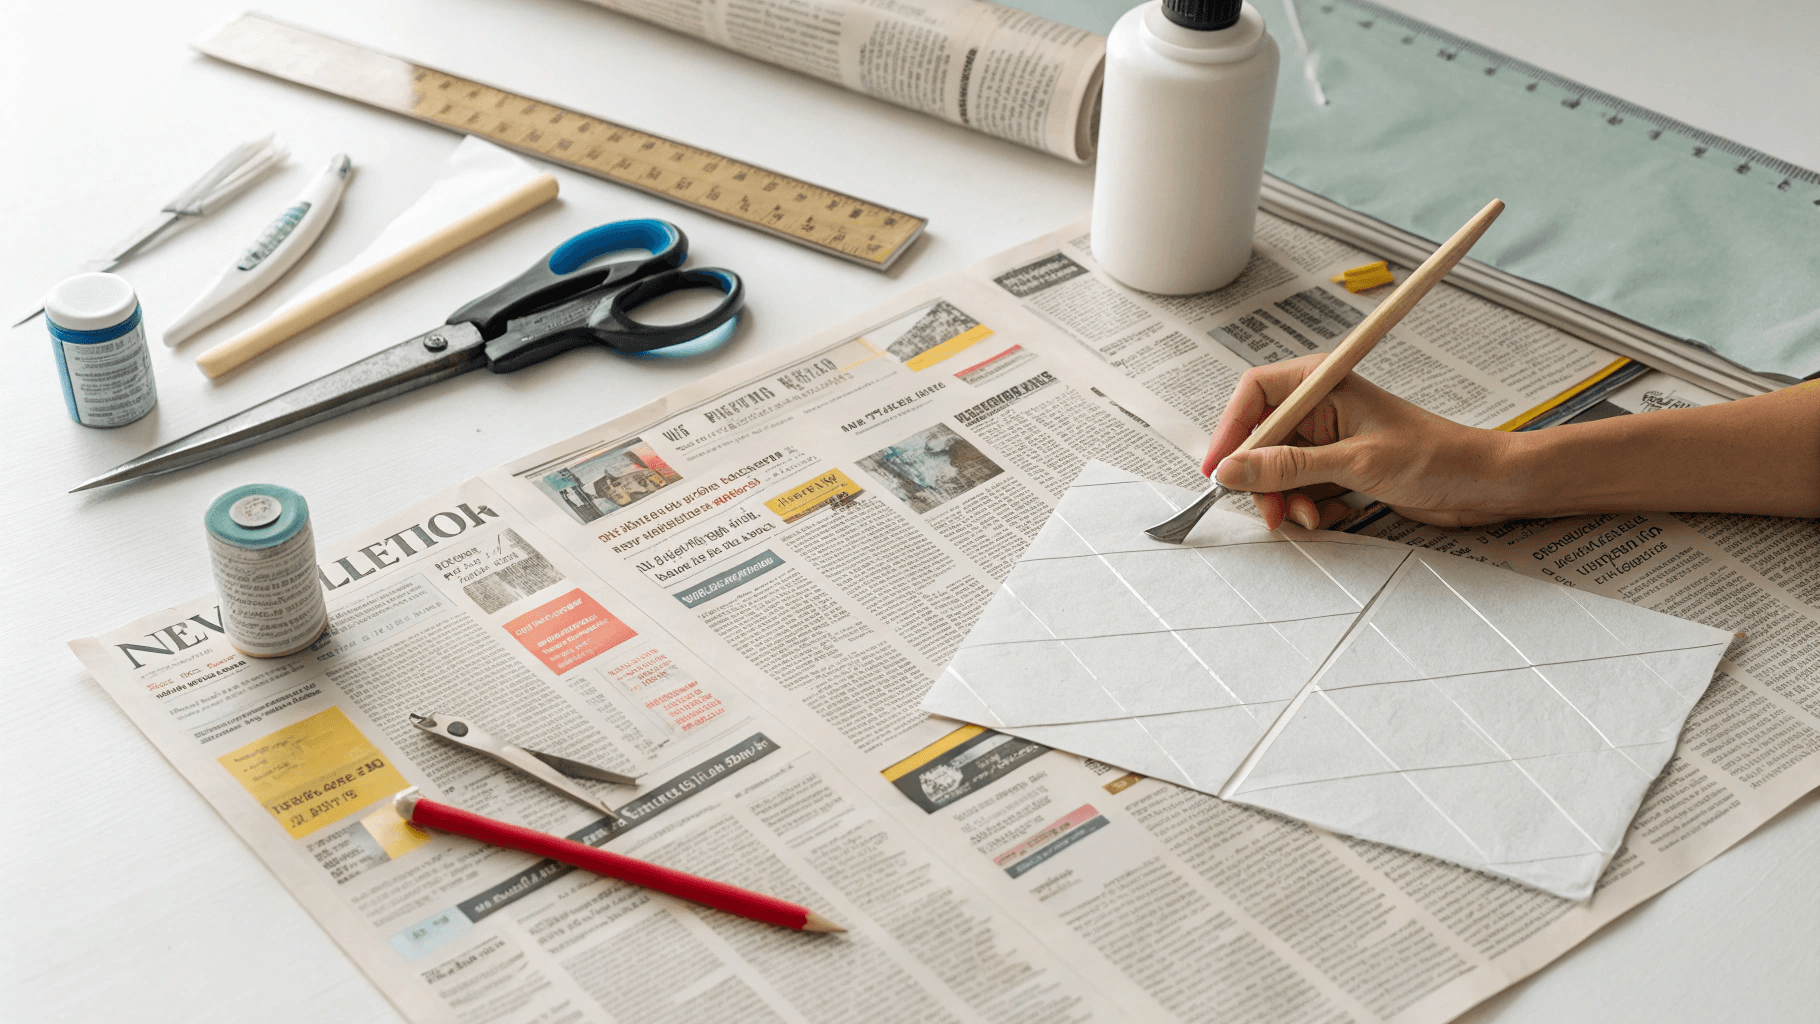
Preparation Steps
Step 1: Choose Your Photo Size
Tools: Ruler, photo or artwork to frame Action: Measure your photo or artwork that you want to frame Progress Check: You should know the exact width and height of your photo (e.g., 4×6 inches, 5×7 inches)
💡 Tip: Standard photo sizes work best for beginners – 4×6, 5×7, or 8×10 inches
Step 2: Select Your Cardboard
Tools: Just your hands and eyes Action: Choose a piece of cardboard that’s at least 4 inches larger than your photo on all sides Progress Check: Your cardboard piece should be significantly larger than your photo with plenty of room for the frame border
💡 Tip: Thicker cardboard (like from appliance boxes) makes sturdier frames, while cereal box cardboard is easier to cut but less durable
Step 3: Clean Your Workspace
Tools: None needed Action: Clear a flat surface and lay down newspaper or a craft mat if available Progress Check: You have a clean, organized workspace with good lighting
Creating Your Frame
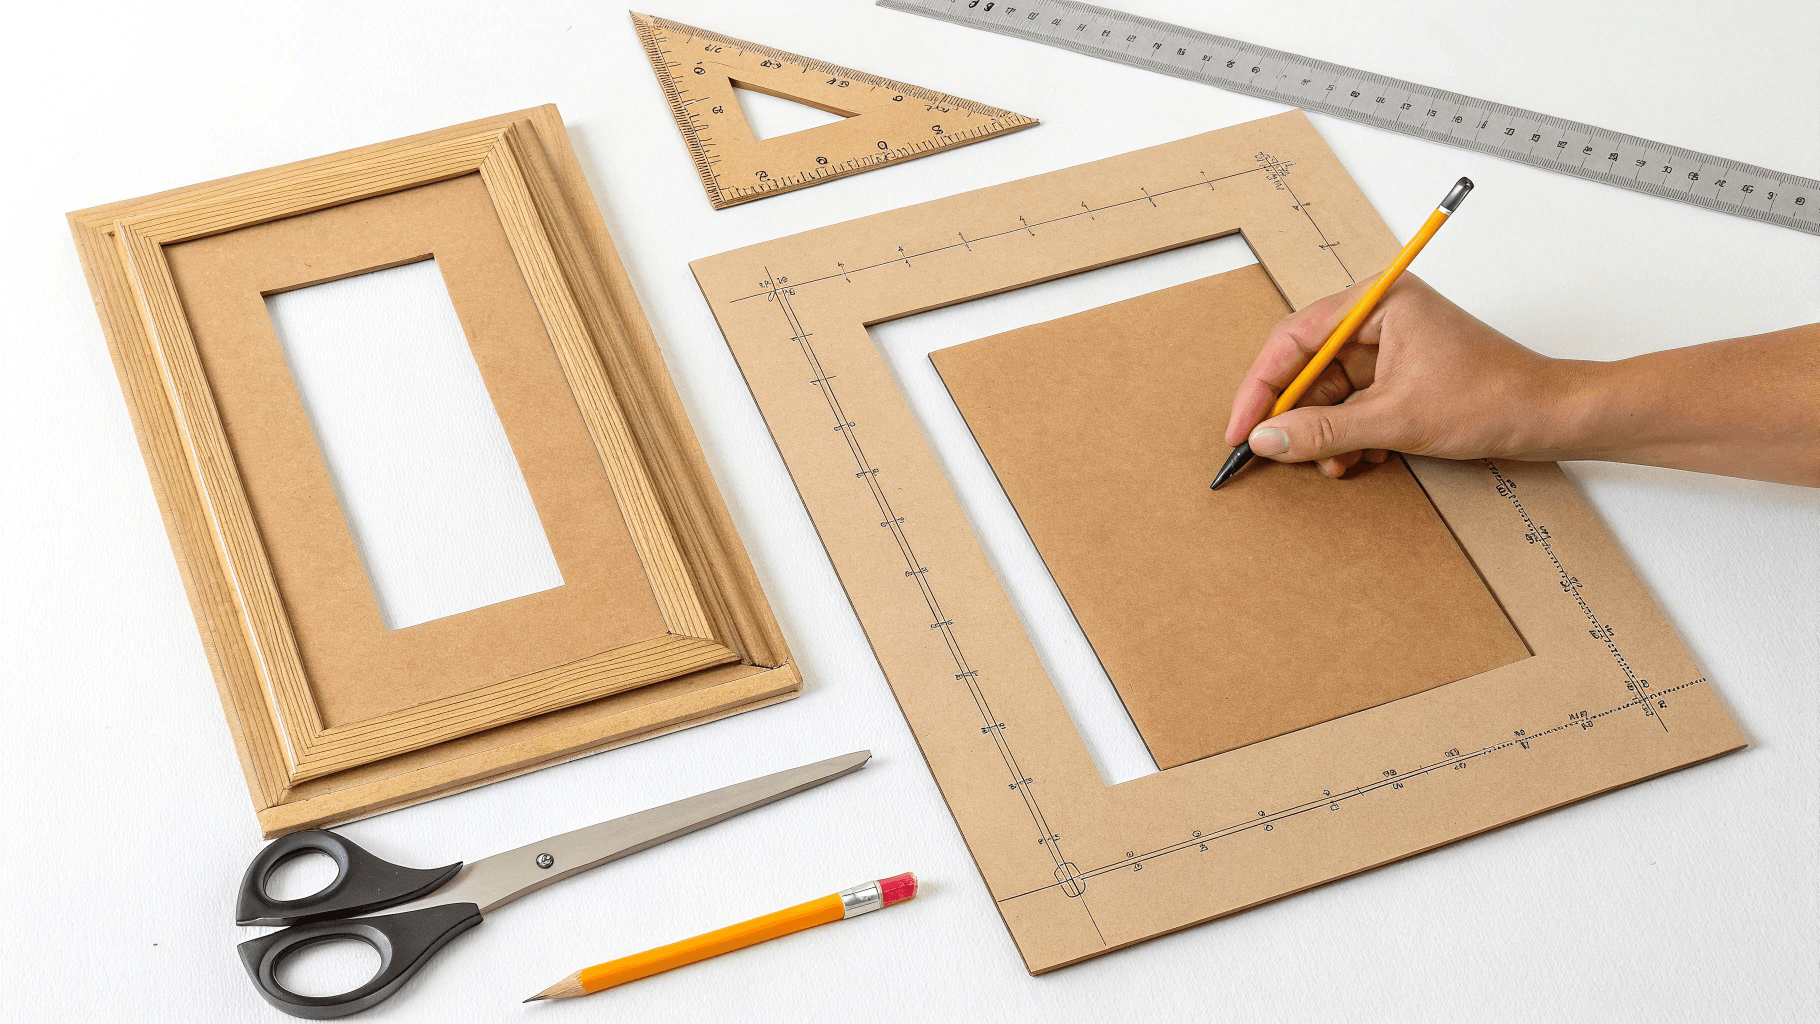
Step 4: Mark the Outer Frame Dimensions
Tools: Ruler, pencil Action: Draw a rectangle that’s 3-4 inches wider and taller than your photo Progress Check: You should see a rectangle drawn on your cardboard that will become the outer edge of your frame
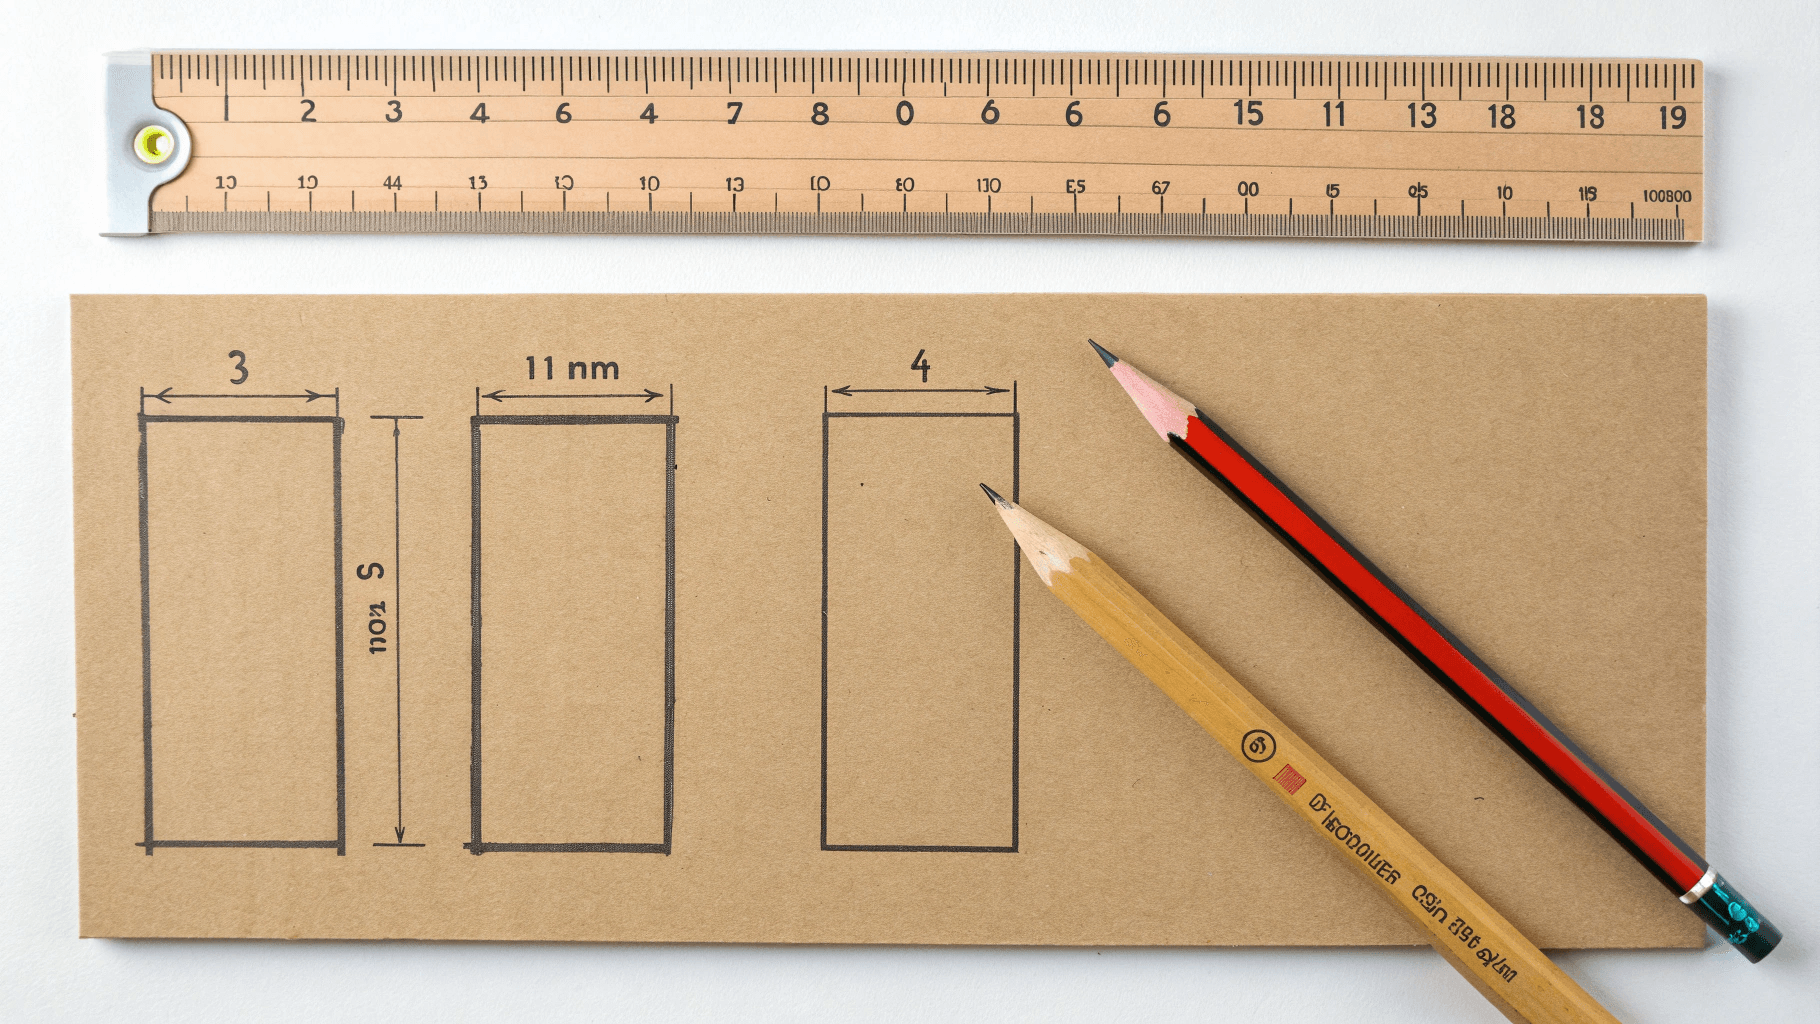
Example: For a 4×6 photo, draw a rectangle that’s 7×9 inches or 8×10 inches
Step 5: Mark the Inner Photo Opening
Tools: Ruler, pencil Action: Inside your outer rectangle, draw another rectangle that’s exactly the size of your photo Progress Check: You now have two rectangles – a large outer one and a smaller inner one centered inside it
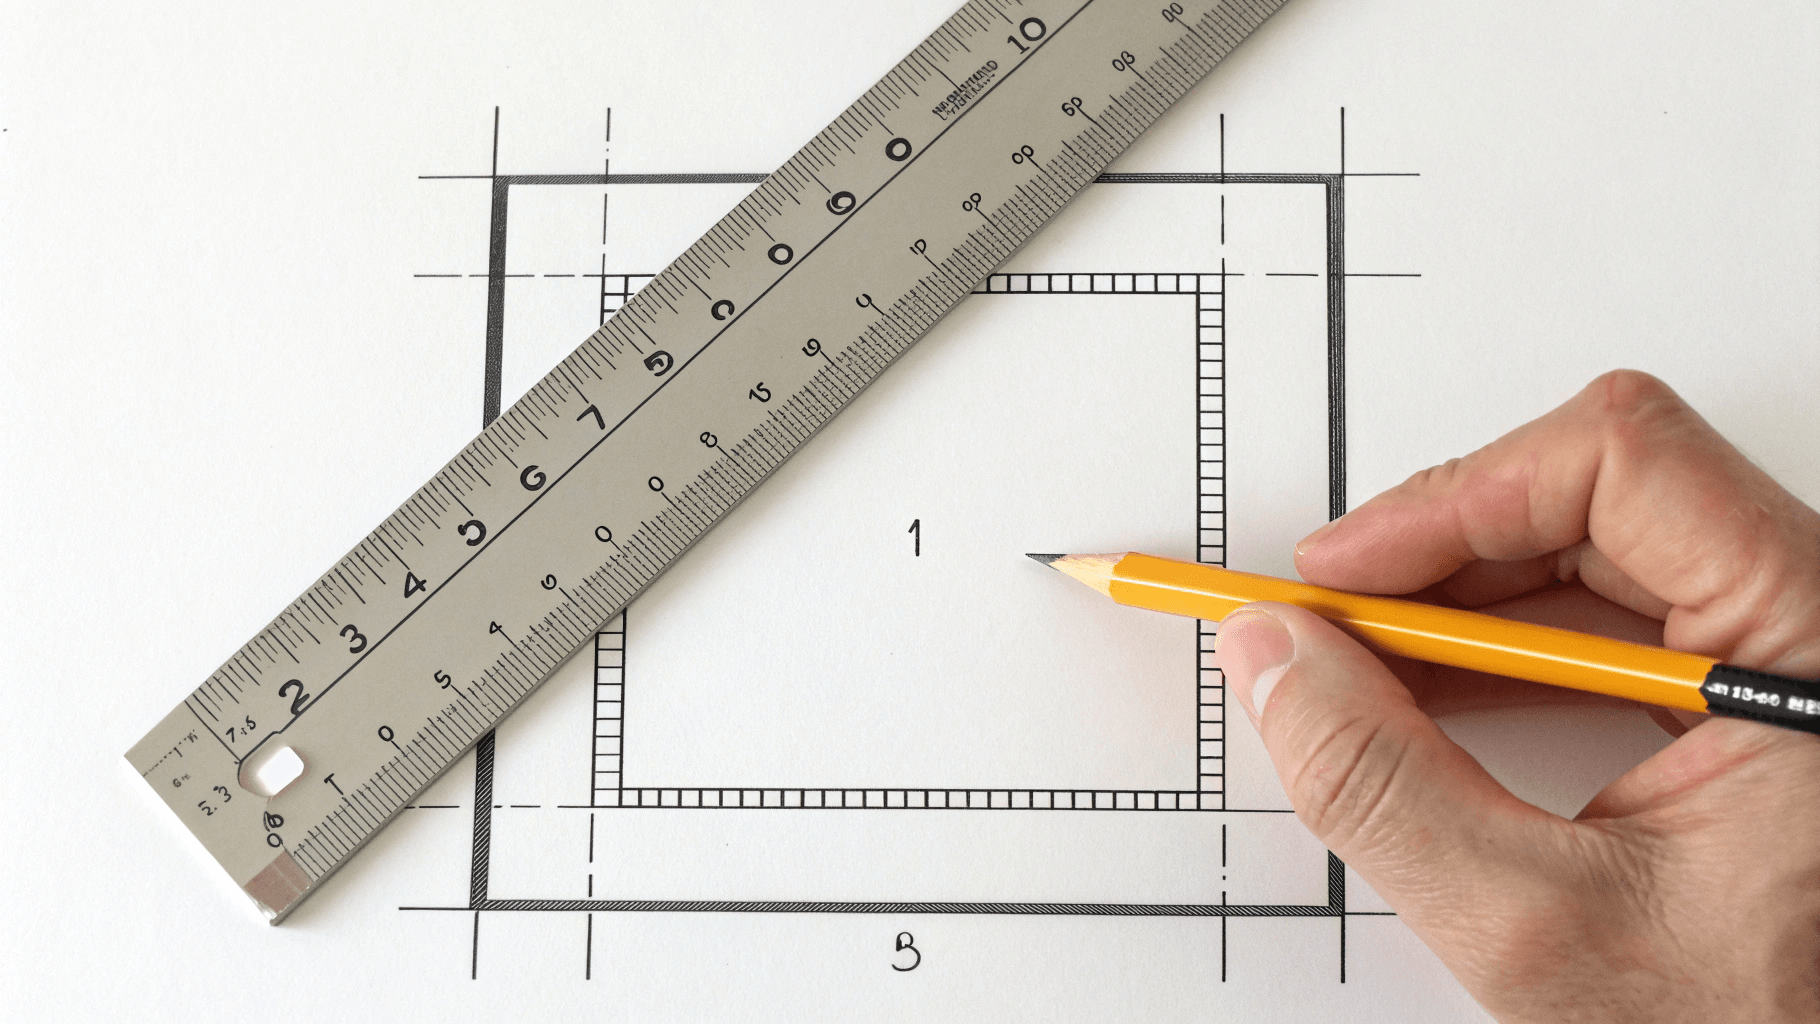
💡 Tip: Make sure the inner rectangle is perfectly centered by measuring equal distances from each side
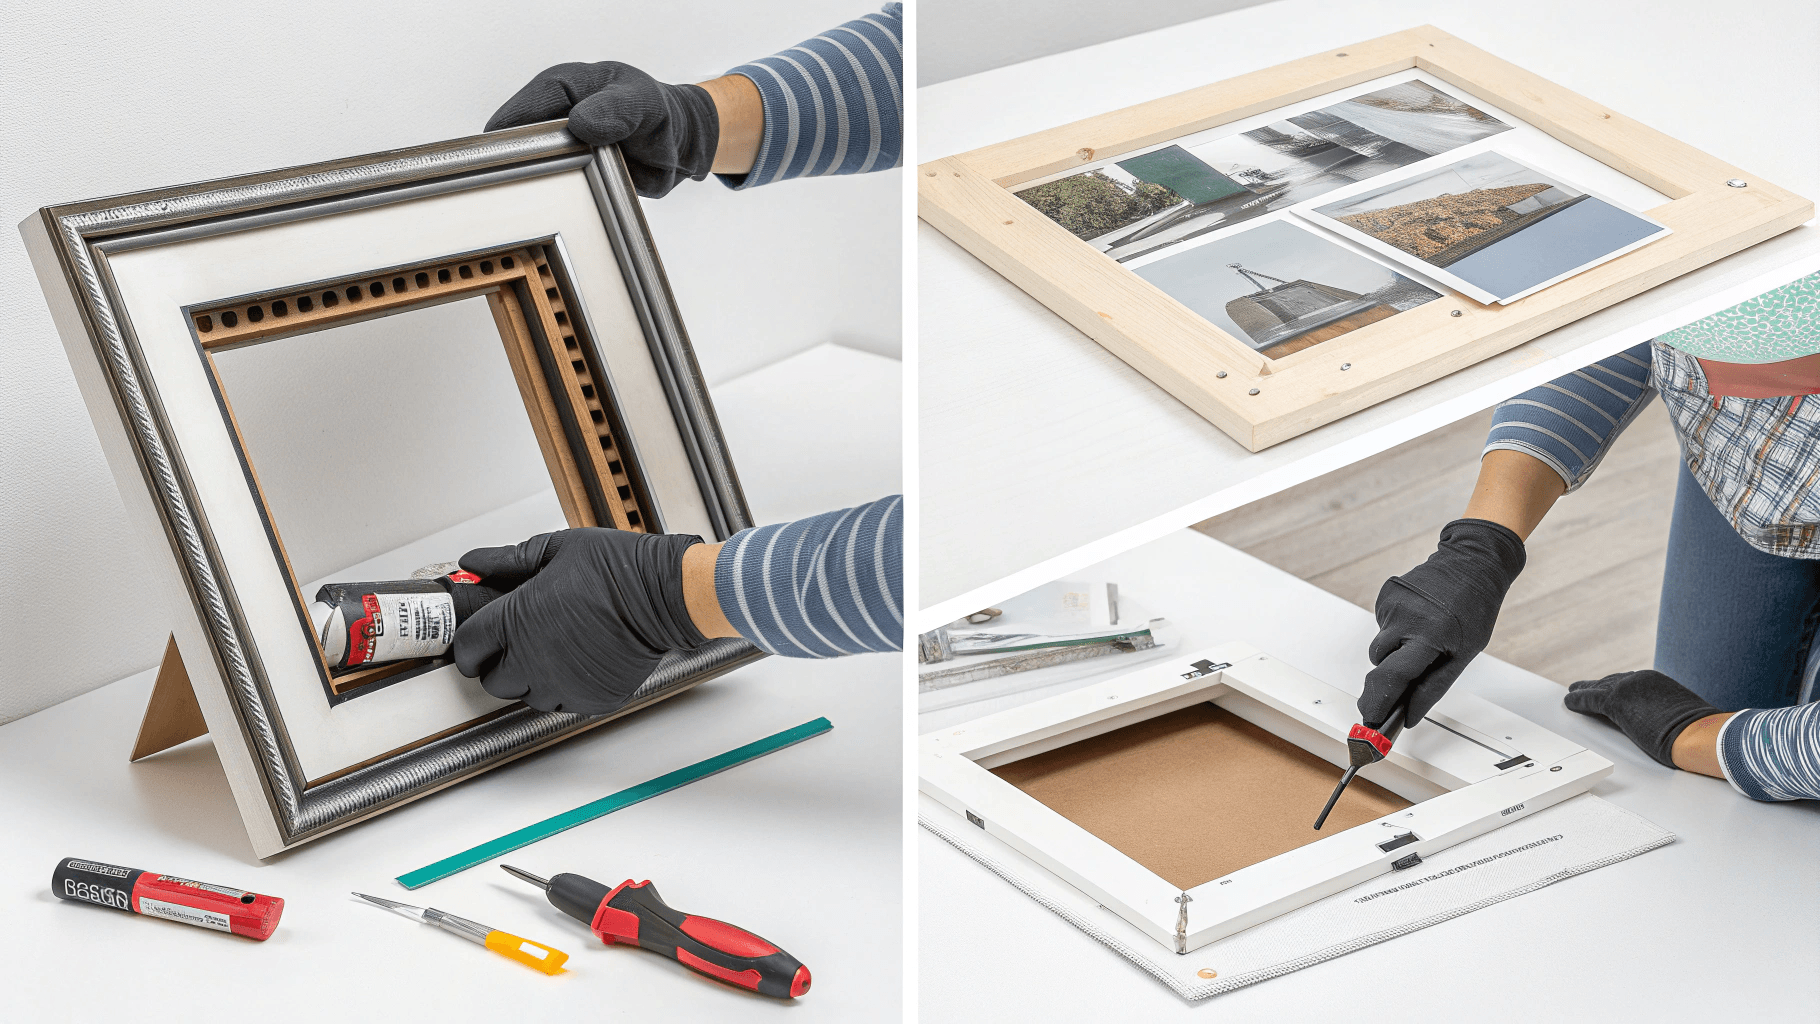
Step 6: Cut Out the Outer Frame
Tools: Scissors or box cutter Action: Carefully cut along the outer rectangle lines Progress Check: You should have a rectangular piece of cardboard with pencil lines still visible for the inner cut
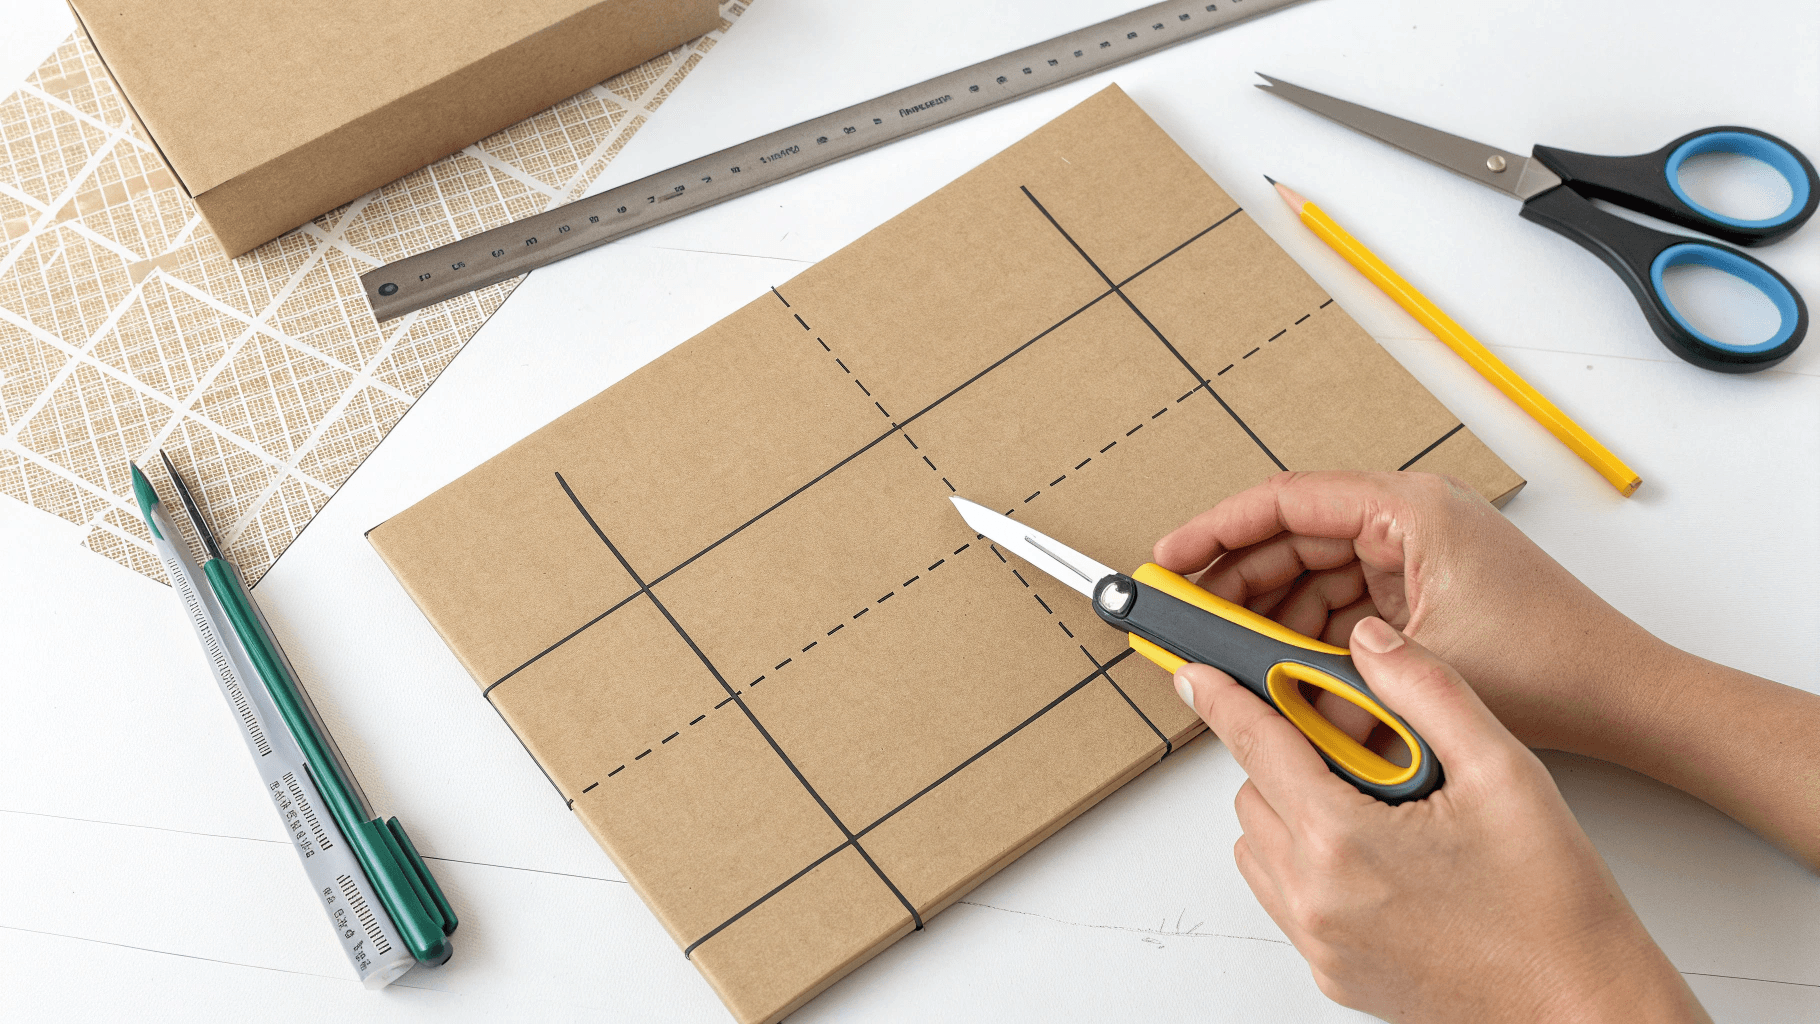
⚠️ Safety Note: If using a box cutter, always cut away from your body and use a ruler as a guide
Step 7: Cut Out the Photo Opening
Tools: Scissors or box cutter Action: Carefully cut along the inner rectangle lines and remove the center piece Progress Check: You now have a cardboard frame with a rectangular hole in the middle that matches your photo size
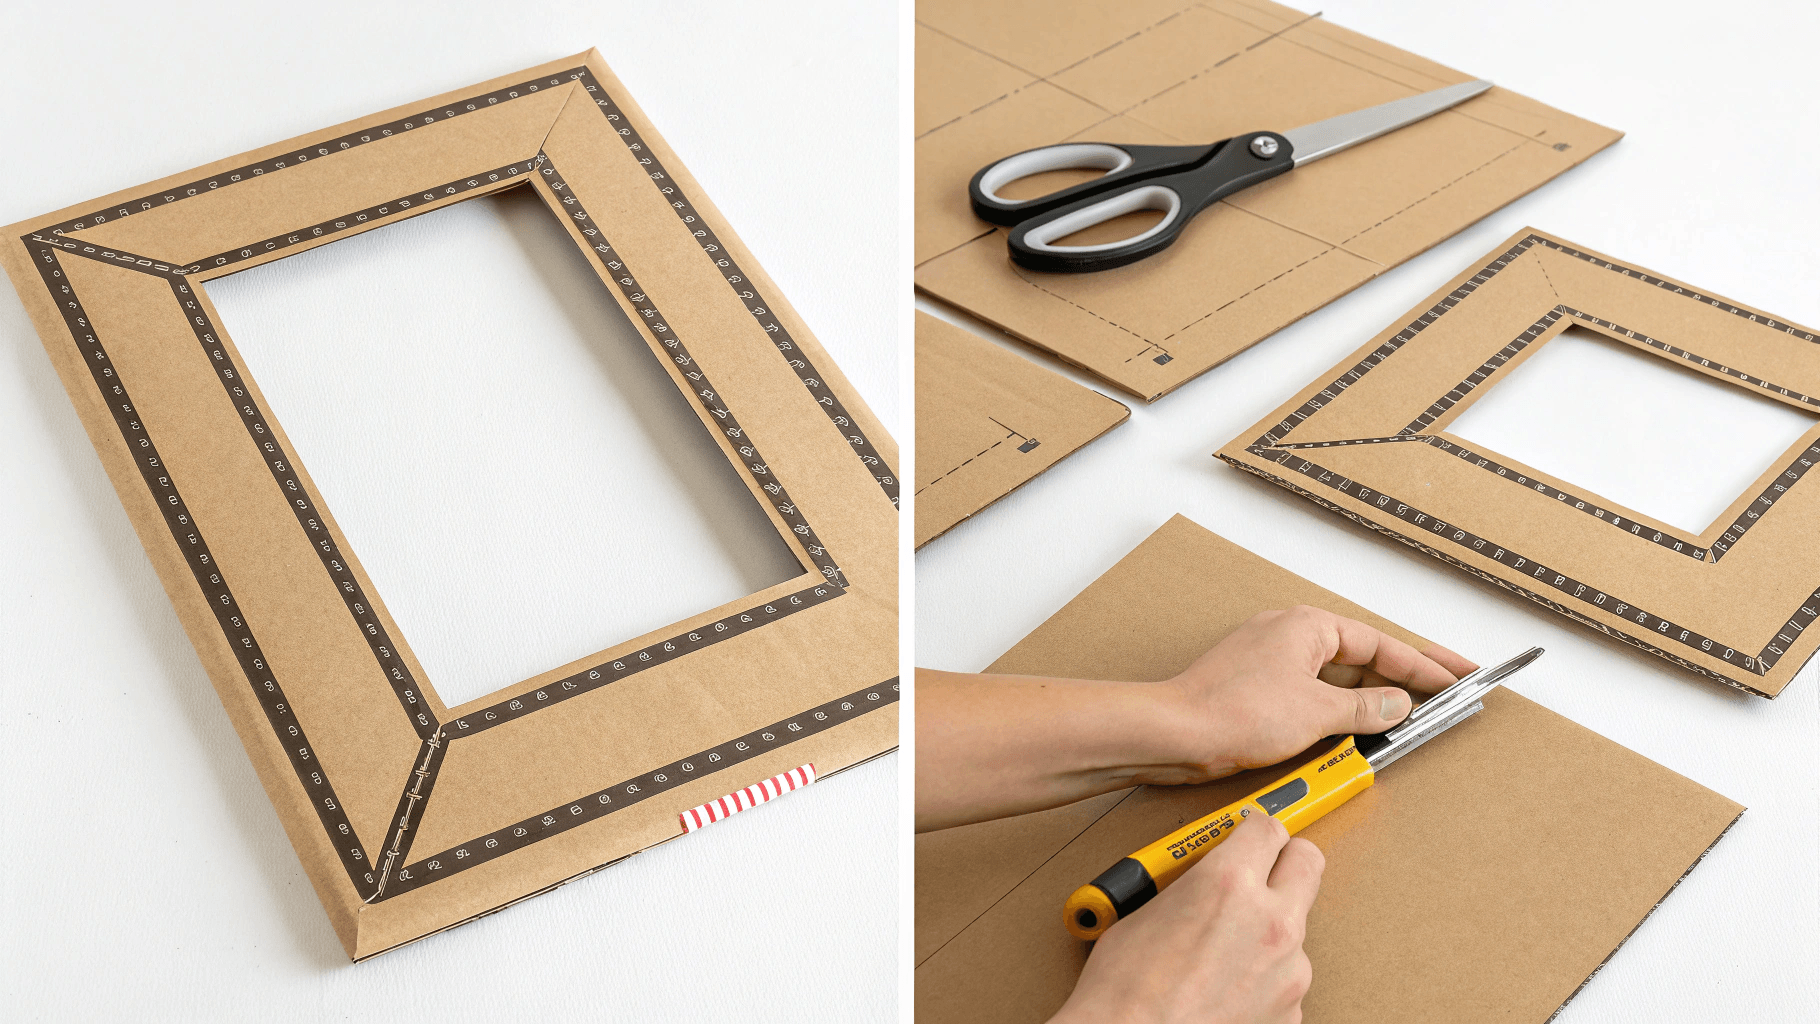
💡 Tip: Start by poking a small hole in the center, then cut to each corner. This prevents tearing.
Adding Structure and Stability
Step 8: Create the Back Support
Tools: Pencil, ruler, scissors Action: Cut another piece of cardboard the same size as your outer frame dimensions Progress Check: You have two identical rectangular pieces – one with a hole (the frame front) and one solid piece (the back)
Step 9: Create the Photo Ledge
Tools: Ruler, scissors, glue Action: Cut a thin strip of cardboard (about 0.5 inches wide) and glue it along the bottom inside edge of the frame opening Progress Check: There’s now a small shelf inside the frame where your photo will rest
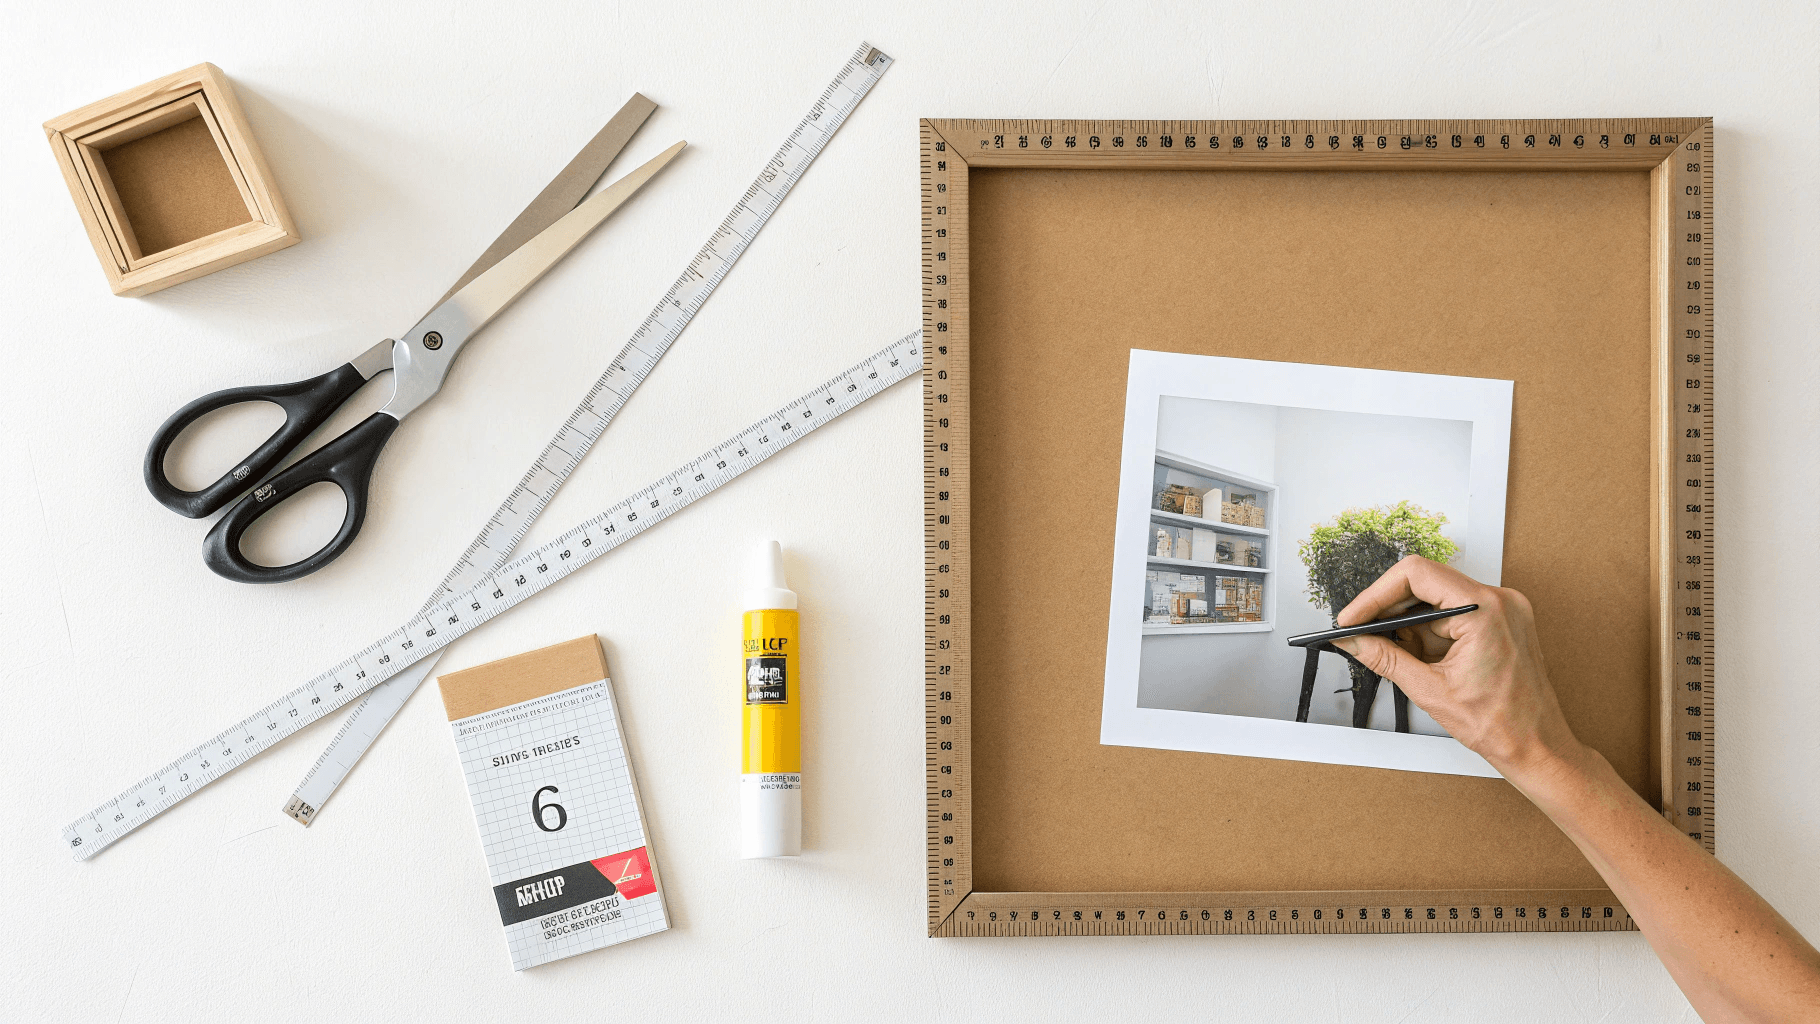
💡 Tip: This ledge prevents your photo from falling through the frame opening
Step 10: Make the Easel Stand (Optional)
Tools: Ruler, scissors, glue Action: Cut a triangular piece of cardboard and glue it to the back of the frame, creating a kickstand Progress Check: Your frame can now stand upright on a flat surface
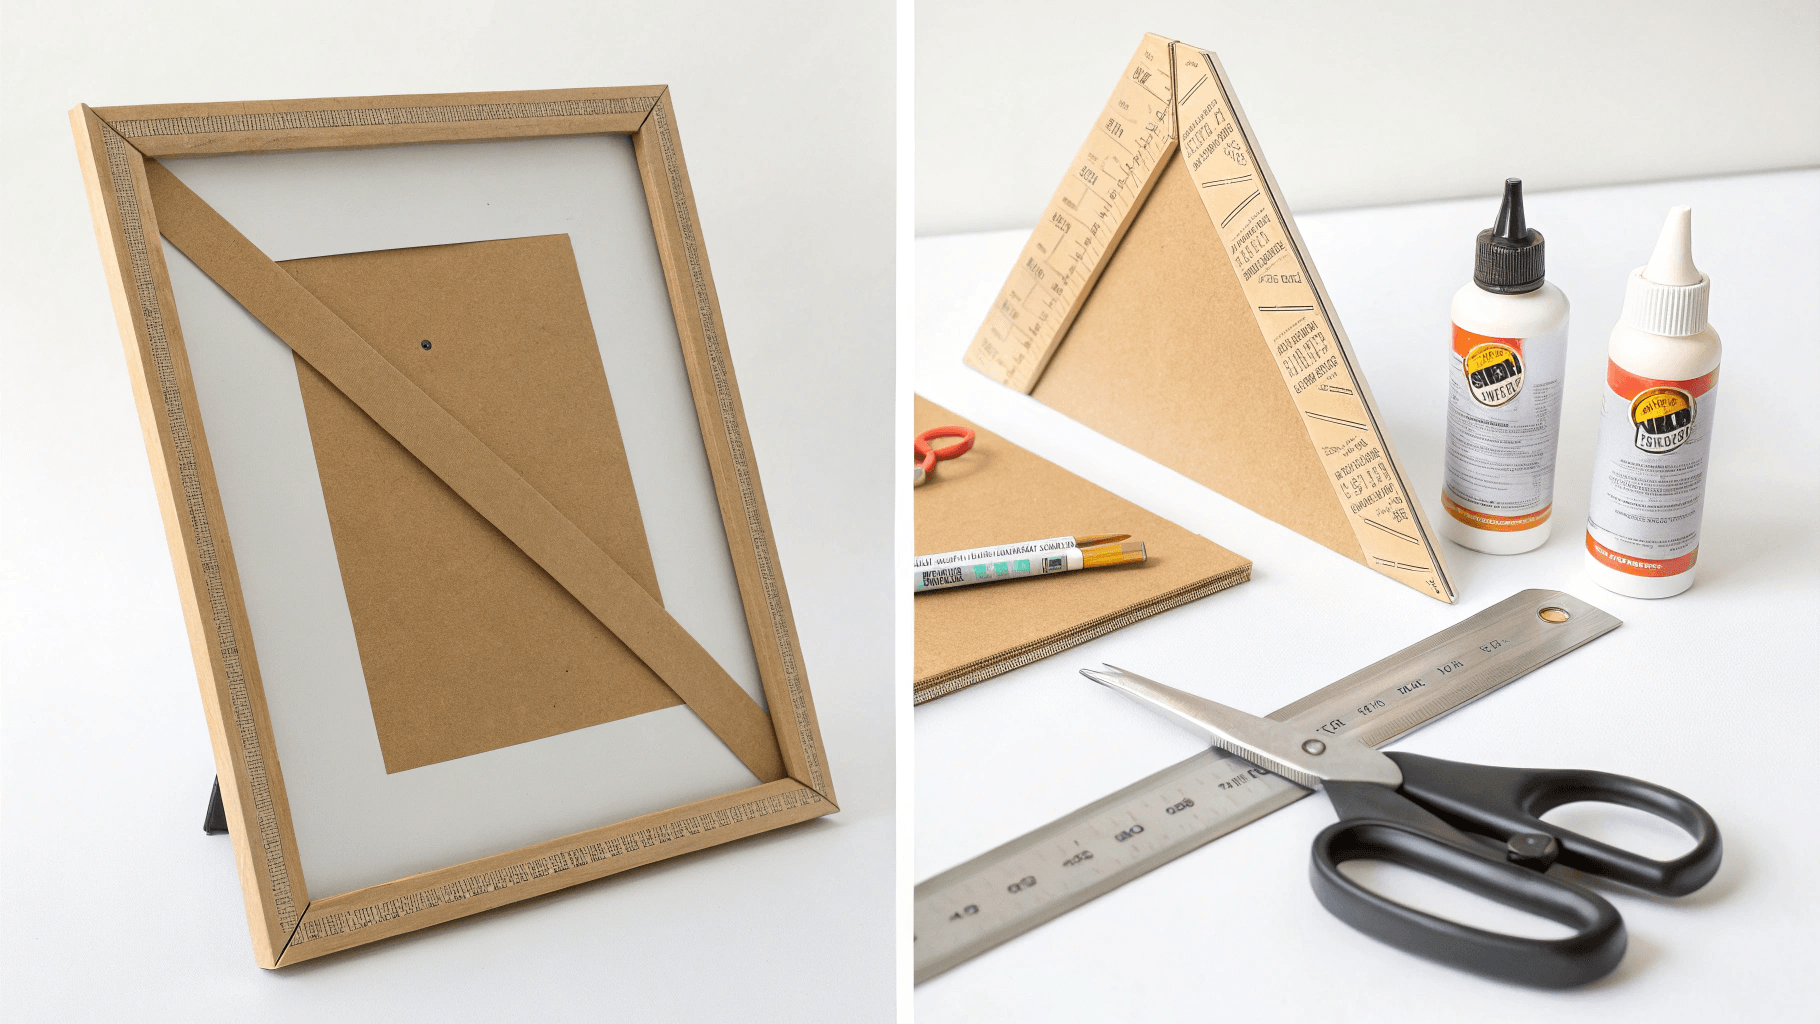
Dimensions: For most frames, a triangle that’s 4 inches tall and 3 inches wide at the base works well
Decorating Your Frame
Step 11: Choose Your Decoration Method
Tools: Your chosen decorating materials Action: Decide on your decorating approach – painting, covering with paper, or mixed media Progress Check: You have all your decorating materials ready and a clear vision for your design

Step 12a: Paint Method
Tools: Paint, brushes, water container, paper towels Action: Apply paint in thin, even coats, letting each layer dry completely Progress Check: Your frame should have smooth, even color coverage with no cardboard showing through
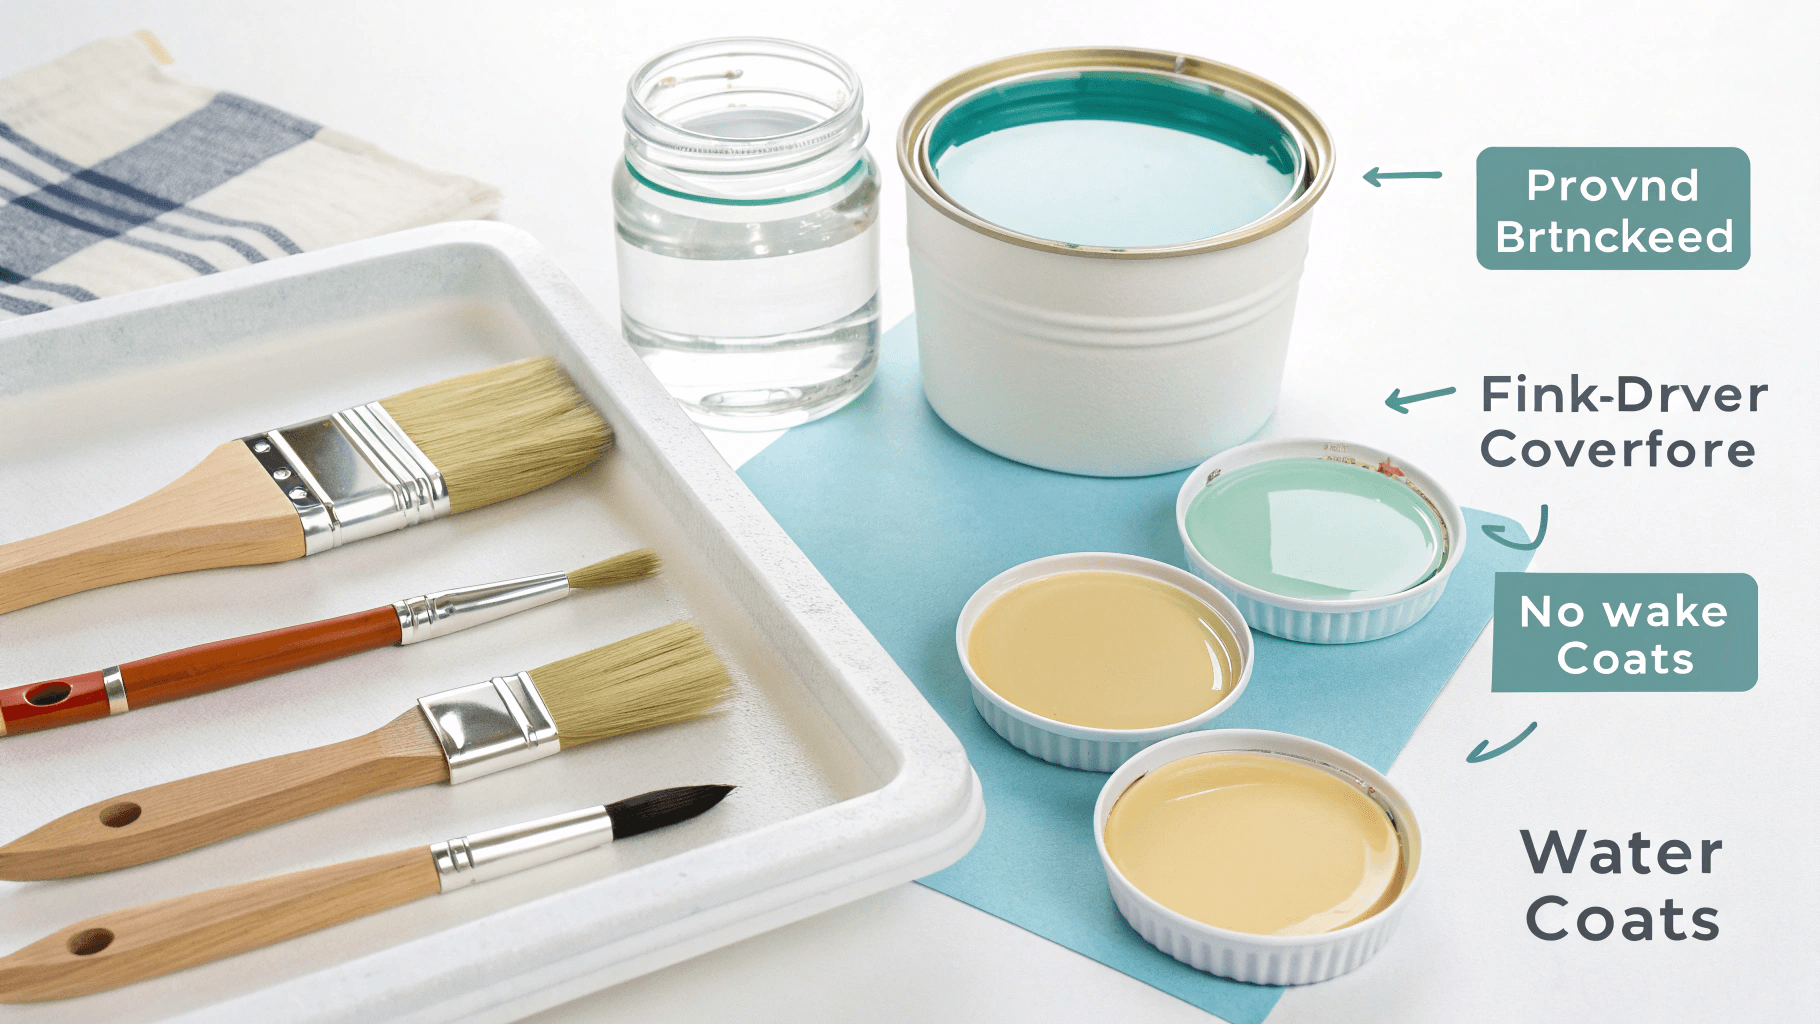
💡 Tip: Use a hair dryer on cool setting to speed up drying time
Step 12b: Paper Covering Method
Tools: Decorative paper, glue stick, scissors Action: Cut paper slightly larger than your frame sections, apply glue evenly, and smooth down carefully Progress Check: Paper should be smoothly adhered with no bubbles or wrinkles
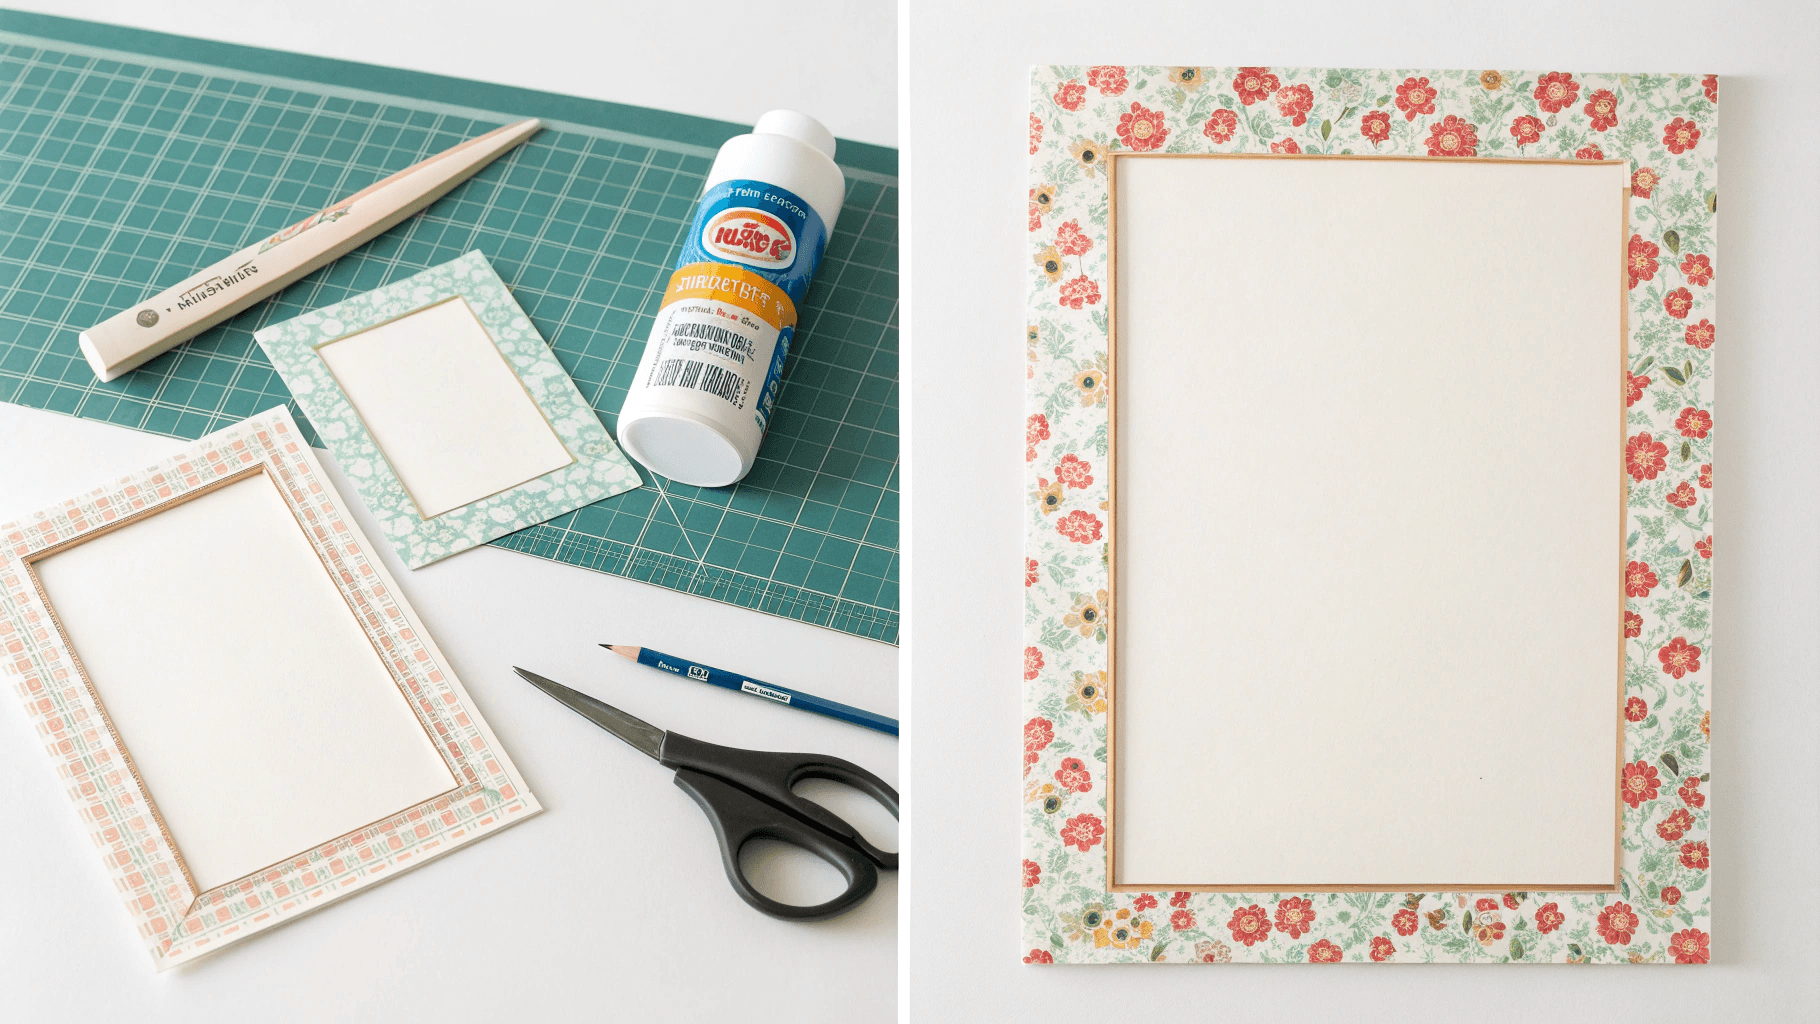
💡 Tip: Use a credit card or ruler to smooth out air bubbles as you go
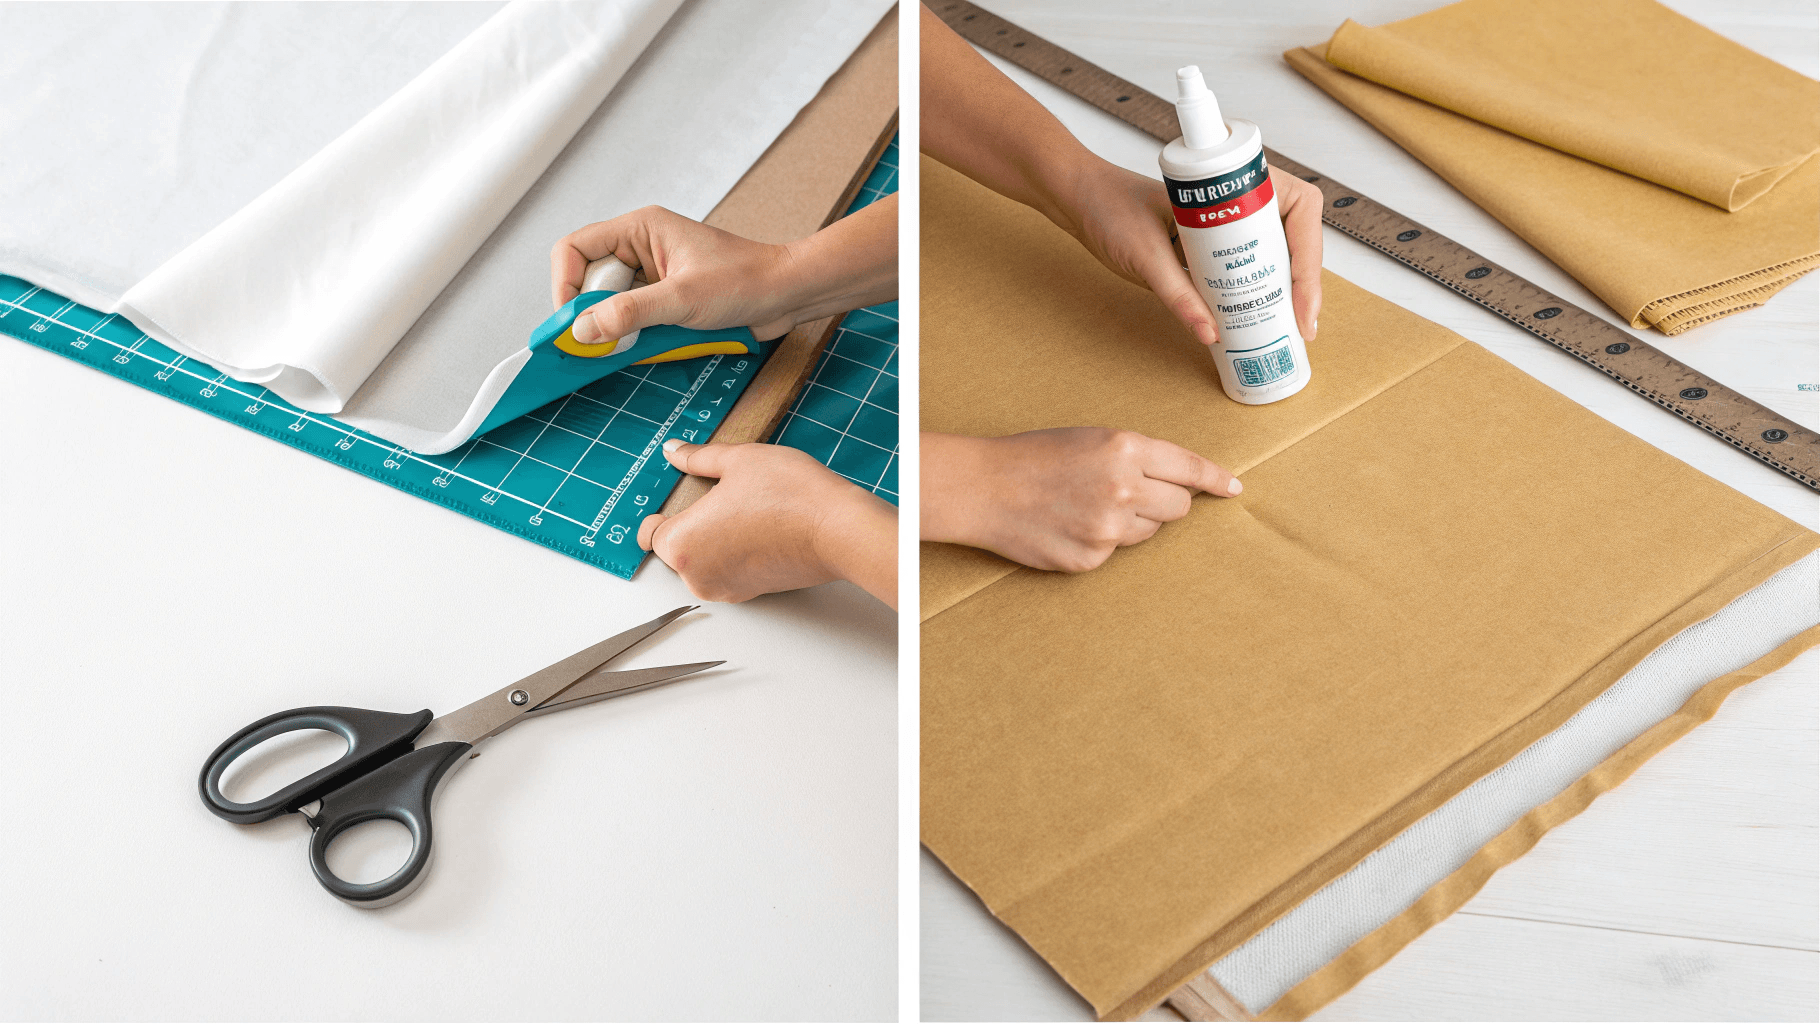
Step 12c: Fabric Method
Tools: Fabric, glue, scissors Action: Cut fabric pieces with 1-inch overhang, apply glue to cardboard, stretch fabric taut, and fold edges over Progress Check: Fabric should be tight and smooth with clean, folded edges on the back
Step 13: Add Detail Decorations
Tools: Small decorative elements, glue Action: Attach buttons, ribbons, dried flowers, or other embellishments to enhance your design Progress Check: Decorative elements should be securely attached and enhance the overall look
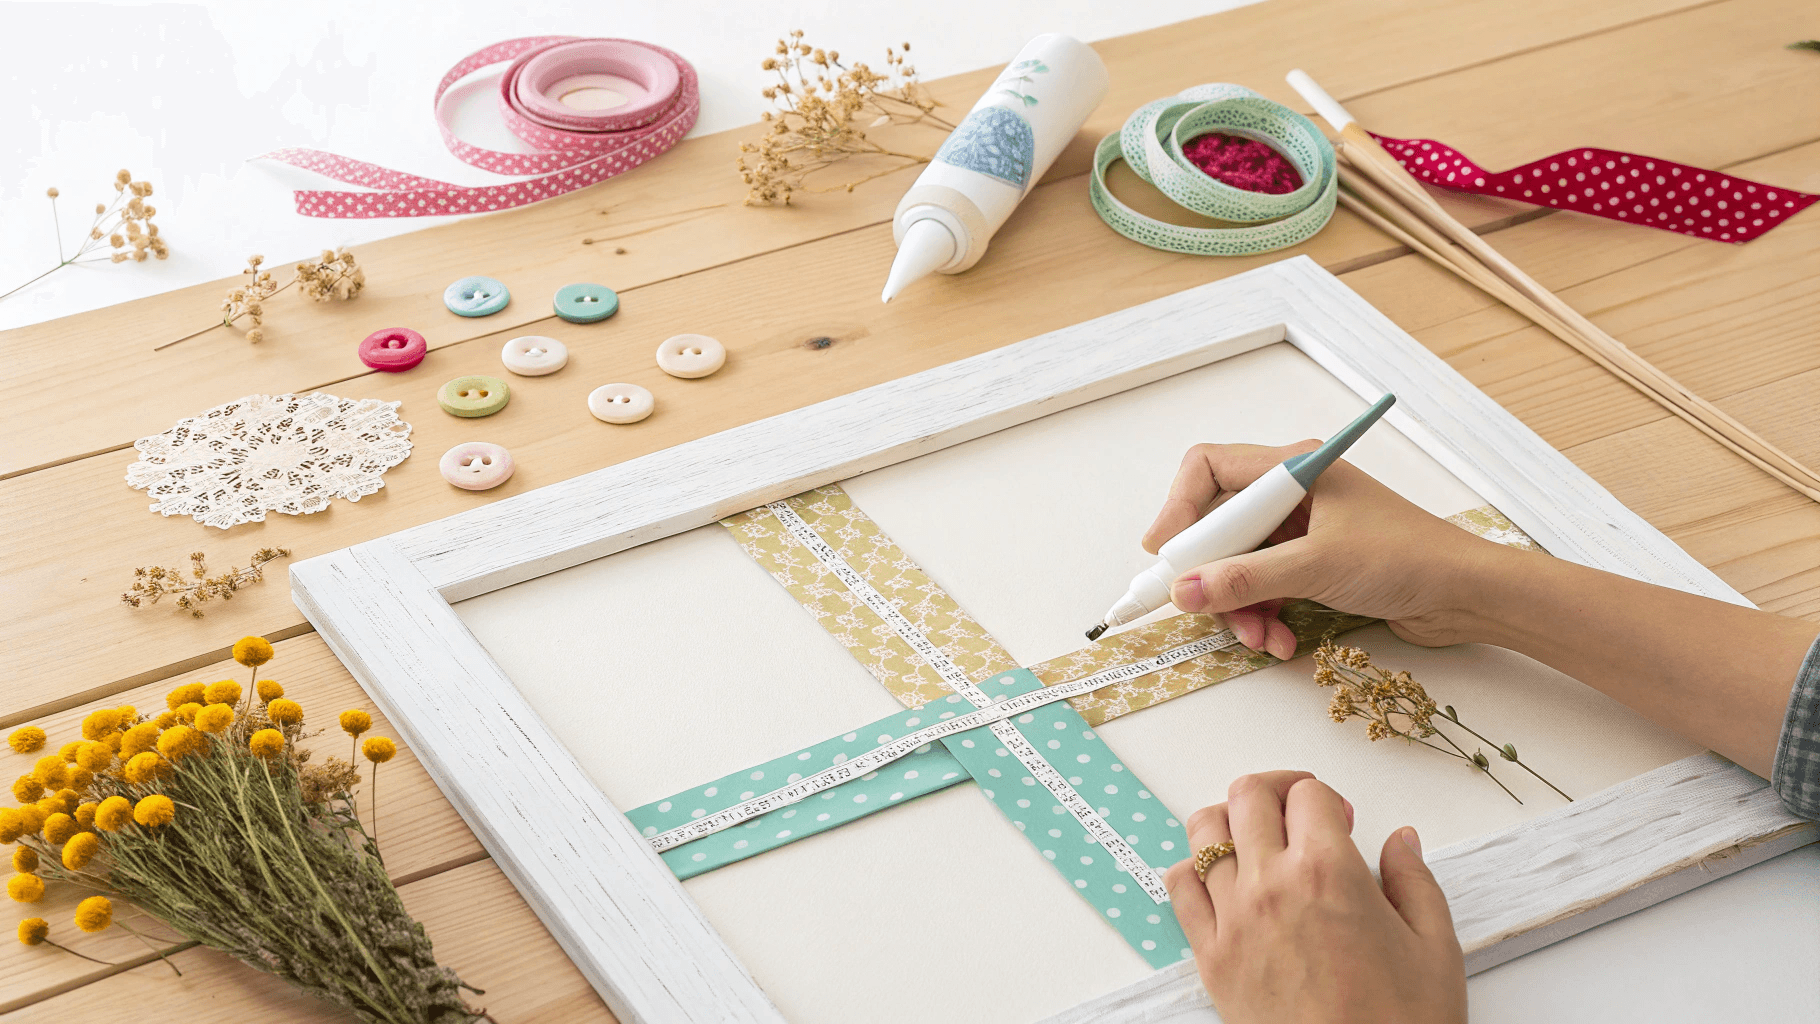
💡 Tip: Less is often more – don’t overcrowd your frame with too many elements
Step 14: Final Assembly
Tools: Glue, clear tape (optional) Action: Glue the decorated front frame to the back support piece, leaving the top open for inserting photos Progress Check: Your frame should be sturdy with a pocket for inserting photos from the top

Finishing Touches
Step 15: Test Your Frame
Tools: Your photo Action: Slide your photo into the frame from the top opening Progress Check: Photo should fit snugly and be fully visible through the opening
Step 16: Make Final Adjustments
Tools: Scissors, additional glue if needed Action: Trim any rough edges and reinforce any loose spots Progress Check: Frame looks polished and professional
💡 Tip: If the photo is loose, add small pieces of tape to the back edges to create a tighter fit
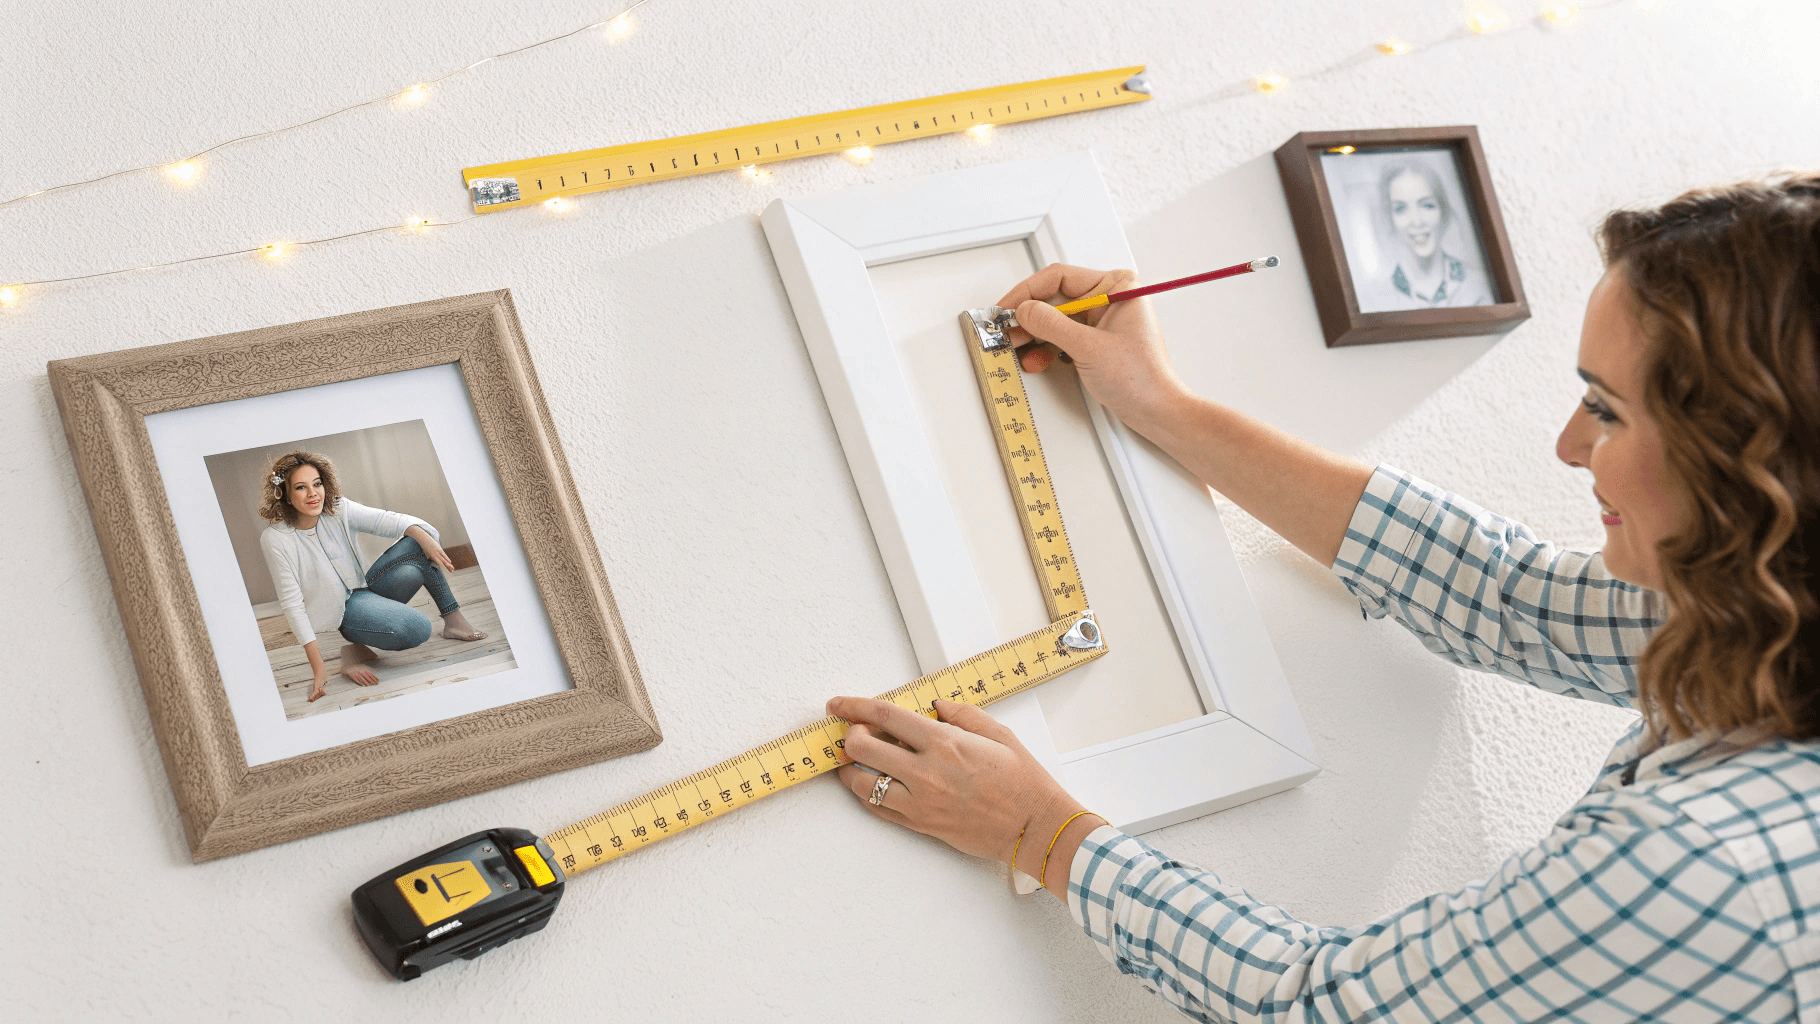
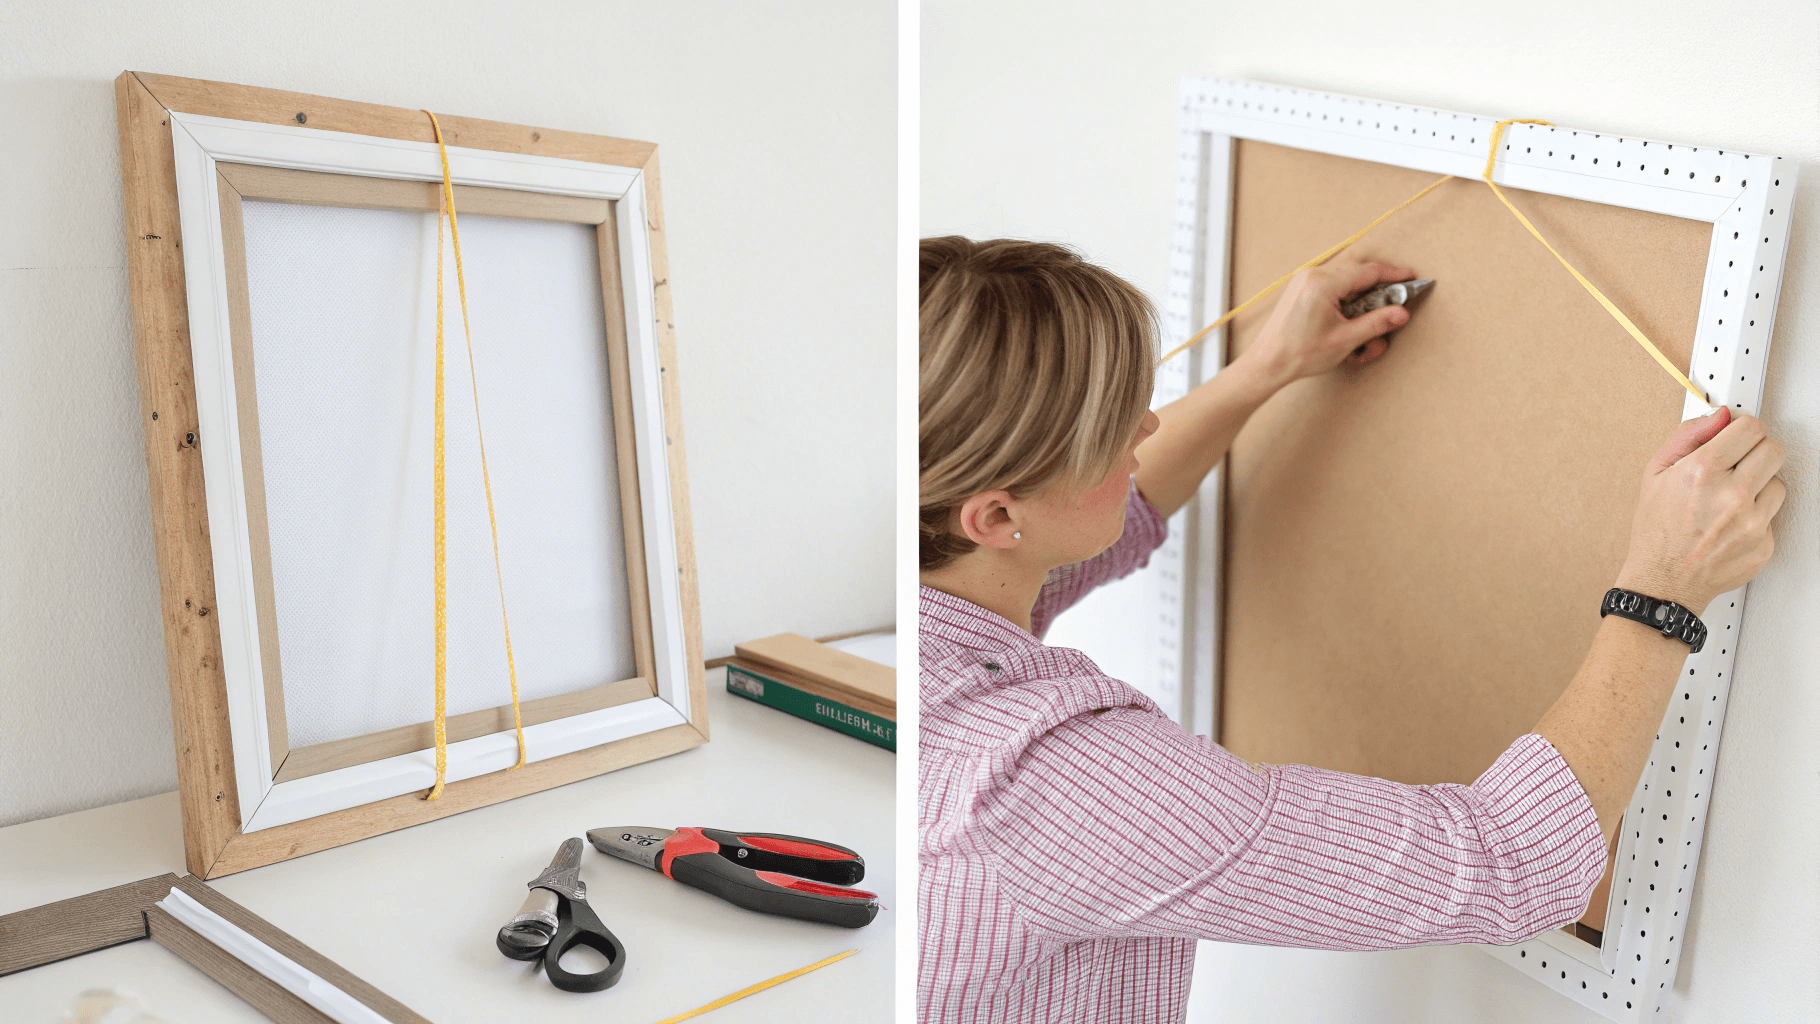
Step 17: Create a Hanging Option (Optional)
Tools: String or ribbon, tape, small hole punch or nail Action: Attach a hanging loop to the back of your frame Progress Check: Frame can be hung on a wall or hook securely
Troubleshooting Tips
Problem: Frame feels flimsy Solution: Add a second layer of cardboard backing or reinforce corners with tape
Problem: Photo doesn’t fit properly Solution: Carefully trim the opening with scissors or create small adjustment cuts
Problem: Decorations won’t stick Solution: Clean the cardboard surface and use stronger adhesive like white glue instead of glue stick
Problem: Paint looks streaky Solution: Apply multiple thin coats rather than one thick coat, letting each dry completely
Creative Variations
Themed Frames: Create seasonal frames with leaves (fall), shells (beach), or snowflakes (winter)
Multiple Photo Frames: Create a collage frame with several openings for multiple small photos
Textured Frames: Wrap sections with yarn or rope for interesting texture
Vintage Style: Use brown paper bags or coffee-stained paper for an aged look
Care and Maintenance
- Keep frames away from moisture to prevent warping
- Dust gently with a soft cloth
- Store flat when not in use
- Handle carefully as cardboard can dent
What You’ve Accomplished
Congratulations! You’ve successfully created a unique, personalized picture frame from recycled materials. Your finished frame should be:
- Sturdy enough to hold and display photos
- Beautifully decorated to match your style
- Completely unique and handmade
- Cost-effective and environmentally friendly
This project proves that with creativity and basic materials, you can make beautiful, functional items while giving new life to cardboard that might otherwise be thrown away. Your frame is ready to display your favorite memories or give as a thoughtful handmade gift!
LASTLY,
Creating DIY upcycled cardboard frames is more than just a craft project – it’s a perfect blend of creativity, sustainability, and practicality. This simple yet rewarding activity transforms everyday waste into meaningful home décor while teaching valuable lessons about resourcefulness and environmental responsibility. The beauty of this project lies not only in its accessibility but also in its endless customization possibilities, allowing each creator to infuse their unique personality and style into every frame.
Whether you’re a seasoned crafter or a complete beginner, the satisfaction of holding a beautiful, functional frame made entirely from your own hands is unmatched. These frames make thoughtful, heartfelt gifts that carry the special meaning of handmade love, while also serving as conversation starters about sustainable living. Beyond the immediate joy of crafting, this project opens doors to a more mindful approach to consumption, encouraging us to see potential in items we might otherwise discard.
As you display your photos in these one-of-a-kind frames, you’ll be reminded daily of your creativity and commitment to reducing waste. Most importantly, this project proves that some of life’s most beautiful creations come not from expensive stores, but from our own imagination and willingness to see beauty in the unexpected.