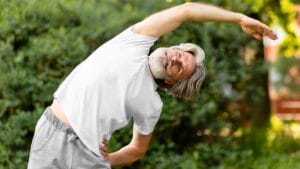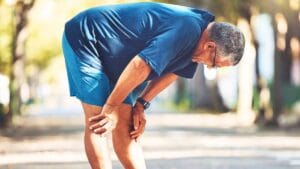
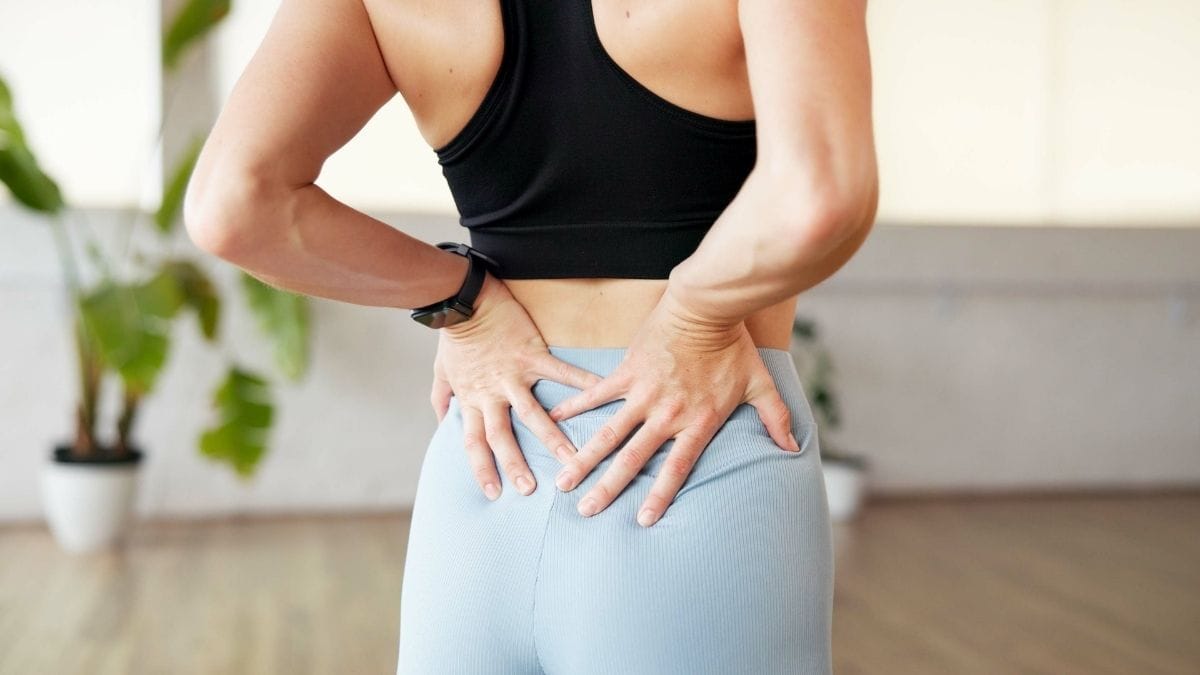
If you’ve stopped moving because movement hurts, you may be making your pain worse. And yoga done gently is one of the few things science agrees can actually help.
You’ve probably tried painkillers. Maybe bed rest. Maybe just waiting it out. None of it worked long-term.
This article gives you six simple yoga poses. They are gentle. They are backed by research. And you can start today.
Before You Begin: 3 Rules for Practicing Safely With Chronic Pain
Before you try a single pose, read these three rules. They will protect you and make every session more effective.
3 Golden Rules of Yoga
Stop at the Edge
Go into a pose until you feel a stretch, then back off just a little. Pain is a warning sign, never a goal.
Use Props Without Apology
Blankets, thick pillows, or chairs make poses safer and more effective. They are tools, not signs of weakness.
Talk to Your Doctor First
If you have a specific diagnosis like spinal stenosis or recent surgery, a quick conversation can prevent a setback.
Tips:
- Keep a blanket and a firm pillow next to your mat before you start.
- If a pose causes sharp or new pain, stop immediately and skip it that day.
The 6 Gentle Yoga Poses
Pose 1: Child’s Pose (Balasana)
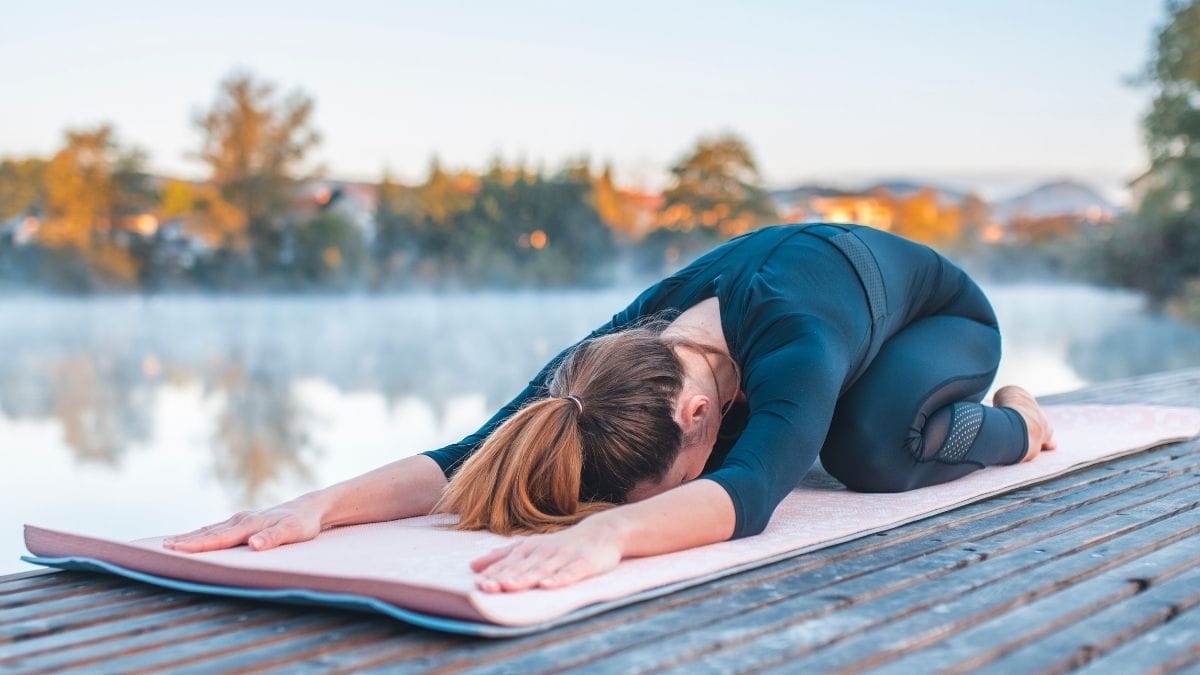
Why it helps: This pose stretches your lower back, hips, and thighs, three of the most common pain spots. It also slows your breathing, which tells your nervous system it’s safe to relax.
How to do it:
- Get on your hands and knees on a mat or carpet.
- Slowly sit back toward your heels.
- Stretch your arms forward or rest them by your sides.
- Let your forehead rest on the mat or a pillow.
- Breathe slowly and hold.
Modification: If your knees hurt, place a soft pillow between your thighs and calves. This reduces pressure on the knee joint completely.
How long: Hold for 30 to 60 seconds. Repeat 2 to 3 times.
Child’s Pose and Cat-Cow are two of the most recommended starting poses for people with chronic pain in the back and hips. They don’t require flexibility. They just require patience.
Tips:
- If the floor feels too far away, do this pose on your bed.
- Breathe deeply into your lower back while holding. You’ll feel it release.
Pose 2: Cat-Cow (Marjaryasana-Bitilasana)

Why it helps: This pose moves your entire spine, gently. It reduces morning stiffness faster than almost anything else. The American College of Physicians recommends it as a first-line treatment for chronic low back pain.
How to do it:
- Get on your hands and knees. Hands under shoulders, knees under hips.
- Breathe in slowly. Let your belly drop toward the floor. Look slightly forward. This is Cow.
- Breathe out. Round your spine up toward the ceiling. Drop your head. This is Cat.
- Move slowly between both. Let your breath lead the movement.
Modification: Can’t get on all fours? Sit in a chair. Place hands on knees. Arch your back on the inhale, round it on the exhale. Same benefit, zero floor work.
How long: 10 slow rounds. Do this 1 to 2 times per day.
Tips:
- Do Cat-Cow before getting out of bed in the morning to reduce early stiffness.
- Never rush the movement. Slower is always better here.
Pose 3: Legs-Up-the-Wall (Viparita Karani)
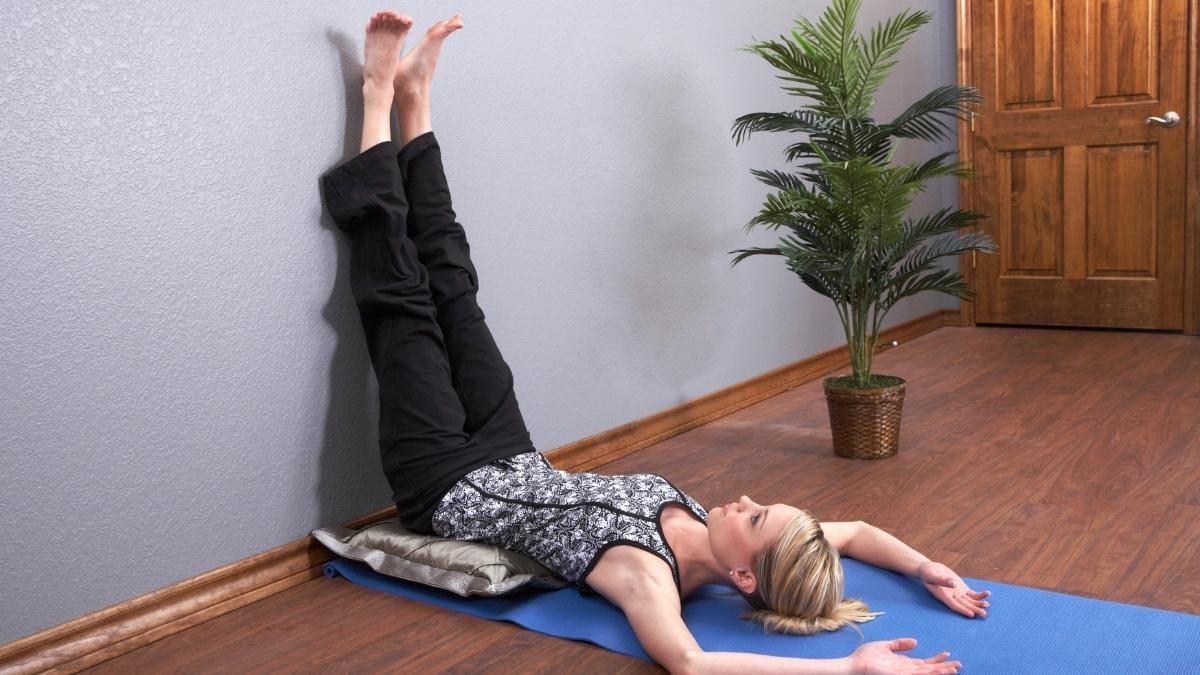
Why it helps: This is the most passive pose on this list. You need zero flexibility. You just lie on your back and put your legs up a wall. That’s it. It reduces swelling in the legs and feet, calms the nervous system, and takes pressure off the lower back.
How to do it:
- Sit sideways next to a wall, with your hip touching the wall.
- Swing your legs up the wall as you lie back.
- Let your arms rest at your sides, palms facing up.
- Close your eyes and breathe normally.
Modification: Place a folded blanket under your hips if your lower back feels strained. This small lift makes the pose much more comfortable.
How long: Hold for 5 to 15 minutes. This pose works especially well before bed.
Tips:
- Use this pose after a long day of sitting or standing. Your legs will thank you.
- Play soft music or a guided breathing audio while holding the pose.
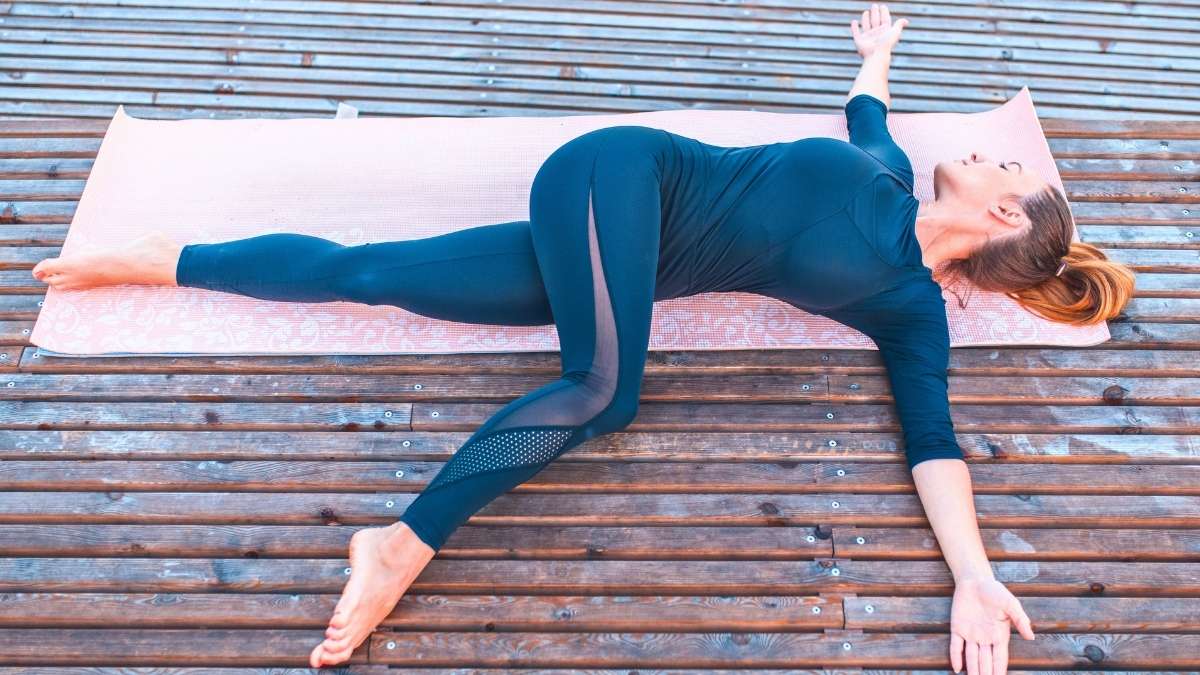
Pose 4: Supine Spinal Twist (Supta Matsyendrasana)
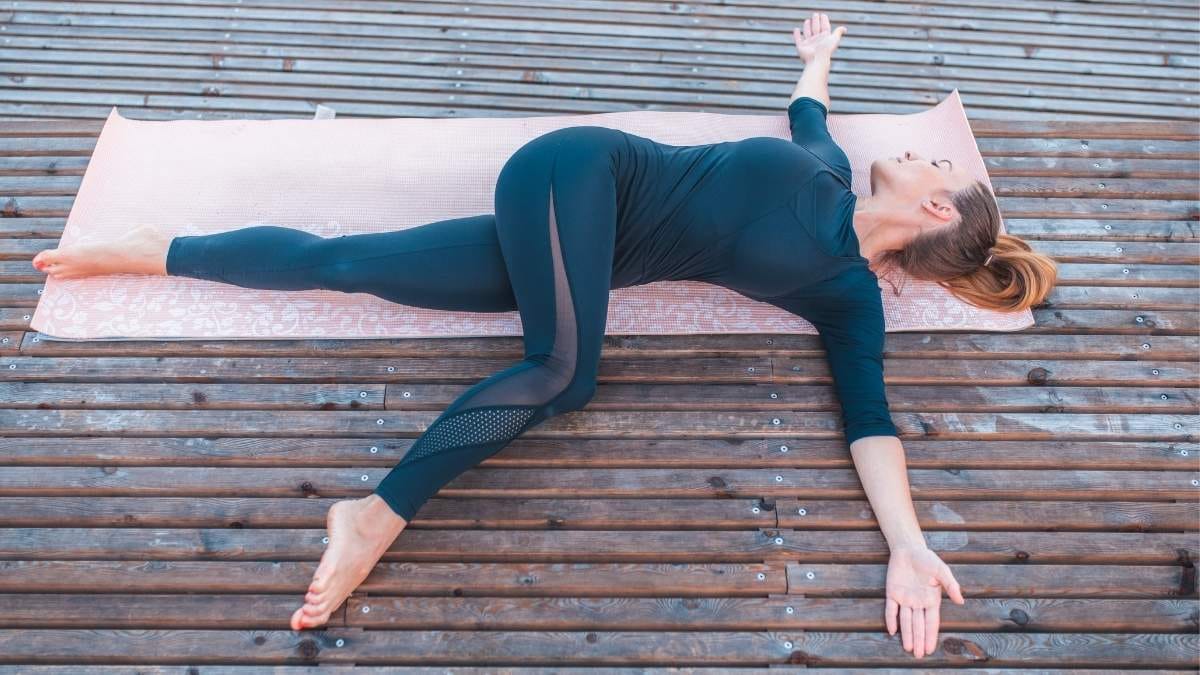
Why it helps: This pose gently decompresses the lumbar spine. If you have sciatica, hip tightness, or radiating leg pain, this is one of the best poses for you. It stretches the outer hips and the upper back at the same time.
How to do it:
- Lie flat on your back.
- Hug your right knee into your chest.
- Place your left hand on the outside of your right thigh.
- Exhale and guide your right knee across your body toward the left side.
- Extend your right arm out to the side. Look right. Breathe.
Modification: Place a pillow between your knees before rotating. This limits how far you twist and protects a sensitive lower back or hip.
How long: Hold 30 to 45 seconds per side. Repeat 1 to 2 rounds.
Tips:
- Never force the knee toward the floor. Gravity will do the work if you wait.
- Keep both shoulders flat on the mat throughout the twist.
Pose 5: Supported Bridge Pose (Setu Bandhasana)
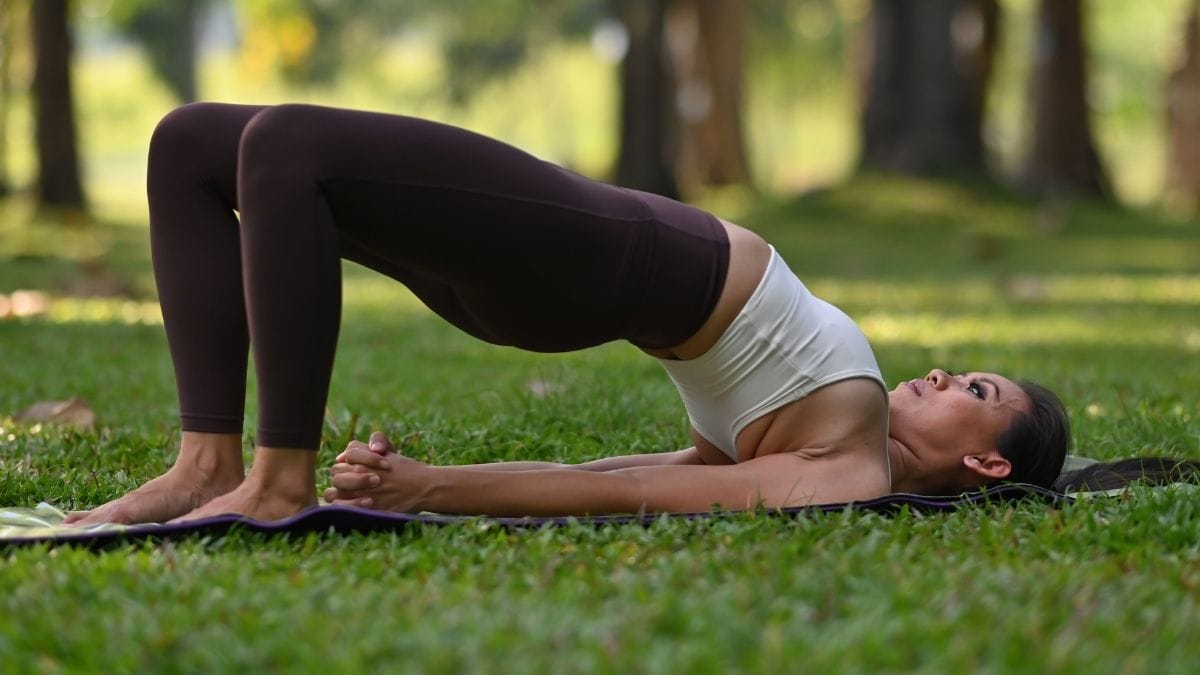
Why it helps: This pose strengthens your glutes and lower back muscles. Stronger muscles mean less load on your spine every single day. It also gently opens the chest and hip flexors, which get tight from sitting.
How to do it:
- Lie on your back with knees bent, feet flat on the floor, hip-width apart.
- Press your feet into the floor and slowly lift your hips.
- Hold at the top for a breath or two.
- Lower back down slowly. That’s one rep.
Modification: Place a firm yoga block or thick hardcover book under your sacrum (the flat bone at the base of your spine). Let the prop hold you up. No muscle effort needed. This turns it into a fully passive, pain-free version.
How long: Hold 30 to 60 seconds. Repeat 3 times.
Tips:
- The passive version with a block under your hips is just as effective for pain relief.
- Don’t clench your jaw or hold your breath. Stay soft throughout the pose.
Pose 6: Corpse Pose / Final Rest (Savasana)
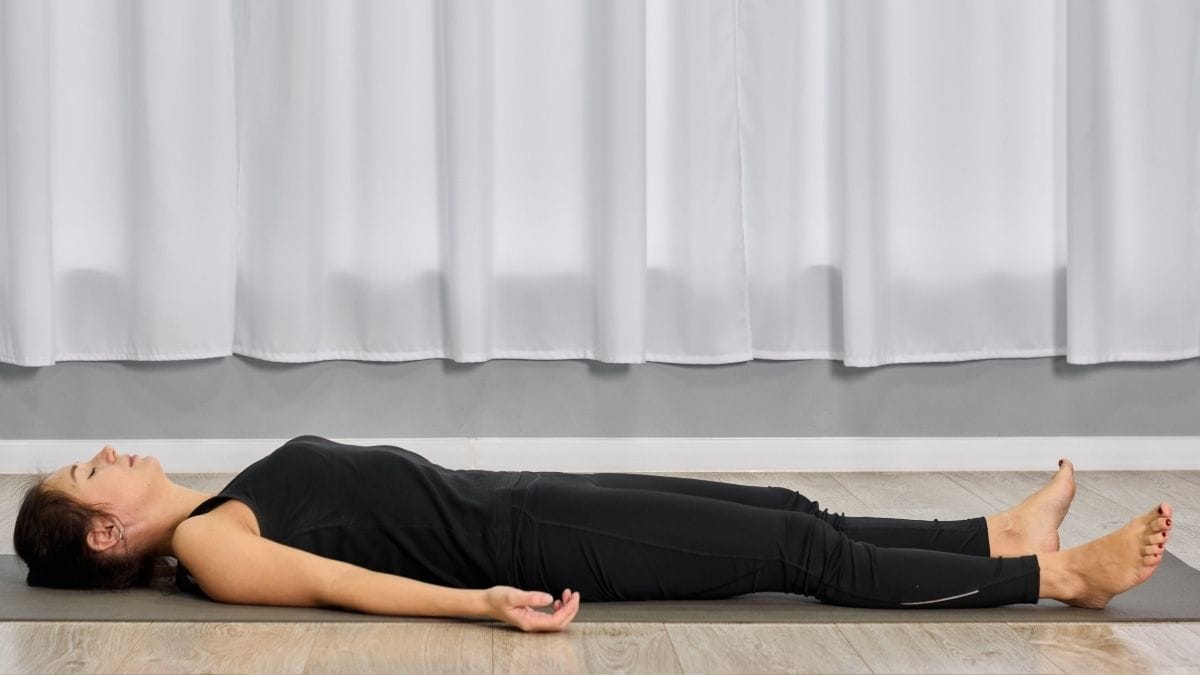
Why it helps: This is not doing nothing. When you lie still and breathe, your body activates the parasympathetic nervous system, which is the rest-and-digest mode. This directly reduces stress hormones, lowers inflammation, and breaks the pain-stress cycle that chronic pain creates.
Johns Hopkins Medicine recommends holding this pose for 5 to 15 minutes, focusing on deep breathing while letting every muscle go. That’s not rest. That’s medicine.
How to do it:
- Lie flat on your back with legs gently stretched out.
- Let your arms rest at your sides, palms facing up.
- Close your eyes. Let your feet fall open.
- Breathe naturally. Don’t control it. Just notice it.
Modification: Roll a blanket and place it under your knees. This takes all pressure off the lower back when lying flat.
How long: 5 to 15 minutes. End every session with this pose, every single time.
Tips:
- Use a lightweight eye pillow or folded cloth over your eyes to deepen relaxation.
- If your mind wanders, just notice your breath. You don’t need a clear mind for this to work.
How Often Should You Practice? A Simple Weekly Plan
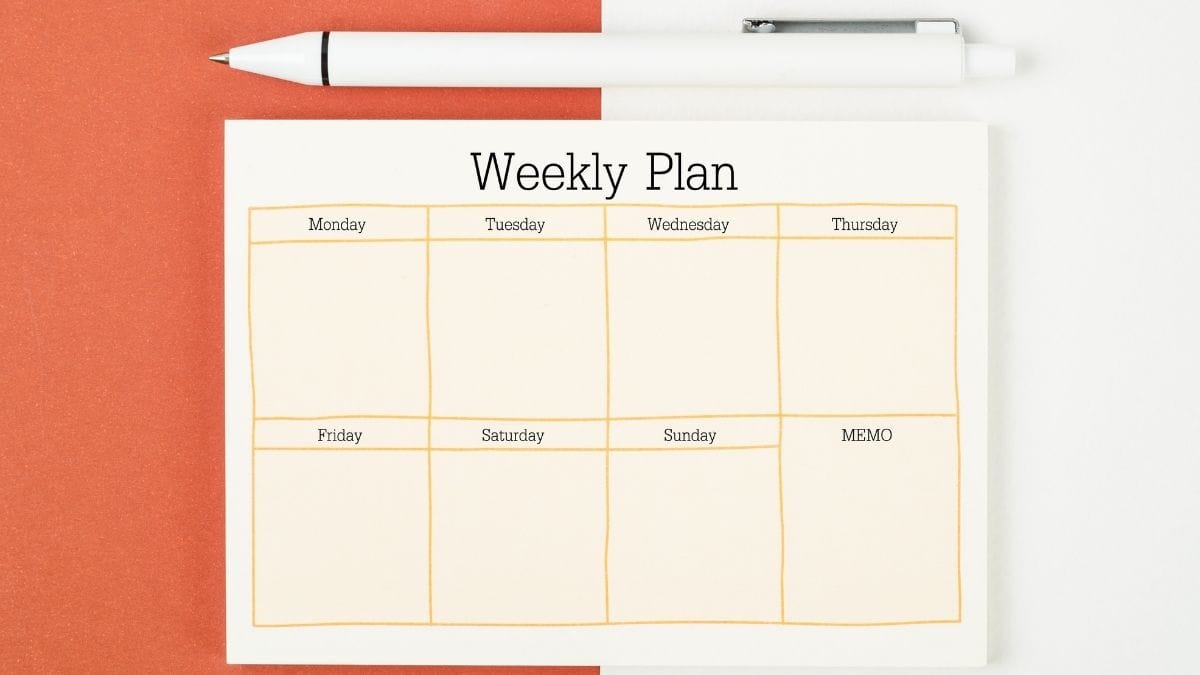
You do not need an hour of yoga to feel results. Ten minutes, done regularly, beats a sixty-minute session once a week. Consistency is the whole game.
The National Center for Complementary and Integrative Health is clear on this. Improvements from yoga for chronic pain are gradual and modest, but they are real and consistent when you practice regularly.
Here’s a simple plan to start with:
Monday, Wednesday, Friday: Do all 6 poses in order. It takes about 20 minutes.
Tuesday, Thursday, Saturday: Just Cat-Cow and Savasana. Ten minutes. That’s enough.
Sunday: Rest fully. Let your body recover.
Track your pain on a 1-to-10 scale before and after each session. Write it down in a notebook. After four weeks, look at your numbers. Most people are surprised by what they find.
Start small. Stay consistent. Add more time only when you feel ready.
Tips:
- Set a phone reminder at the same time each day. Habit stacking makes it stick.
- Don’t skip Savasana to save time. It’s the most important part of the session.
Trusted Free Resources You Can Use Right Now
You don’t have to figure this out alone. These resources are free, reliable, and up to date.
NIH NCCIH: Visit nccih.nih.gov for the latest research summaries on yoga and pain. Written for regular people, not just doctors.
Yoga Journal: yogajournal.com has beginner guides and fibromyalgia-specific pose advice from qualified yoga therapists.
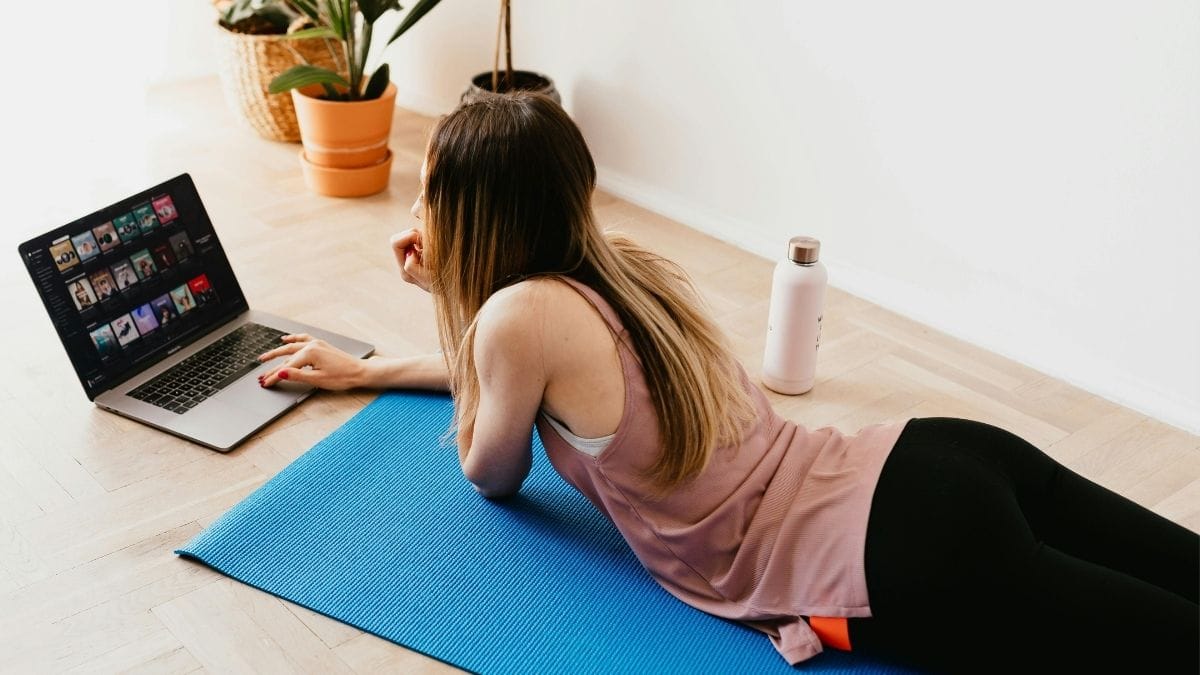
YouTube: Yoga with Adriene: Search “gentle yoga for chronic pain.” Her videos are free, beginner-friendly, and widely used by people with pain conditions.
YouTube: SilverSneakers: Chair-based yoga videos for anyone who can’t get up and down from the floor easily.
Vanderbilt Osher Center for Integrative Health: Offers medically supervised gentle movement classes. Some require a doctor’s referral.
PubMed: Search “yoga chronic pain randomized controlled trial” if you want to read the actual studies behind this article.
Tips:
- Bookmark two resources now. Don’t save them for later or you’ll forget.
- YouTube works best if you search “10 minute gentle yoga chronic pain” for short, manageable sessions.
Summary
Start with one pose today. Use props. Go slow. Your body can handle this, and over time, it will thank you for it.